This post brought to you by Beadalon. 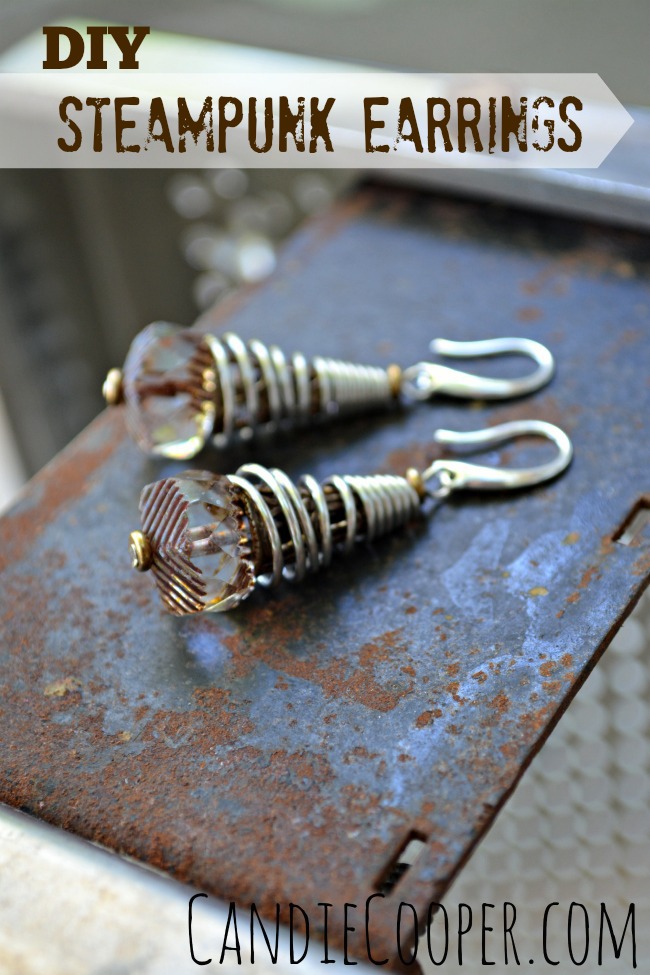 Here we are with October knocking on the door! Already! This post is going to show you the basics of using Beadalon’s new Artistic Wire Conetastic tool designed by the lovely, Sandra Lupo. This is my first tutorial from my new home office.
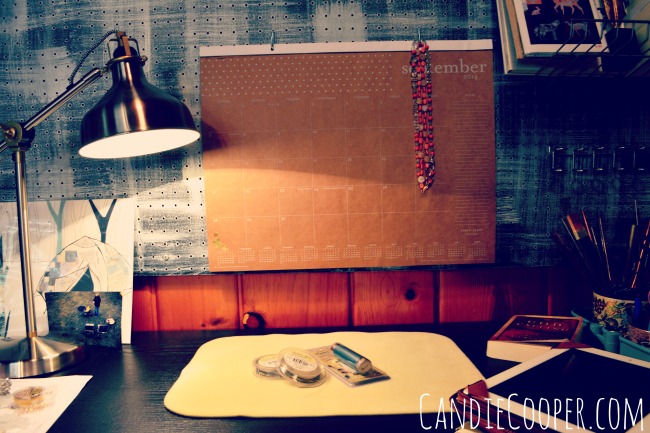 So welcome! I had my work table downstairs for the summer because we don’t have air conditioning. Now that it’s cooling off, I’m back up in my nest and LOVIN’ IT!!! Do you like my Ikea task lamp? I’m still in the stage of trying to keep my desk really clean. Day 3: so far so good. By Christmas it will look like a tornado went through the craft store.
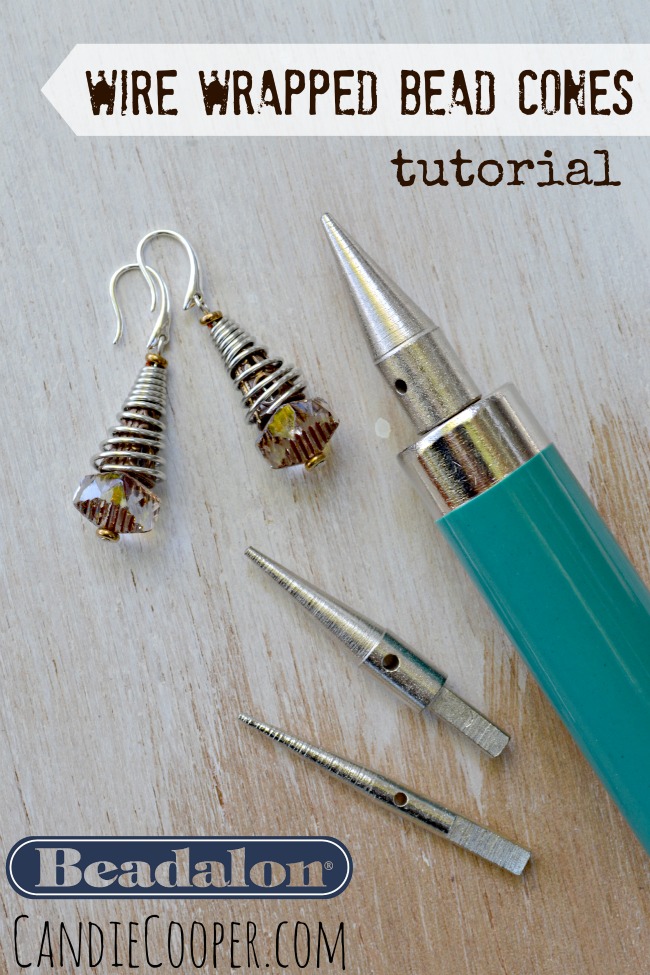 Back to the Conetastic! This jewelry making tool is designed to work with Artistic Wire so you can make your own coiled bead cones. It’s a really nifty little tool! This is my first time taking it for a test drive and after sleeping on it, I have some more ideas to try.
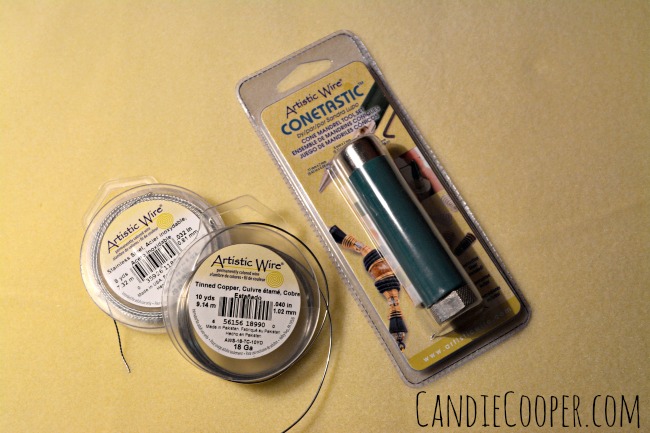 The first thing I really liked is how compact it is. For this tutorial, I’m using it with Artistic Wire 18g. in Tinned Copper (my fave).
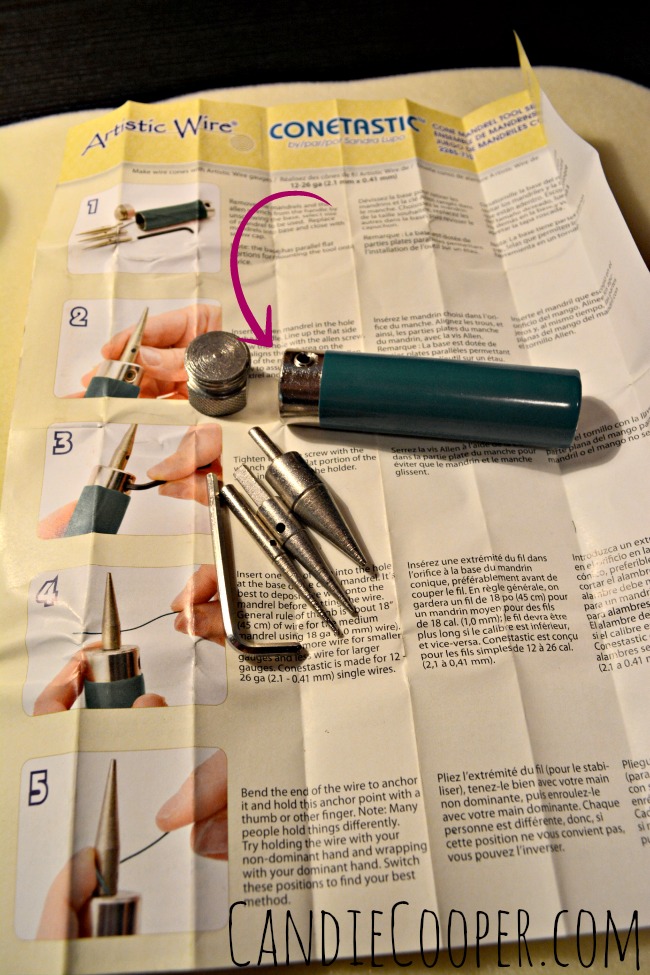 When you open the packaging, you’ll find awesome instructions. To get rolling, you twist open the end cap and all the parts come out. Also, I liked how heavy the pieces are–definitely a tool made to last.
 There are three different cone sizes and a little wrench. The wrench loosens the pin so you can set the desired cone size in the tool and then tighten it in place. Super easy! I practiced with the tiny cone first.
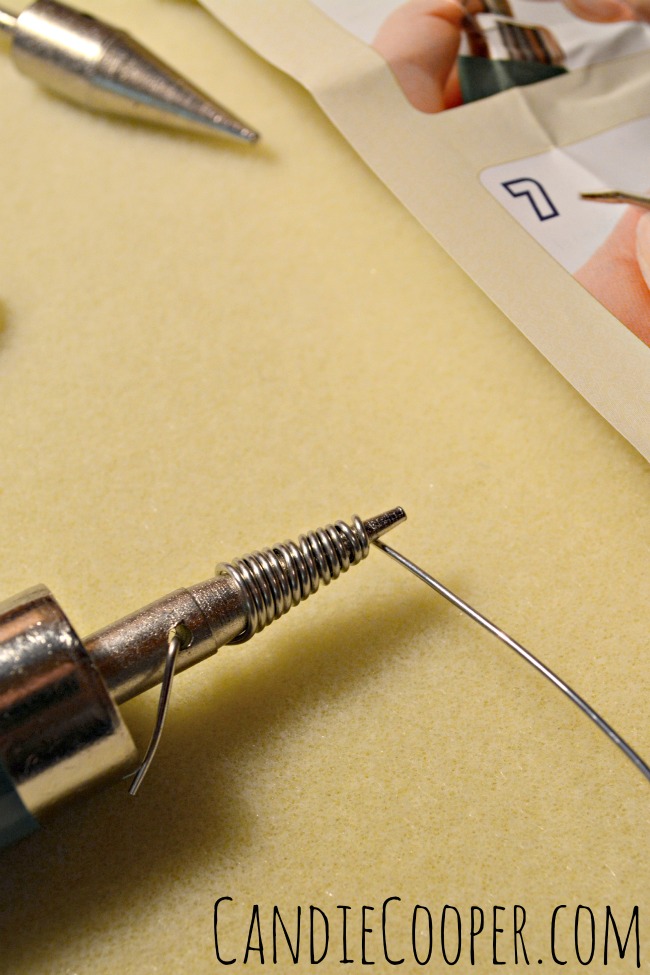 It took me about 30 seconds to make one coiled bead cone. Already I’m thinking I need some silver plated Artistic Wire so I can oxidize it with liver of sulphur and then distress it to highlight all those coils. I love the liver of sulphur patina.
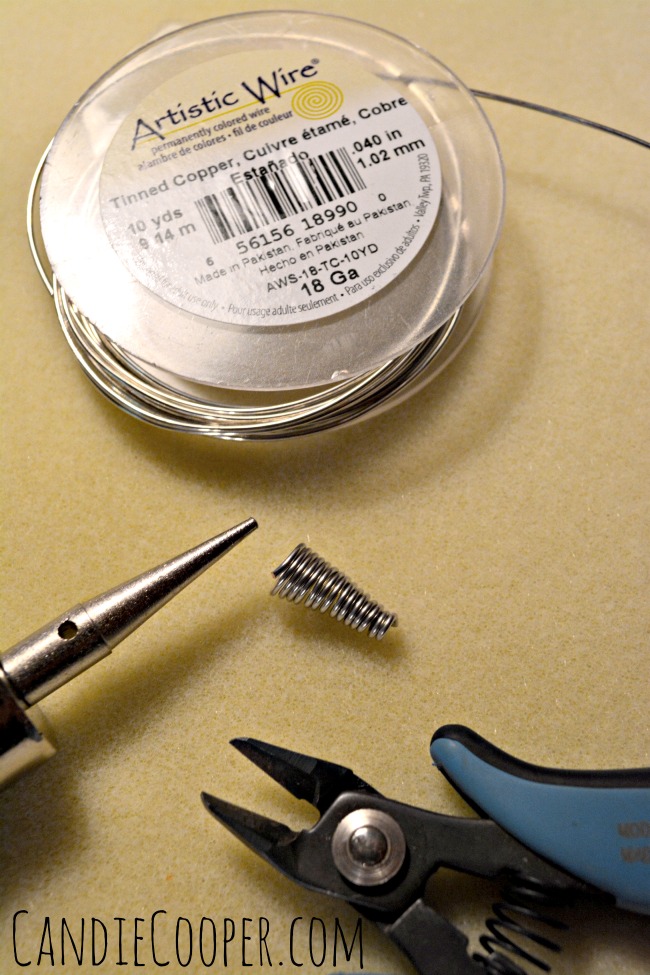 Wrapping the 18g. wire really made for a heavy look. Depending on your project, you might want to play with wire gauges and cone sizes to get just what you want.
When you are finished coiling, all you have to do is snip the ends of wire away from the tool and spool.
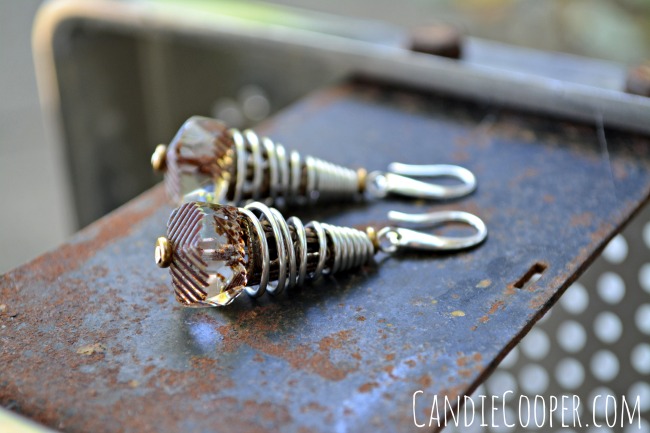
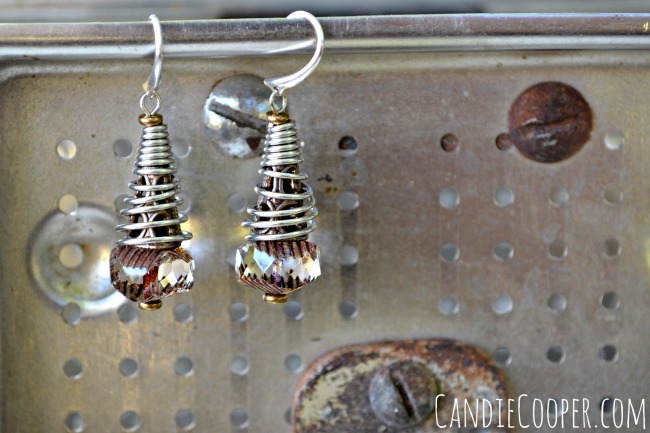
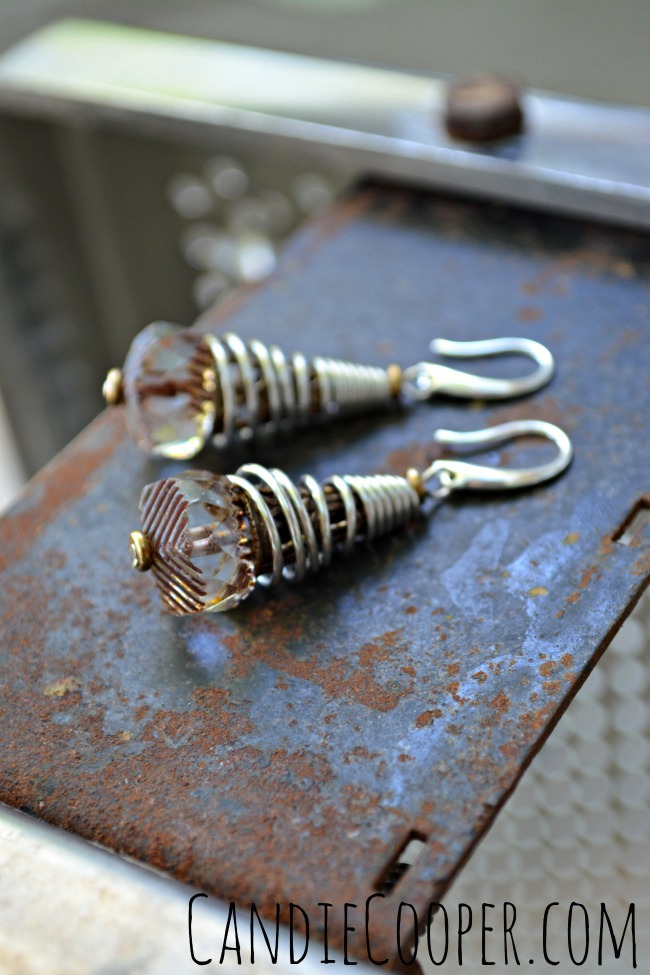
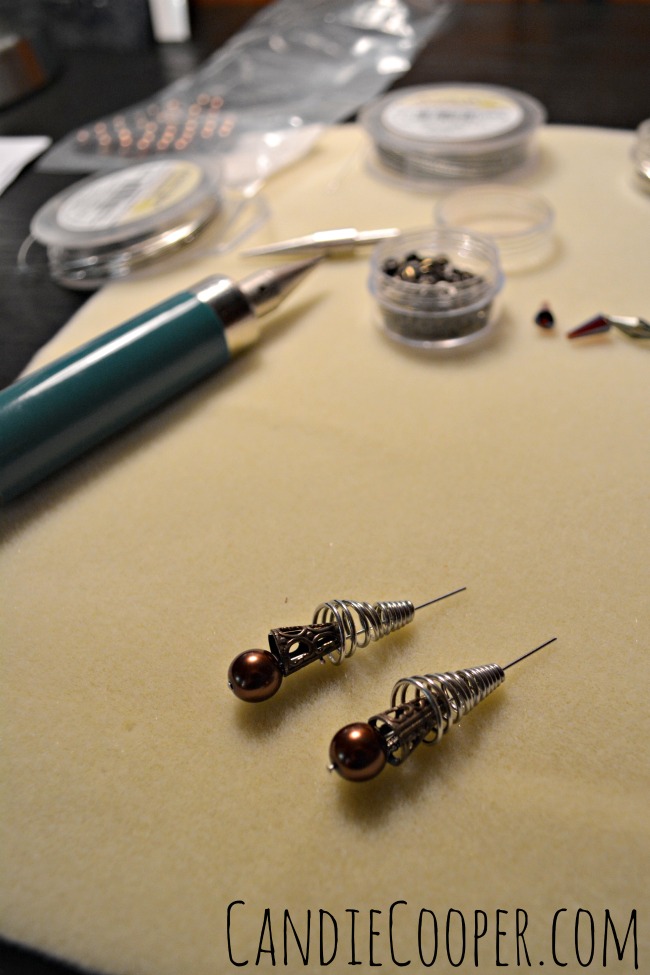 For my next experiment, I used the largest cone to make some more playful and loose coiled bead cones. That’s when DIY steampunk jewelry popped into my head. Playing with layers in jewelry making is a love of mine so these Conetastic bead cones fit right in. Here’s my first attempt with brass bead cones under the coiled pieces with glass pearls. Fail. The glass pearls just weren’t cuttin’ it.
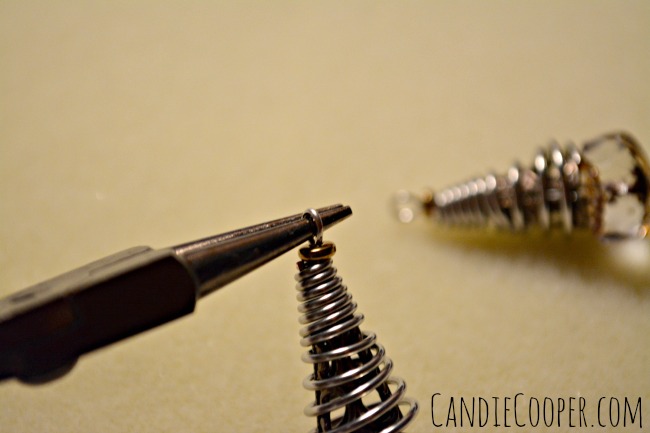 When you are settled with the bead stack, string everything onto a regular head pin and then finish the end with a simple loop using round nose pliers.
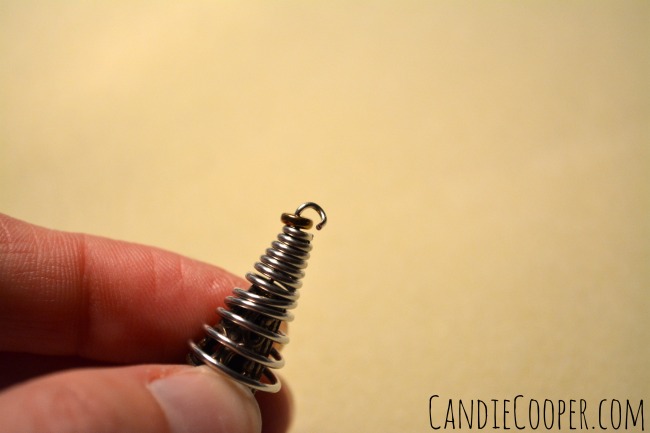 Grab some chain nose pliers and open the loop from side to side.
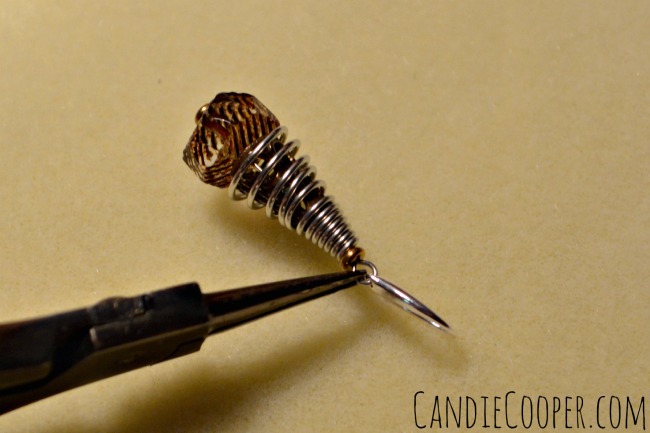 Connect the Modern ear wire and close the loop. I accidentally squashed one of the coils down too much, making it look a little wiggly, but I’m ok with it.
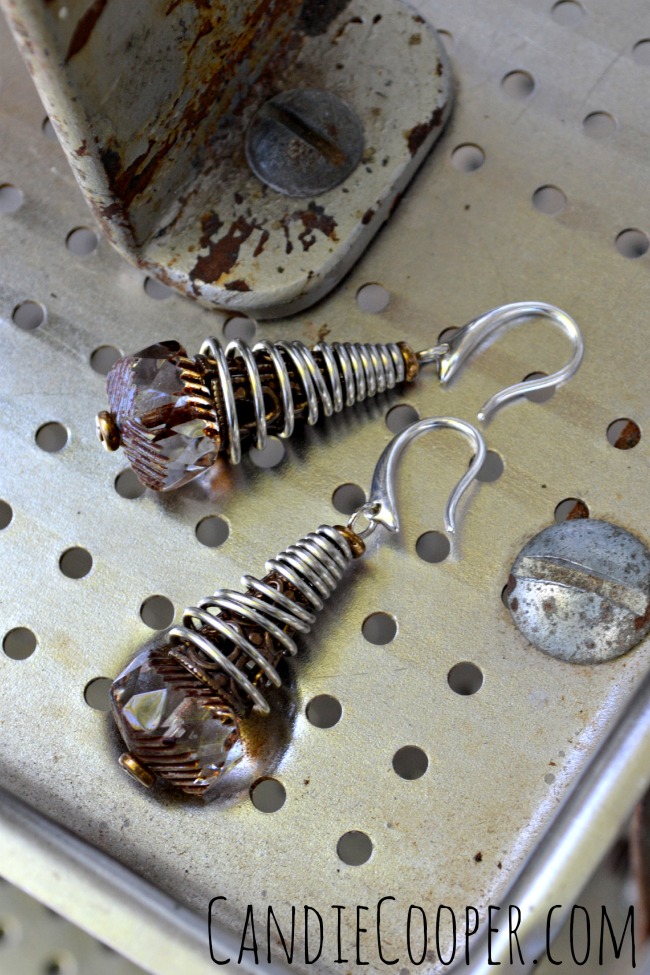
Here’s a link to shopping for the Conetastic tool in case you want to add it to your Christmas list. 😉
 Hi, I’m Candie. I design jewelry and crafts, author books, teach classes and host television programs. I thrive on simple ideas that anyone can achieve. I also love projects made from unexpected materials that stand the test of time. Join me as I lead a creative life!


