 Yesterday around 3pm when I should’ve been writing this post, I decided to skip town and go to a quilt show (and spend all my yard sale money). Fat quarters are the devil. They’re so perfectly sized and for someone who loves scrappy quilts, they’re a problem. I had the best time looking at the quilts and pretty fabrics, leaving mega inspired ready to sew everything. Never mind, penniless too!
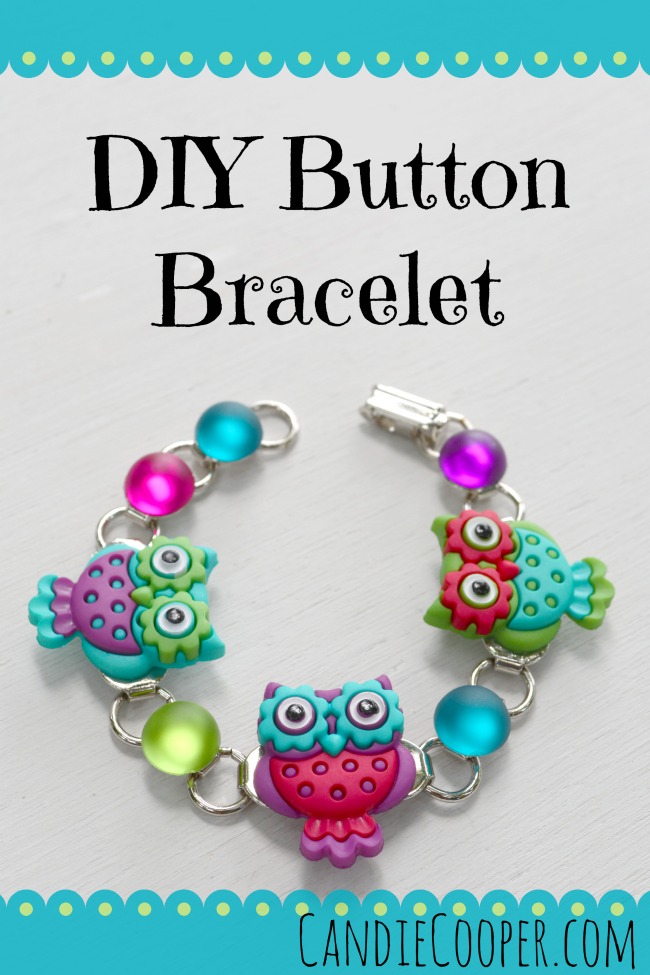
 Earlier in the day, I snuck outside to take pictures for this button bracelet tutorial. It was so pretty and not humid so I had to soak some of that up. Had to. No choice. This is always my audience when making tutorials. Meet Rocker and Bebe.
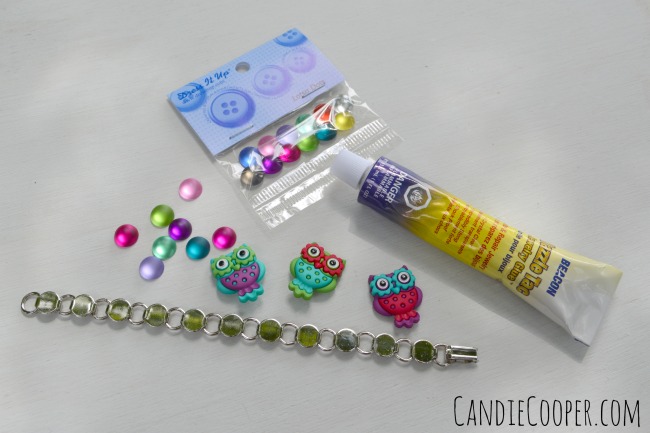 Materials for this little button bracelet are from Dress It Up Buttons (found in all the craft stores and lots of independent quilt shops as I learned yesterday), Beacon Adhesives Dazzle Tack, and the bracelet with glue pads from Rings and Things. The reason I really love this bracelet finding is because you can remove links and make it smaller.
*A word about gluing: Even though this project looks kid friendly, this adhesive is for grown ups and should be used in a well vented area. If you want to make it with smaller hands, I suggest a game of “jewelry designer and jewelry manufacturer.” In other words, grown ups do the gluing wherever the designer tells them to. 😉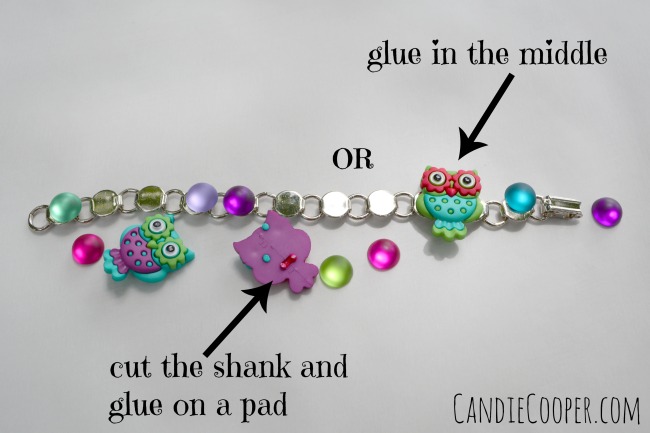 Lay out the pieces along the bracelet. There are two choices for gluing buttons with shanks: cut the shank off with heavy wire cutters and glue on the silver disc/glue pad OR don’t cut the shank and glue it so the button uses two silver discs.
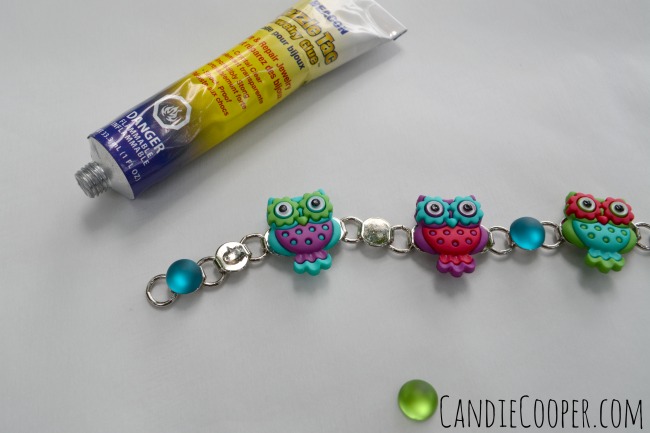 This glue comes out fast! Less is more too! My philosophy is, you can aways add more glue, but dang it’s hard to get off when you have it oozing from every angle, on your fingers, etc…etc… You know what I’m talkin’ about! So go easy.
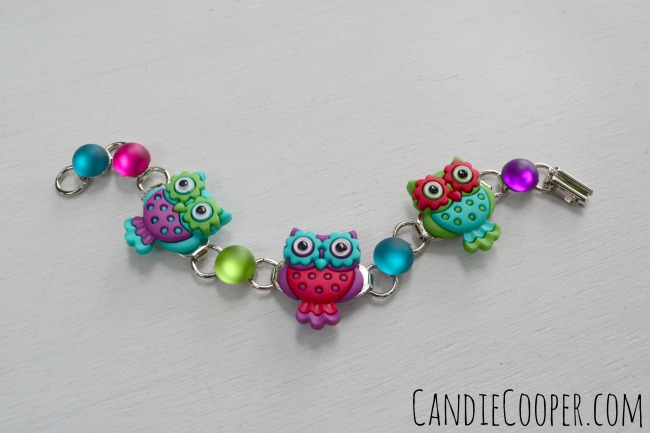 Once you’re finished gluing, double check no buttons have slid out of place and set this little cutie aside to dry!
Now, I gotta get back to petting my fat quarters (that doesn’t sound right, but you know what I mean).
Have a great day!
<3 Candie
 Hi, I’m Candie. I design jewelry and crafts, author books, teach classes and host television programs. I thrive on simple ideas that anyone can achieve. I also love projects made from unexpected materials that stand the test of time. Join me as I lead a creative life!


