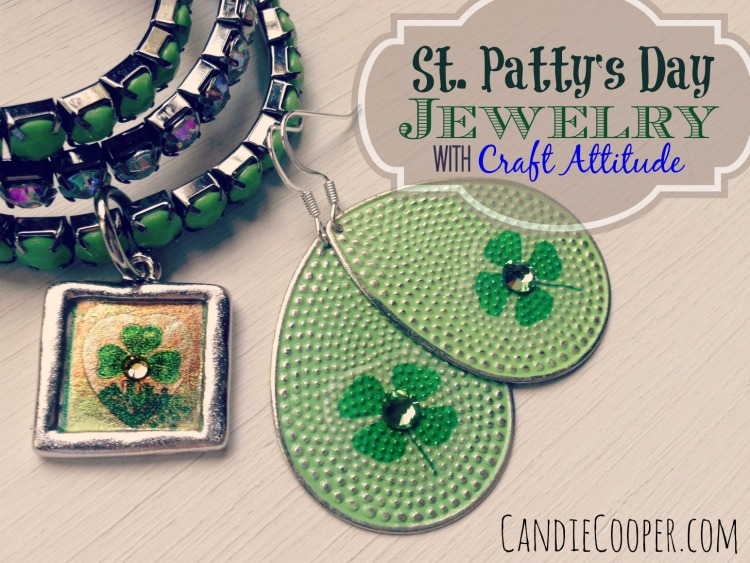
This project is brought to you by Decopatch–fine decoupage papers with a French flair!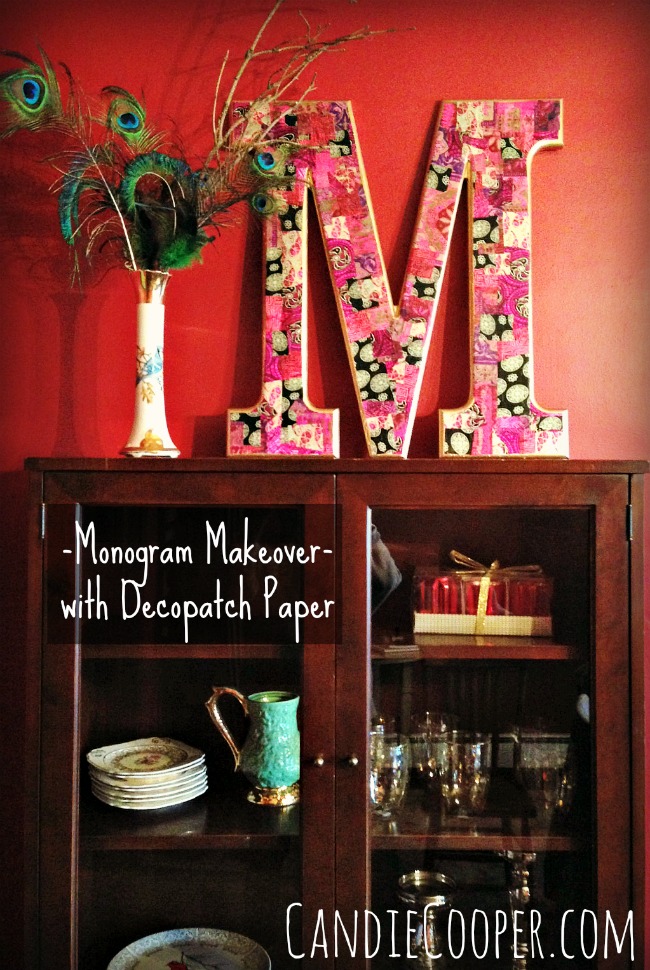 Monograms. I love them. My husband found this one at Hobby Lobby on the clearance rack (I love that man) for $15. He was on an errand for me (I really do love that man!) for a paper mache’ deer head (they didn’t have it) and found this “M” instead.
 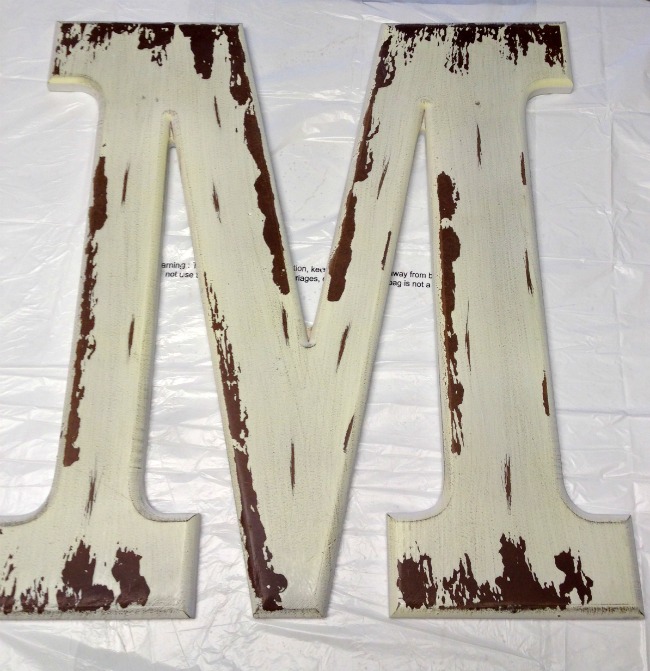 She needed a makeover, don’t you agree? I’m all for distressed, but….strung out? No. They had a ton them left! I love those big letters covered in Indian patchwork fabric that places like Home Goods and Anthropologie sell (but I can’t afford) so that was my inspiration.
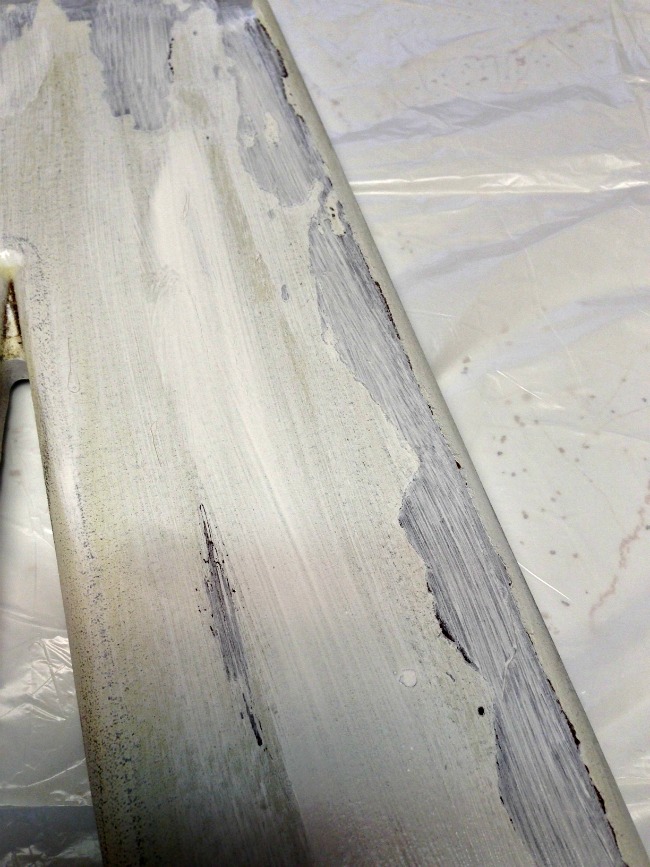 First, I brushed over the brown areas with a bit of white paint to even out the tone. I’ve never used the Decopatch papers before and worried that the dark areas might show through. Now, I’m convinced this step wouldn’t have been necessary.
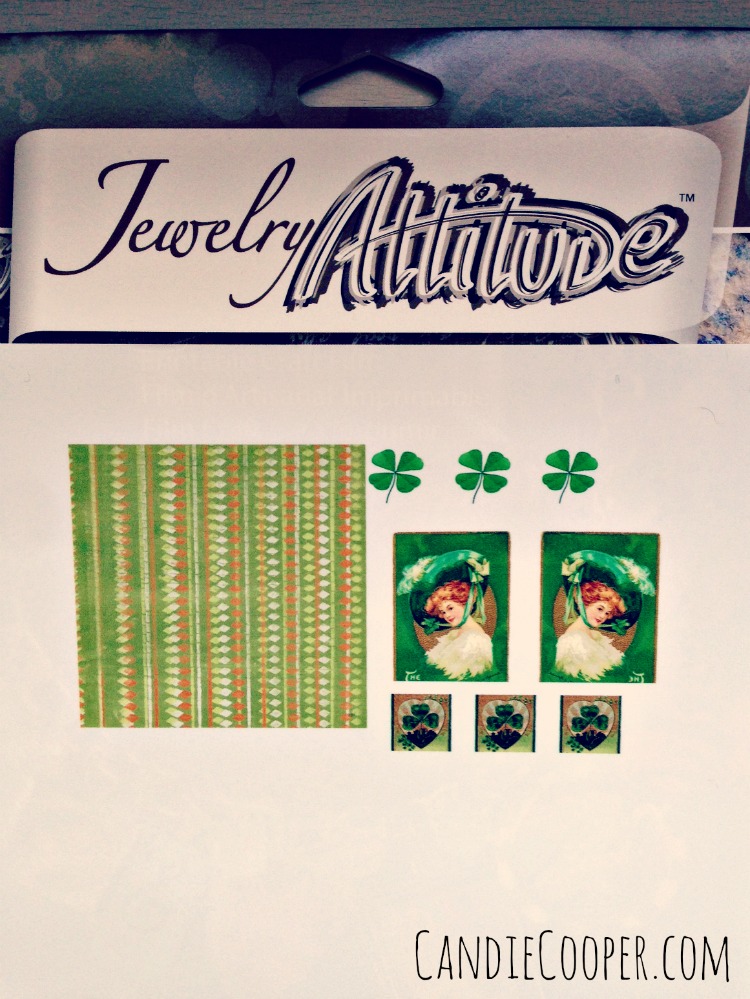
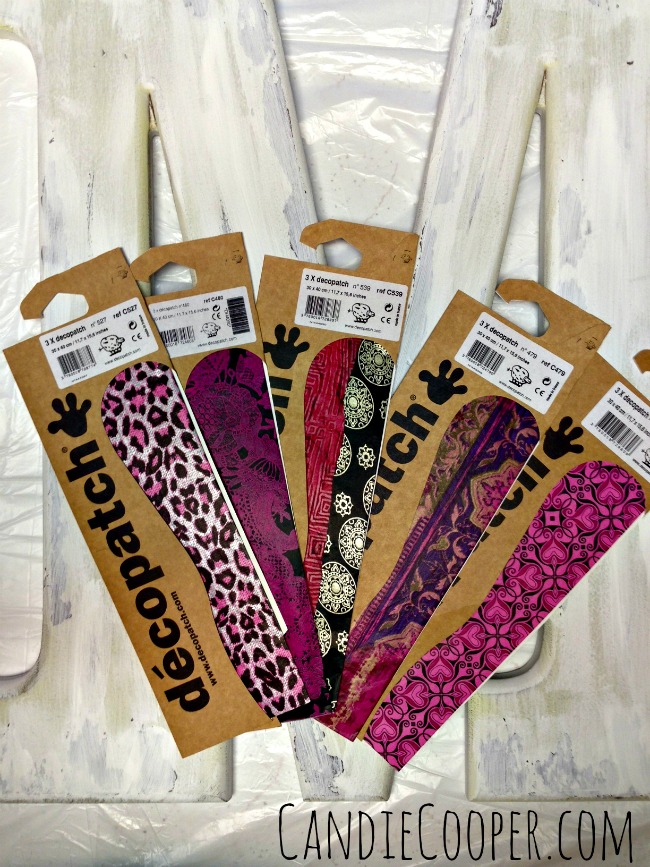 Then, I broke out the Decopatch papers. These are extra special papers that are strong, FLEXIBLE and brightly colored–SUPER for decoupage crafts. Check out all the colors and patterns here. So hard to choose just one.
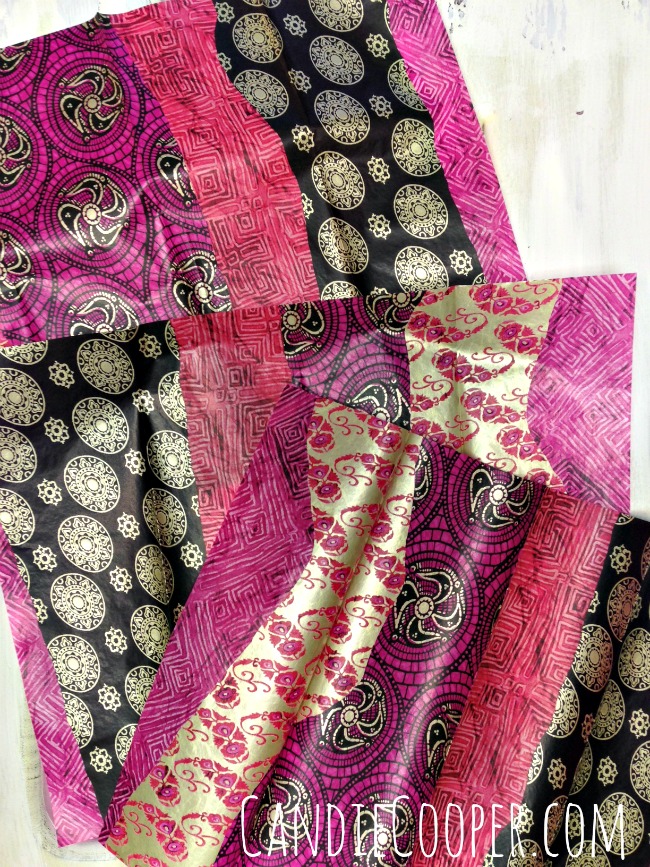 One side of the Decopatch paper is shiny and super smooth.
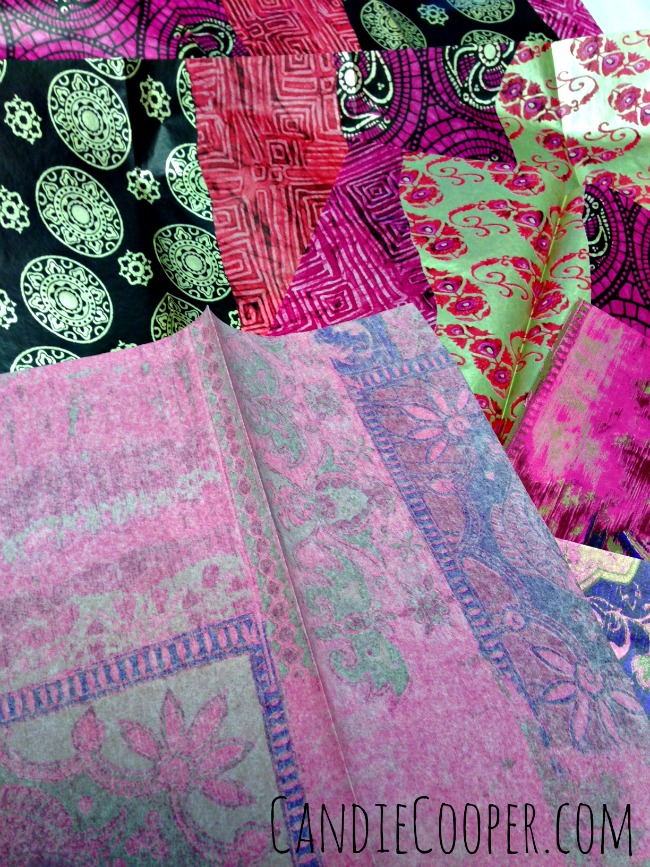 The reverse has a matte finish, almost like a tooth that grabs the decoupage glue perfectly. Yes, these are the things that excite me. Well designed paper.
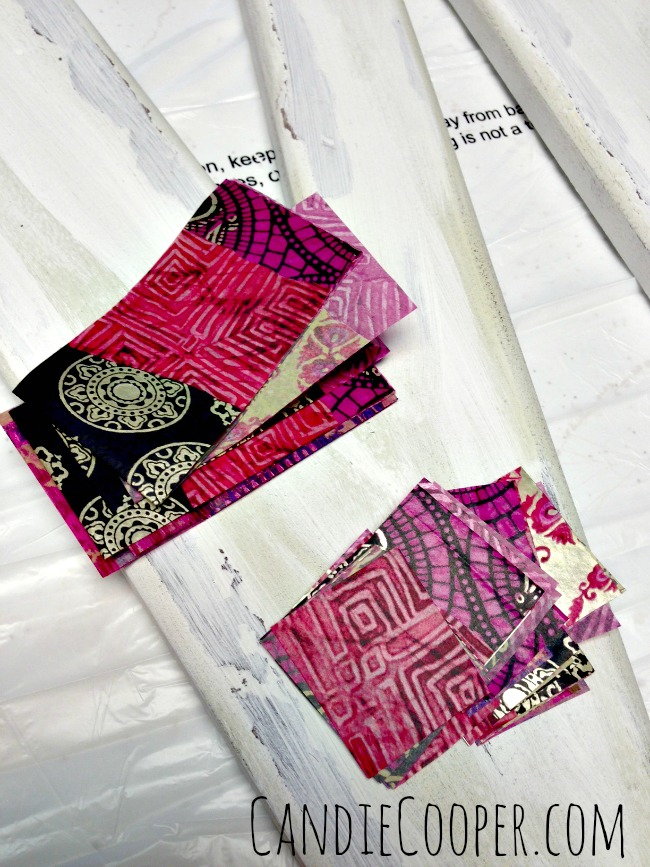 Once I picked out my papers I cut them into strips and squares. There really was no rhyme or reason to my cutting. That would have made it “work.”
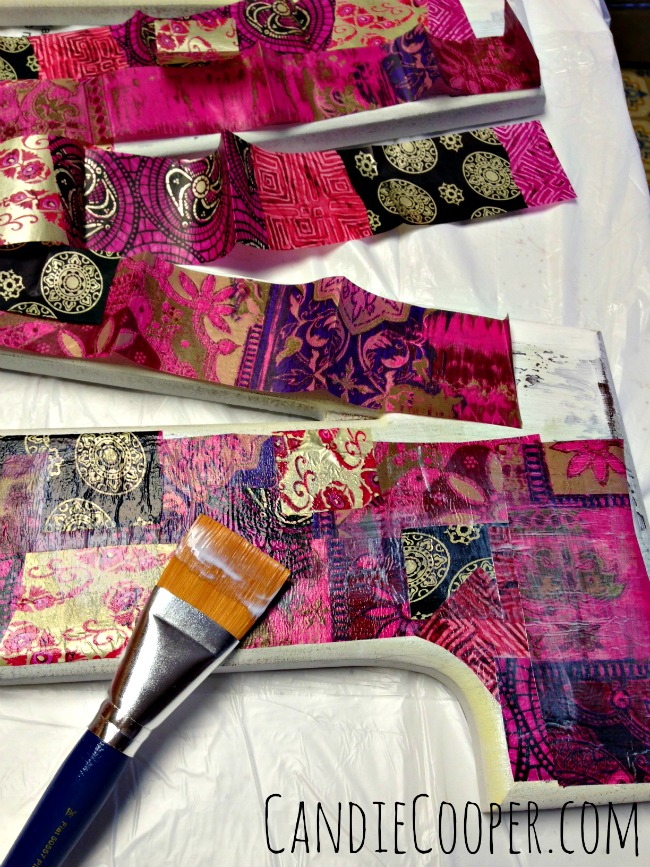 I used a decoupage glue like Mod Podge to adhere the papers to the front of the M and sealed them with the same glue. Also very randomly, mixing and matching with a little layering. The company describes Decopatch papers as “painting with paper” and I’m going to agree. It goes on like butter on hot toast! A little addicting! When I finished, I was like a decoupage predator looking for innocent pray to be covered in pretty paper. A craft vampire of sorts.
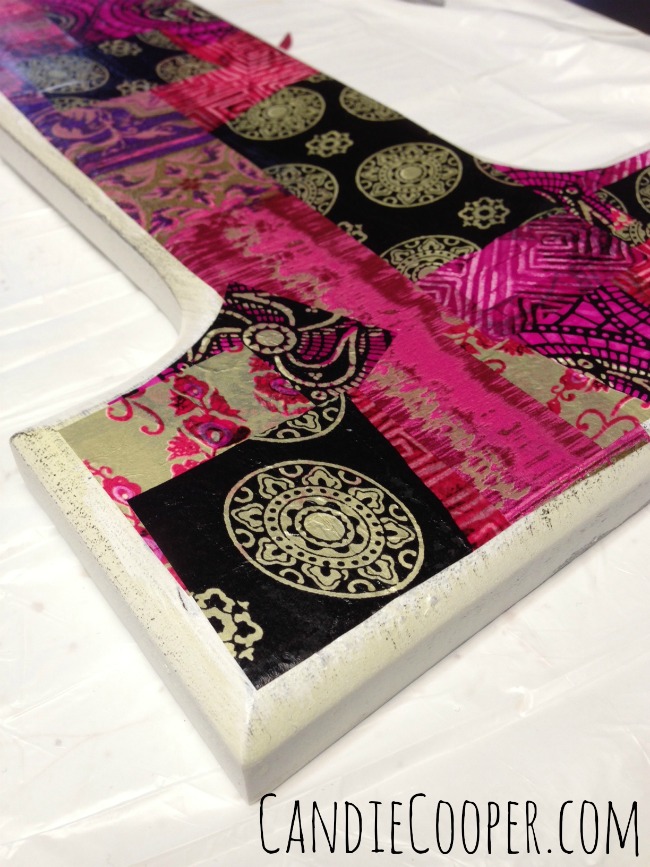 Once the decoupage glue was dry I decided to hit the edges with liquid gold leaf paint.
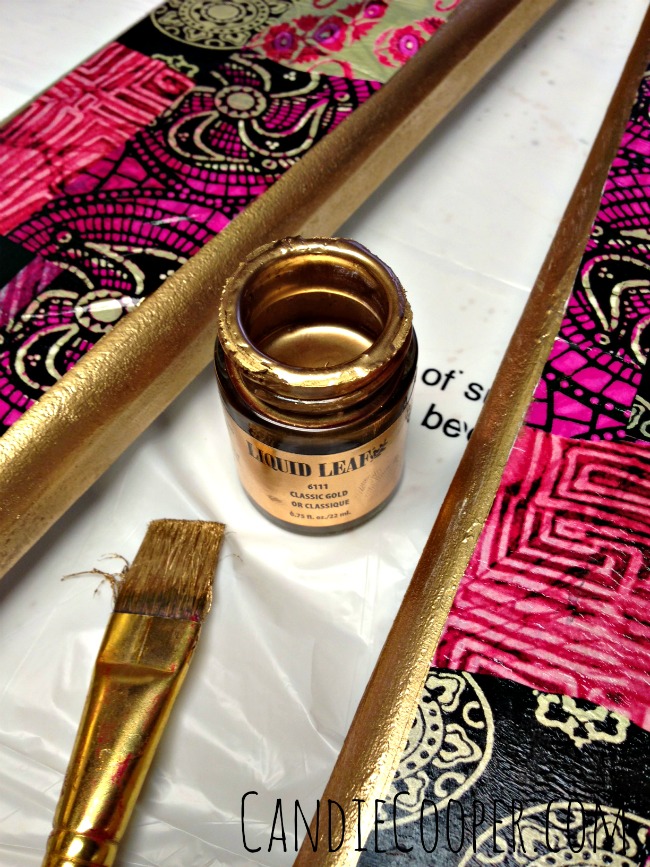 I love this paint. You’ll need mineral spirits to clean it up, but so worth it. This stuff brought out the gold in the papers and really framed up my M beautifully. It’s also a little potent on smell–so take good care. We don’t need any crafters high on liquid leaf paint.
 Look how smooooth!!
 I only used two papers because one set had tons of different patterns included on it. All in all this project took about an hour to complete. Saaanap!
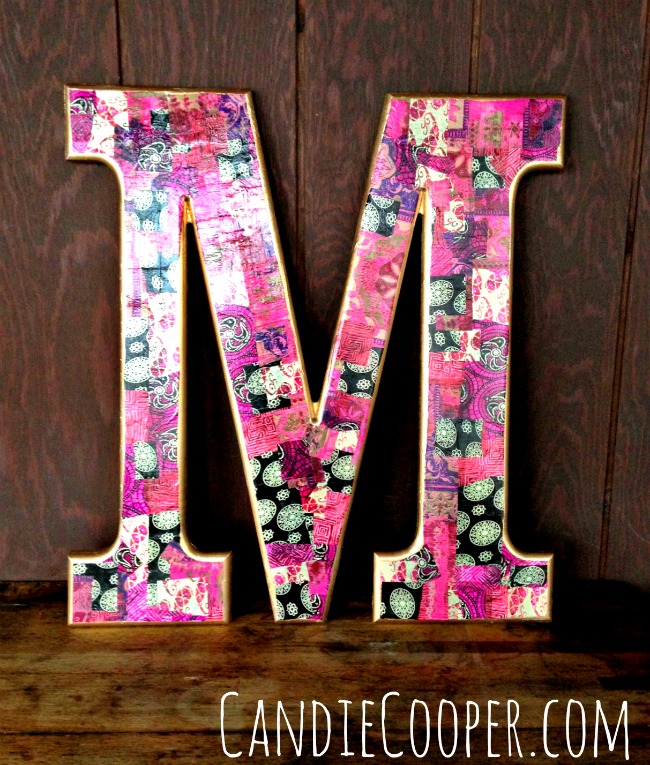 There she is! My decoupage glue was the gloss version so it made it a little tricky to photograph. Blinded by the decoupage light already.
 Pink and red are some of my favorite go-to colors.
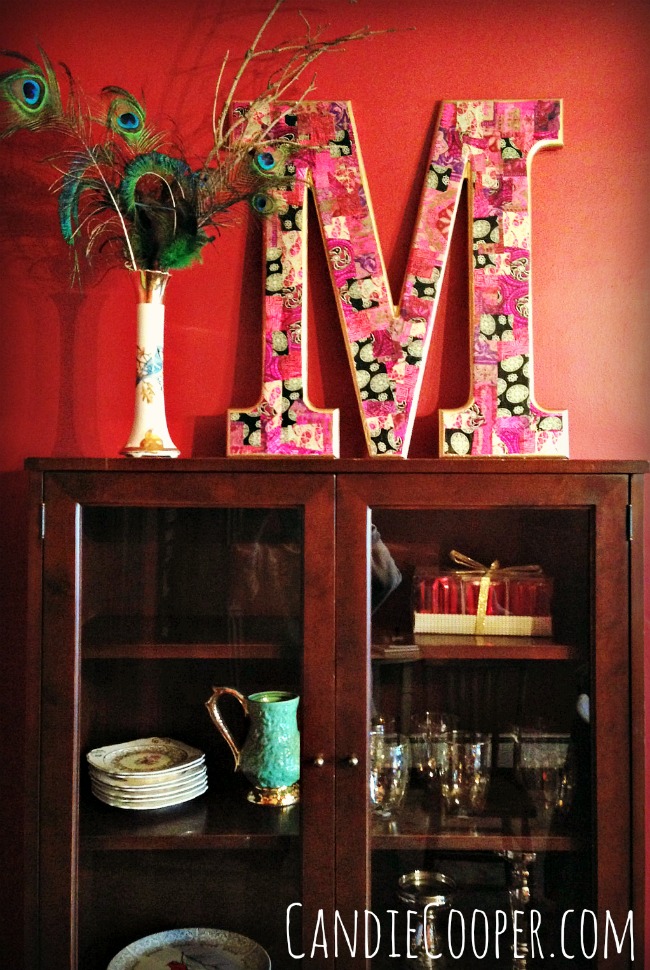
I’ve propped it on top of this little cabinet in our dining room. My main new year’s resolution for this year is to clear out clutter and keep beautifying our home.
Now I need to re-work the inside contents of the cabinet.
Brick by brick.
Candie

 Hi, I’m Candie. I design jewelry and crafts, author books, teach classes and host television programs. I thrive on simple ideas that anyone can achieve. I also love projects made from unexpected materials that stand the test of time. Join me as I lead a creative life!


