How to add a clasp to your jewelry project. There are many different ways to attache a clasp. The most common I find is to use crimp beads.

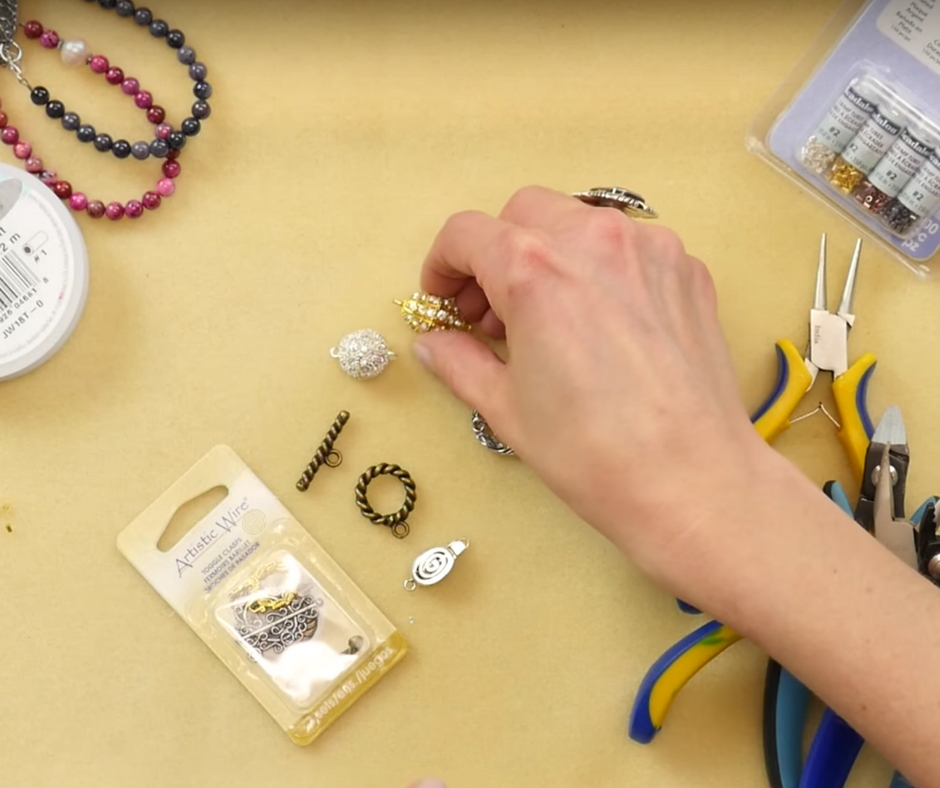
Types of Clasps:
When shopping at the store you will see many different options for clasps for your project. Some of the options you will find include magnetic clasps, toggle clasps, box clasp or lobster clasp. Really you are selecting something that fits the style of the piece and the functionality that you want to have.
No matter what clasp you pick you will secure it the same with with crimp beads or tubes.
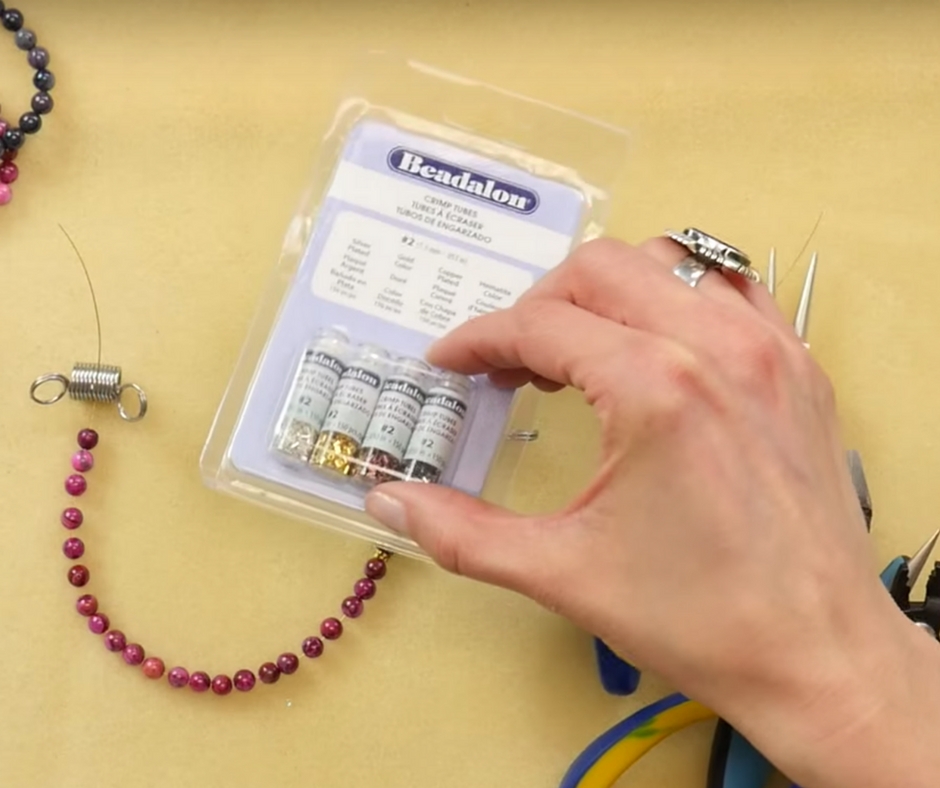
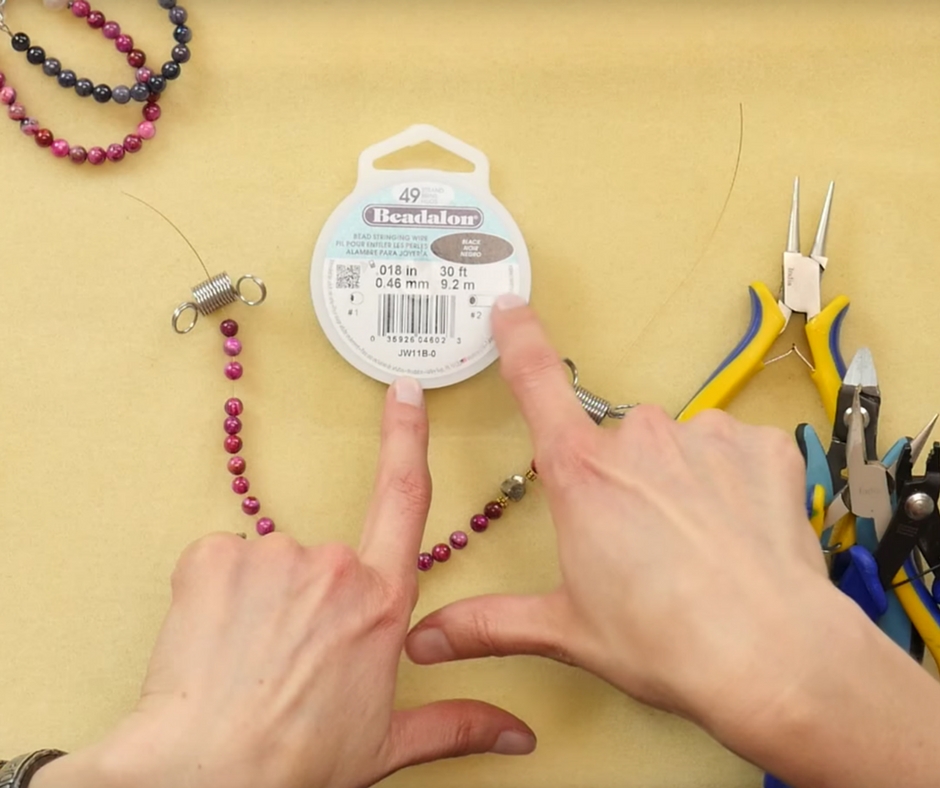
I like to use tubes and you can determine what tube size you will need by looking at the package on the stringing wire. You want to select the right size tube so that you can get your wire through twice but that it isn’t too big that it doesn’t stay in place.
How to Add A Clasp:
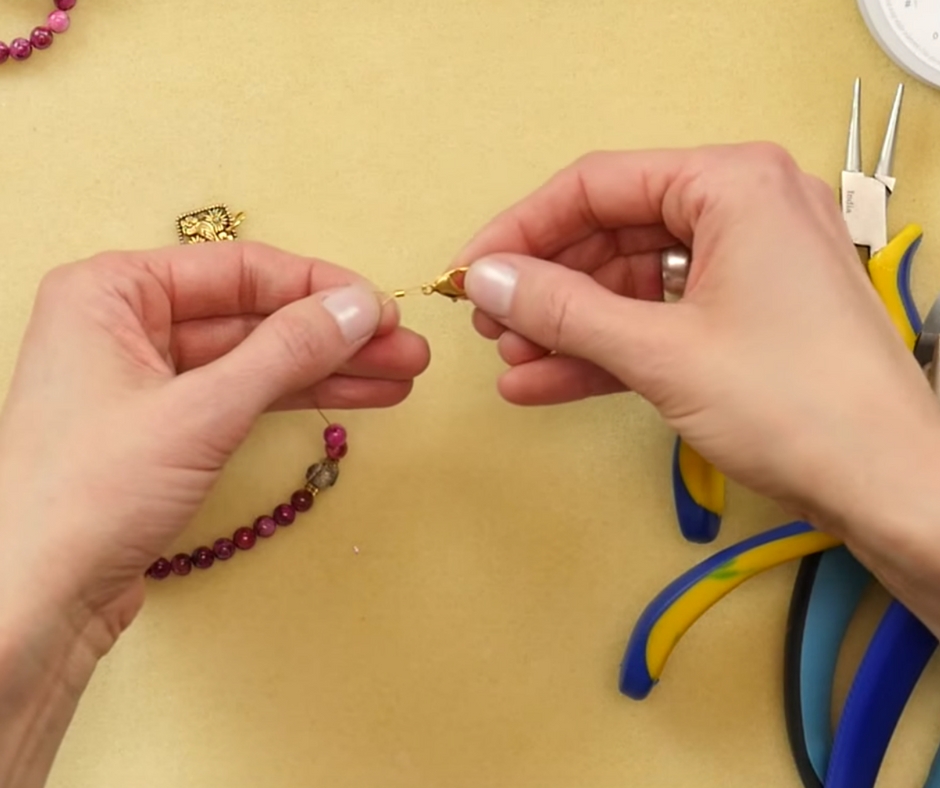
First you will string a crimp tube onto the beading wire and then string one end of your clasp. You will thread the wire back through the crimp tube and snug the crimp tube close to your clasp. Leave a little room so that the crimp tube doesn’t rub and that the clasp can move freely.
Watch the video to see in a JUMBO version how to use a crimp tube. The video will really help you to see exactly what we are doing with the crimping pliers.
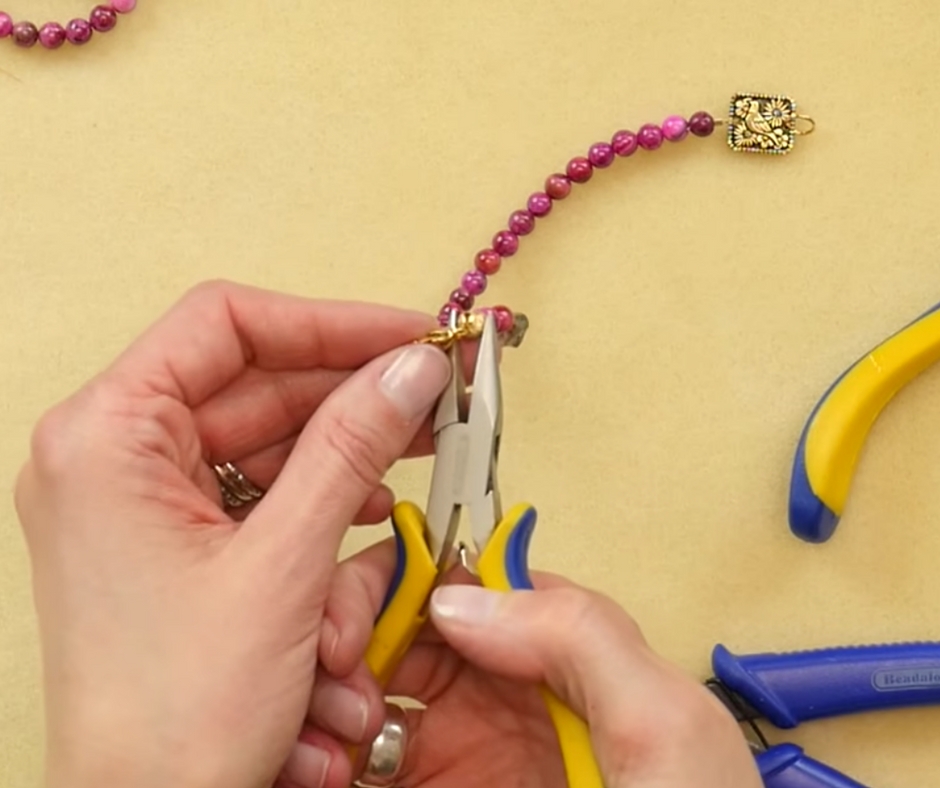
Looking at your crimping pliers you will see a ‘U’ shape (the one closest to the handle) and an eye shape. We will start by putting your tube in to the ‘U’ shape side. Try to get the two wires to separate and have one on each side. Then we will turn the tube 90 degrees and use the eye portion of the pliers to finish our crimp. After I use both parts of the pliers I will take the tip of the pliers to give an extra smash to make sure it is secure.
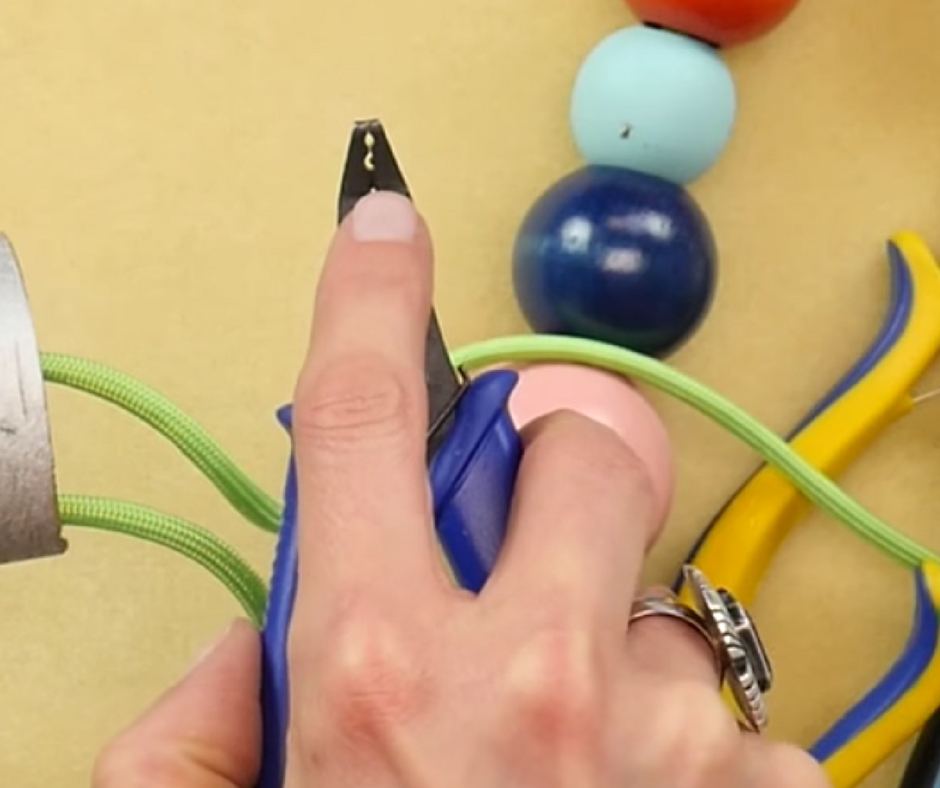
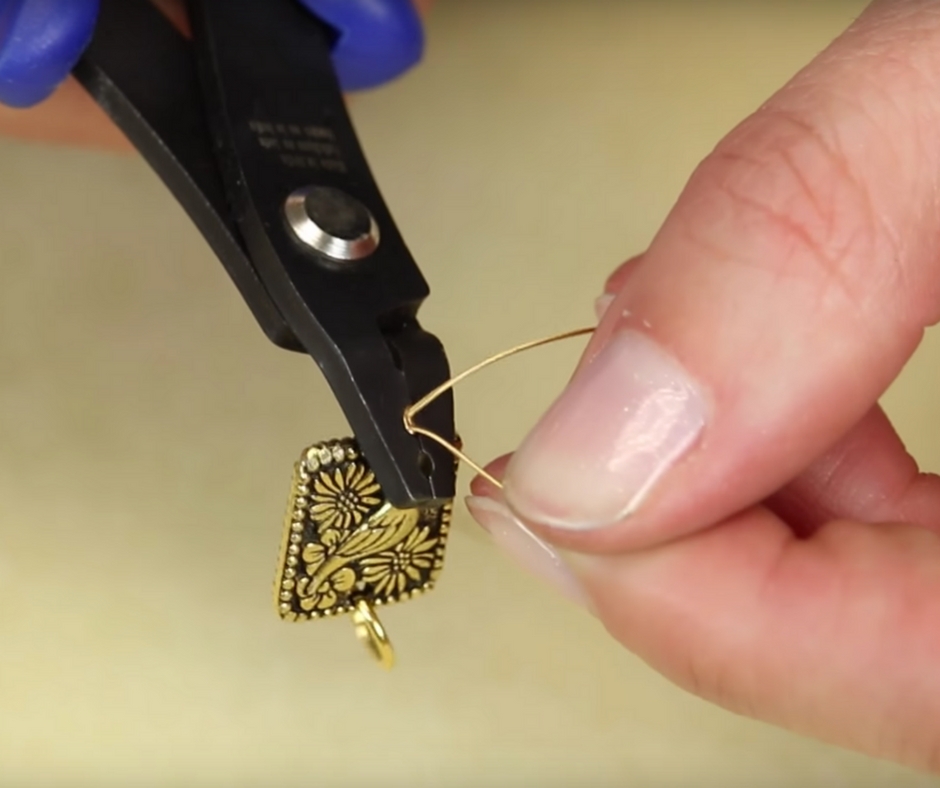
Once you have your crimp bead in place leave a short tail and clip the extra. Feed the tail through the beads. This will help to make sure that the wire does not slip out.
Repeat these steps on the other end of your bracelet using the other half of your clasp. When you snug up the second end be sure that you don’t pull it too tight or your bracelet won’t have any wiggle room to fit around your wrist.
What are Crimp Covers:
I often get asked what crimp covers are and how to use them. Crimp covers are a tool to help make your project look a little more finished off. They are a ‘C’ shaped beads that you put over your crimp tube. Using a chain norse pliers you will gently press the cover together so that it is secure over the crimp.
Crimp tubes do help to make your piece look more finished, especially if you are having a decorative clasp as the focal of the bracelet. They are not required for the crimp to work correctly.

 Hi, I’m Candie. I design jewelry and crafts, author books, teach classes and host television programs. I thrive on simple ideas that anyone can achieve. I also love projects made from unexpected materials that stand the test of time. Join me as I lead a creative life!


Share Your Thoughts