In the process of making your own jewelry sometimes you need to make your own components to get the exact look that you want. In this photo tutorial I will show you how to make your own ear wires for your next earring project.
There are many different ways that you can make your own ear wires. Today I will show you how to make them using a jig or using pliers to freehand them. Lets start with using a jig.
*This post has been sponsored by Beadalon.*
Earring Wires Made with a Jig:
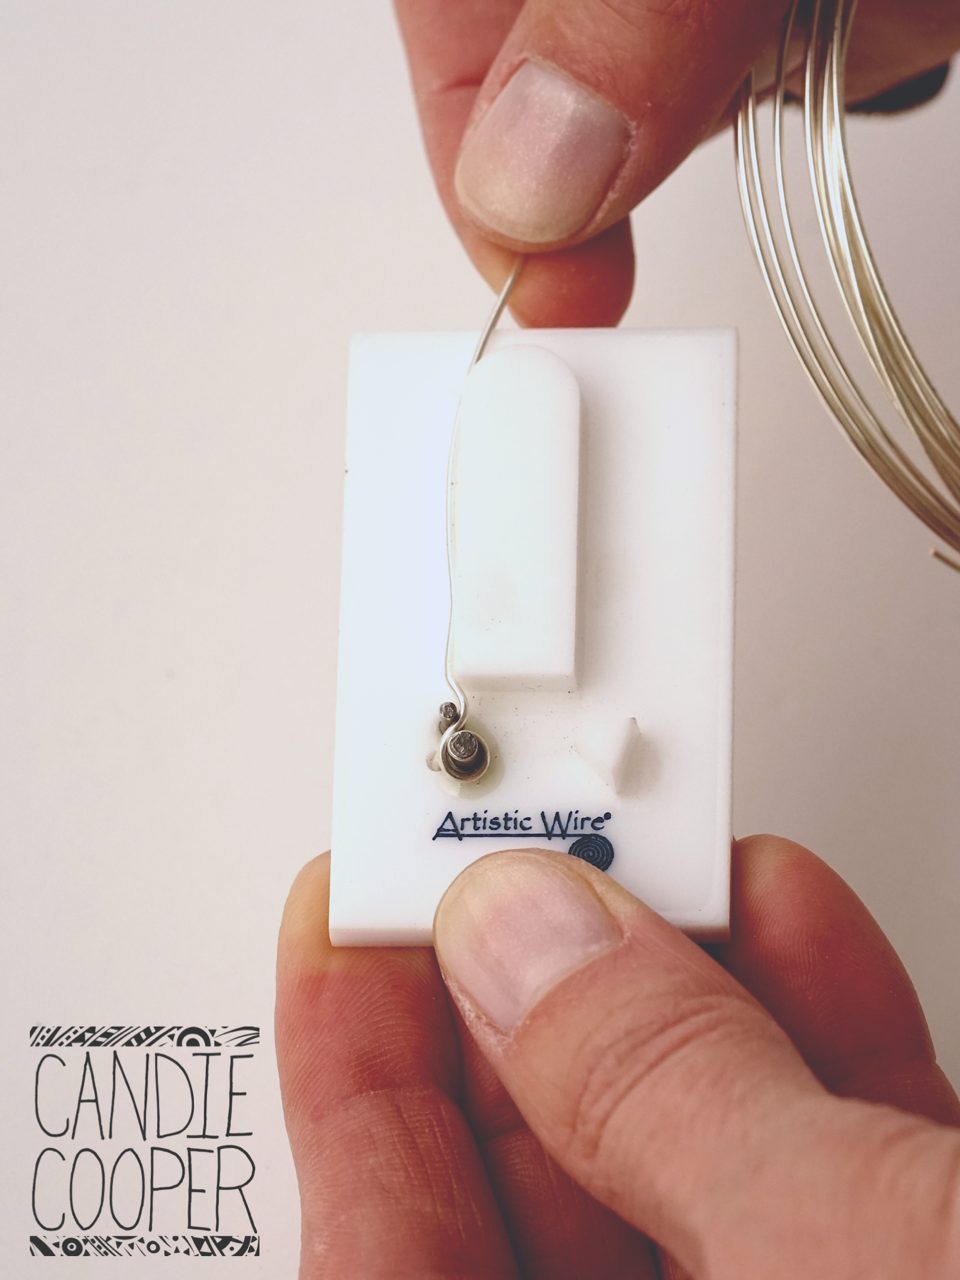
Beadalon offers a selection of Artistic Wire jigs to make different findings. Now you can find jigs for so many shapes that you can make pendants, clasps and earring findings. Today we will be using the Tall Ear Wire jig.
Earring Wires Made with a Jig Materials:
- Tall earring wire jig
- 20-24 gauge wire
- Chasing hammer
- Bench block
- Wire cutters
- Wire rounder (Beadalon has a manual version or a batter power version. You will need to match your wire gauge to the reamer that you need.)
Making Ear Wires with a Jig:
Each of the jigs comes with directions on how to use the particular jig that you purchased. This particular jig suggests using a wire that is between 20 and 24 gauge. Start by anchoring your wire to the jig. Then you will wrap the wire around the jig in the order that the directions tell you.
Once you have wrapped your ear wire you will then need to clip the rest of the wire off. Work hardening your ear wire is very important. This will help the ear wire keep its shape over time and while you wear it. To work harden your wire you will use your chasing hammer and lightly hammer it. By hammering the wire you are moving the molecules inside the wire which makes it ‘hard’ and not as likely to bed.

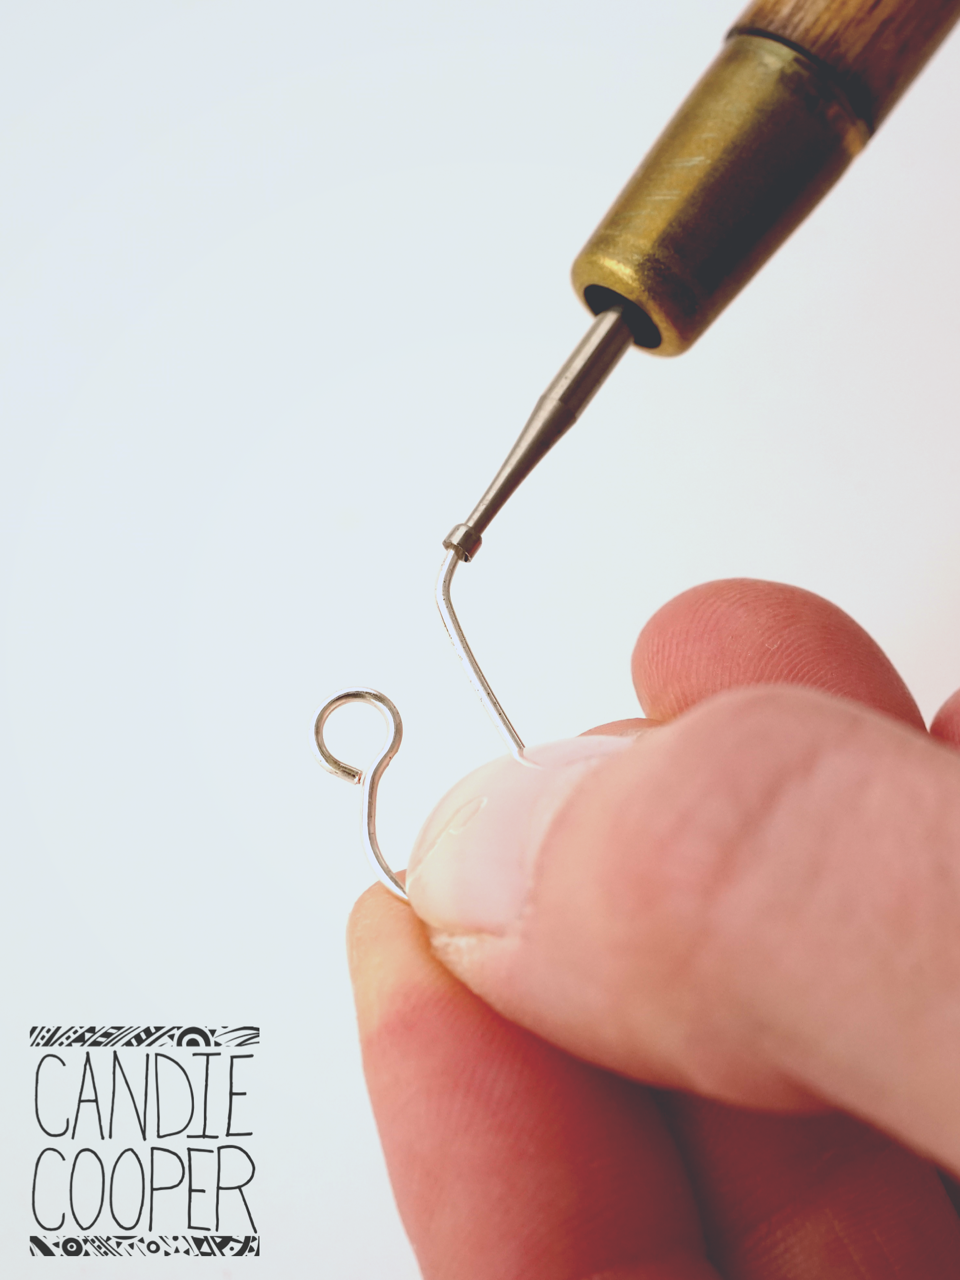
Before you can use your ear wires you should use a burr tool to smooth the end of the wire that will go through your ear. If you take a look at the end of the wire after you cut it to length you will notice that it is not a smooth edge. Image putting that through your ear, it wouldn’t be that comfortable.
Beadalon offers wire rounds in a manual version (in the photo below) and they offer a battery powered one. If you purchase the battery powered version you will need to get the correct attachment for it to work. Look for the gauge of the wire that you are using and select the tip that fits that wire.
With the manual version you will twist the wire rounder in your hand over the end that you would like to smooth out. The battery powered version runs on its own. This will allow the ear wire to be finished and be useable for your project.
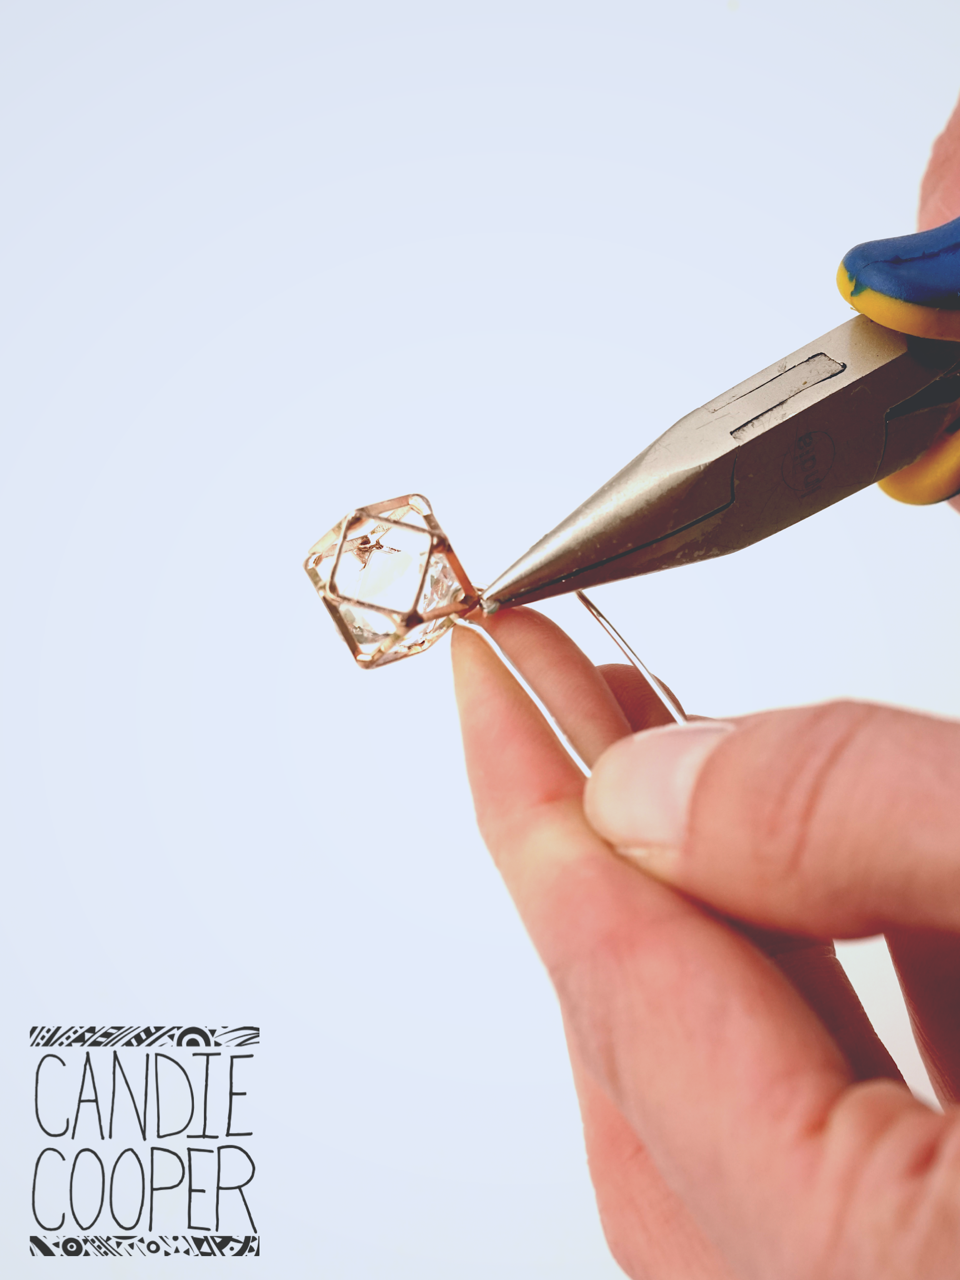
After finishing off the ear wire you are ready to attach your pendant. Using your chain nose pliers you will open the loop on your ear wire in the same way that you would open a jump ring. Be sure to twist the circle front to back to create a twist. Do NOT open the loop in the fashion of a letter ‘C’. Doing this will not allow the loop to close completely or keep its round shape.
Making an Ear Wire with a Plier:
Making ear wires with a jig is great when you want to make multiple pairs in a production line set up. If you are only making one pair at a time you can use pliers as well to get the look that you want. The one thing to remember about using pliers is that you need to remember where you are holding the wire in the jaws so that you can repeat the same thing on the second ear wire so that they match.
Earring Wires Made with a Jig Materials:
- 20-24 gauge wire
- Chasing hammer
- Bench block
- Wire cutters
- Wire rounder (Beadalon has a manual version or a batter power version. You will need to match your wire gauge to the reamer that you need.)
- Chain nose pliers
- Round nose pliers
- Bail making pliers
- Dowel Rod (size to match desired loop size)
Making Ear Wires with Pliers:
Using pliers to make your ear wires is very similar to using a jig. Instead of having a jig for your shaping you will use your pliers and your hands to get the shape that you want. I like to use a bail making plier along with a dowel rod to get the exact shape that I want.
Start off by using your round nose pliers to create the loop that you will use to attach your pendant/focal piece. I then use my bail making pliers to start to bend the curve that will sit in your ear.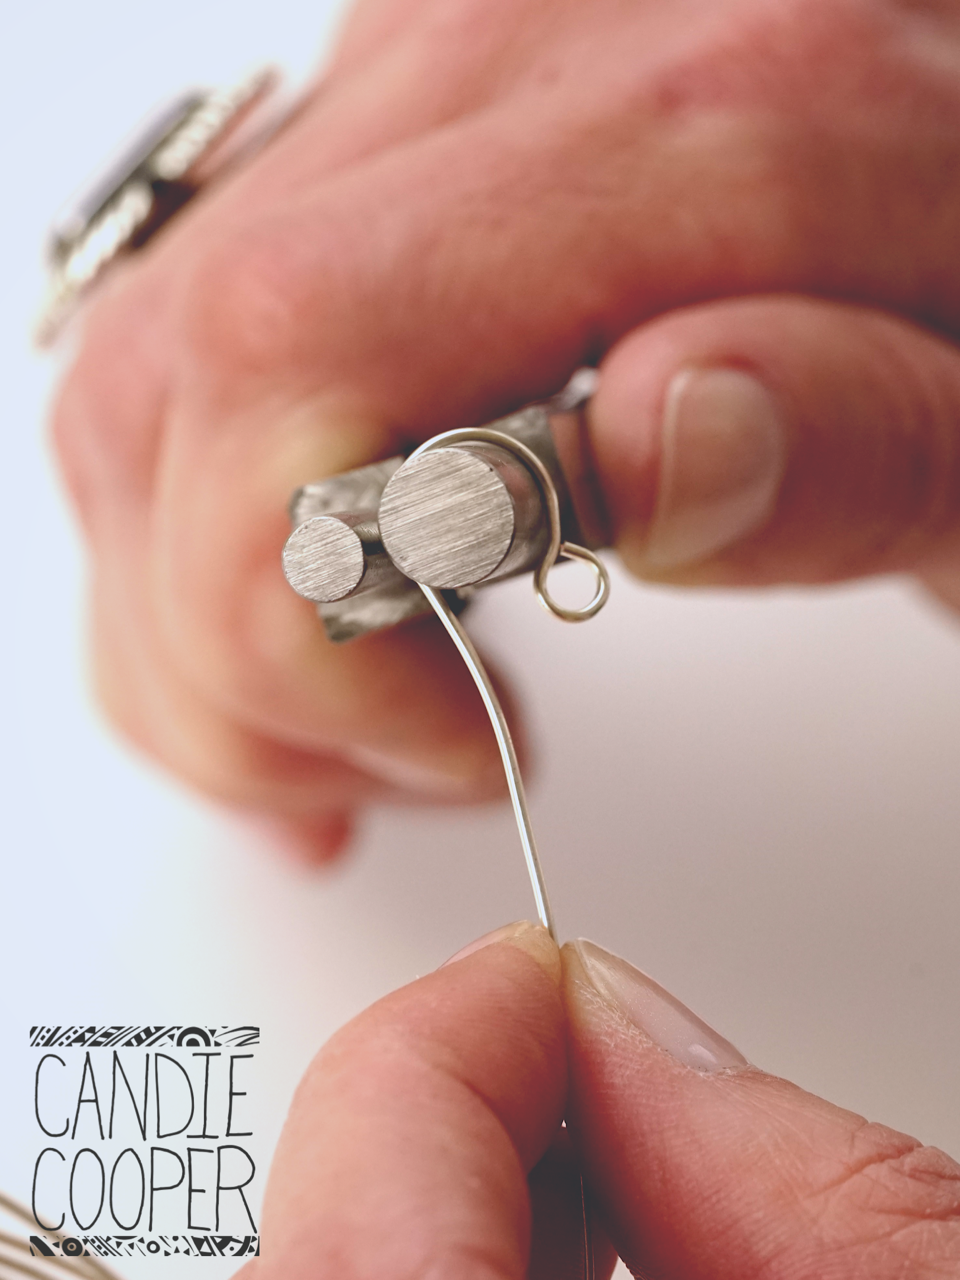
To help get the right shape I start to use a dowel rod in the diamerter that I want my loop to be. I bend the wire around this to get the exact shape. This is much easier than trying to use my hands to freeform my loop.

My chain nose pliers helps to finish off my earring form by bending a slight bend to keep the ear wire in your ear. You can also use rubber backings with the ear wires if you feel that is more secure.

Don’t forget that you should still use the wire rounder on these pieces too. The ends will still be rough as you are using your clippers to cut the wire. The wire rounder will make these a perfect pair to wear. Once you are finished you will then attach your pendant in the same manor as before. Be sure to twist open the loop to attach to keep the beautiful shape that you have made.
Want to watch how to make these ear wires…
Here is a video that I did for All Free Jewelry about making your own ear wires. Be sure to check it out for another view of how to make your own ear wires.

 Hi, I’m Candie. I design jewelry and crafts, author books, teach classes and host television programs. I thrive on simple ideas that anyone can achieve. I also love projects made from unexpected materials that stand the test of time. Join me as I lead a creative life!


This is such a must have tutorial in every jewelry makers world. Thanks Candie for always hookin’ us up!!!! And Beadalon for helping you, help us!!!! Love their products too! Win win!