Making Your Own Eye Pin for Jewelry:
When creating your jewelry there are times when you can’t find the eye pin that you need. In these cases I make my own, getting a custom size without extra waste. In this photo tutorial I will show you how to make an eye pin for jewelry.
*This post has been sponsored by Beadalon*
What is an Eye Pin:
For those of you who are new to jewelry making and aren’t sure what an eye pin is let me explain. When you connect beads to other beads or chain you can use wire to make your connection. There are two most common connections including the use of a headpin or an eye pin.
A headpin is used when something will be dangling with a connection on only one side. Typically headpins have a flat bottom so that the beads can’t fall off. There are many options for headpins with all different decorations at the bottom.
An eye pin, on the other hand, has a loop at the bottom. This loop allows you to connect it to something (like your chain), add your beads, and then add a loop at the other end to connect it to something else. Eye pins are used when you want to connect to things together.
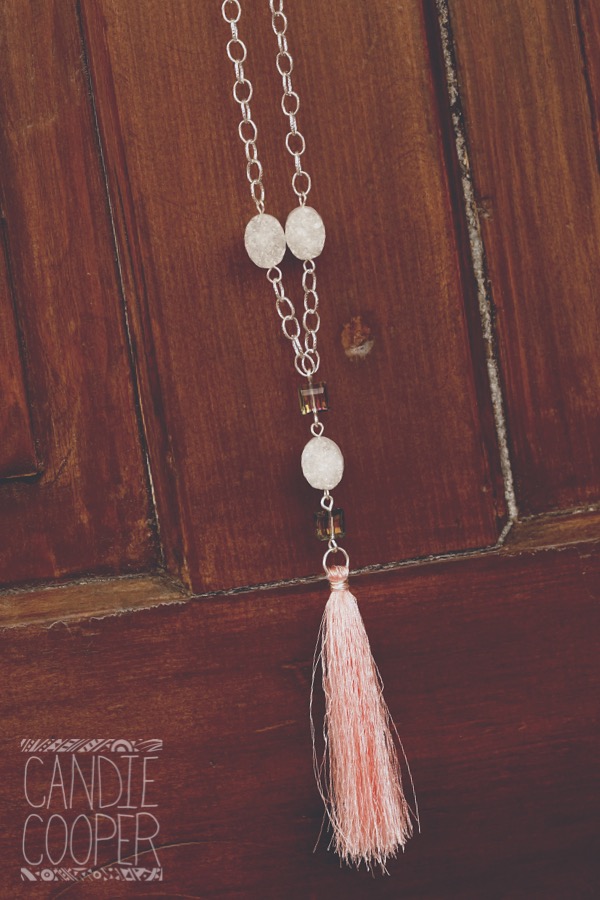
To demonstrate how to make your own eye pin I have designed this tassel necklace. Looking at the white oval beads and the square crystals you can see the eye pins that I made.
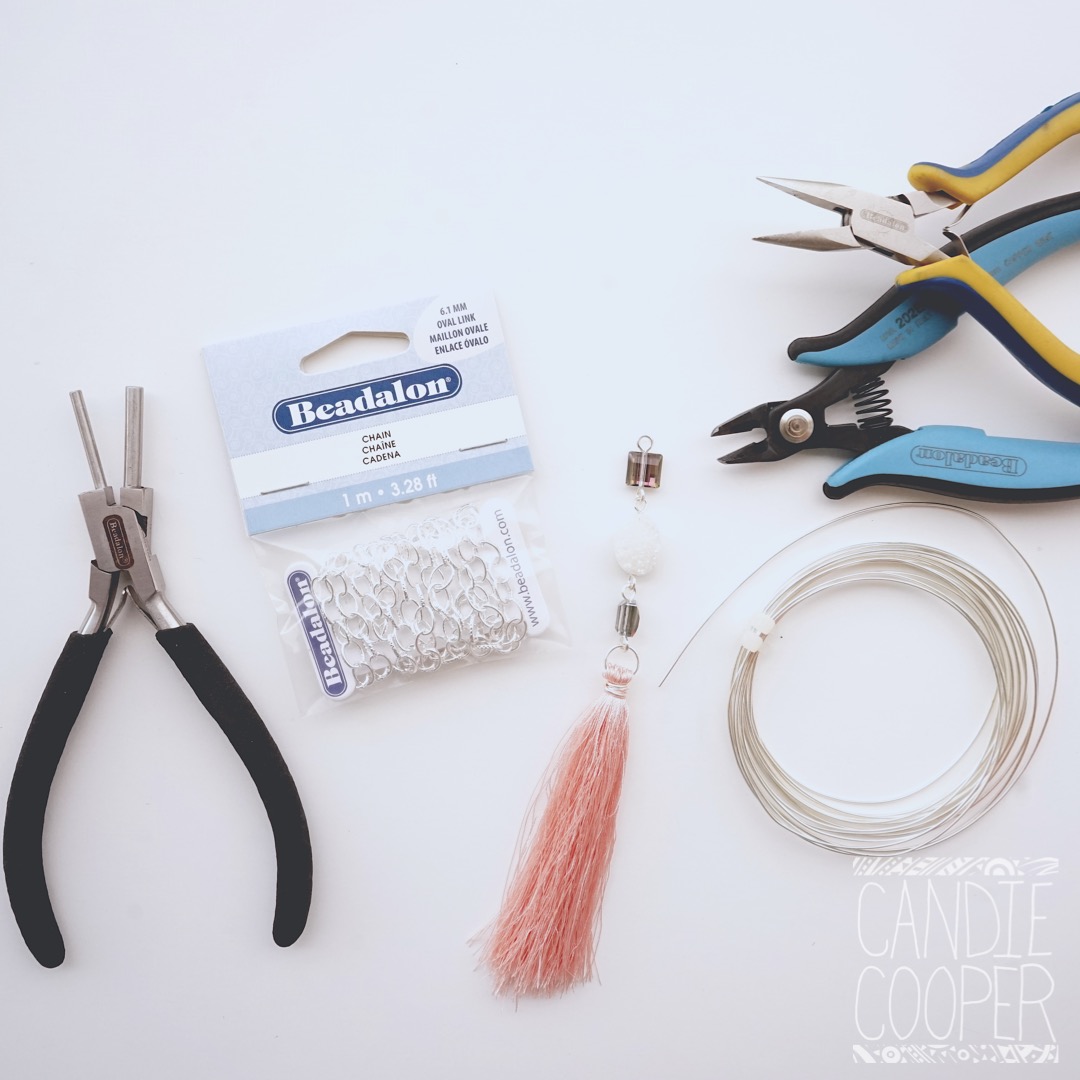
Supplies for Making Your Own Eye Pin for Jewelry:
- Bail Making Pliers (small or large depending on the size of your bead and loop needed)
- Wire Cutters
- Chain Nose Plier
- Wire (in a color to match your design and thickness to fit the bead hole you are using)
- Chain and other components to attach
 Start by cutting a length of wire that will be longer than your bead by about two inches. The extra room on the wire will be what you use to make your loops on both end to connect it to your chain or pendant.
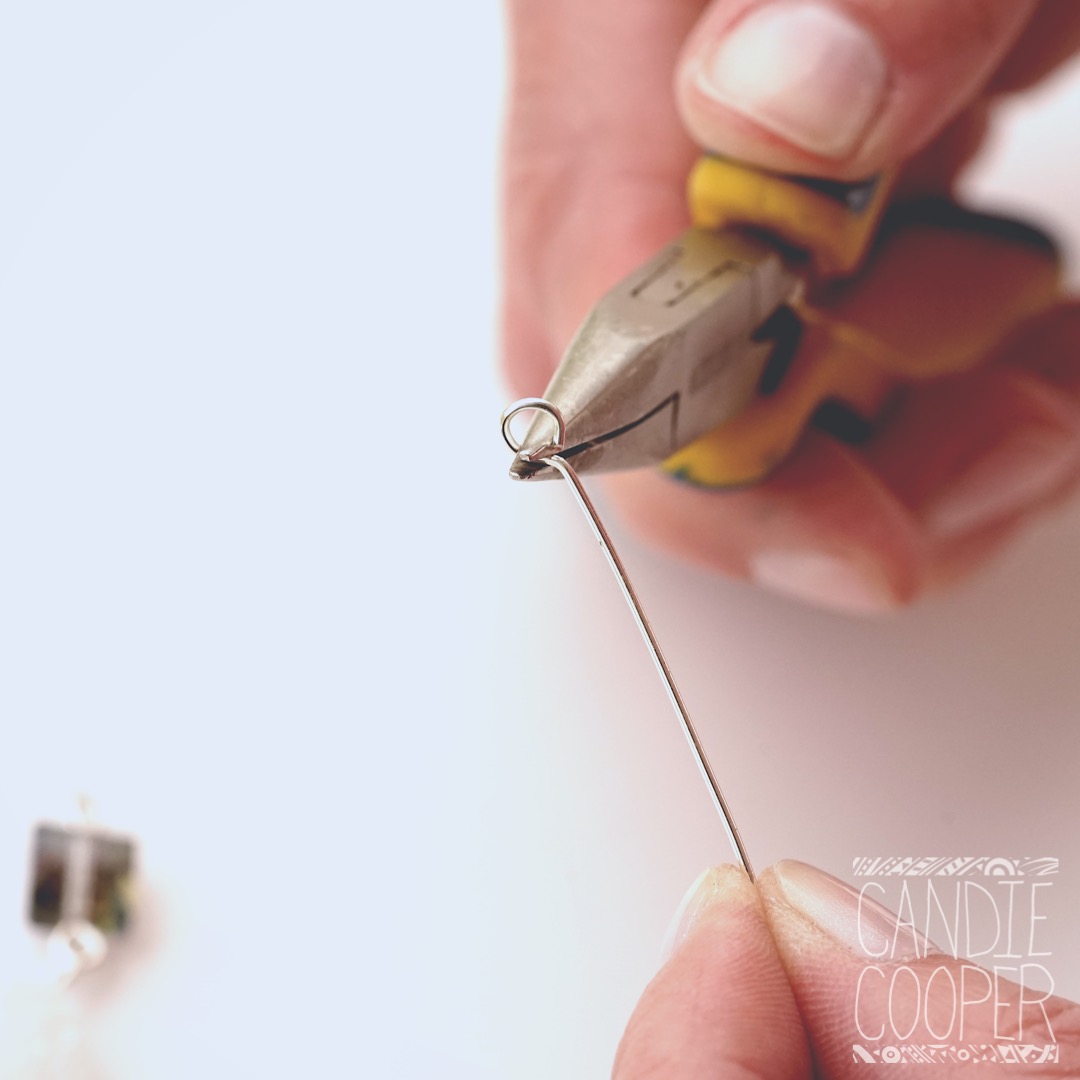
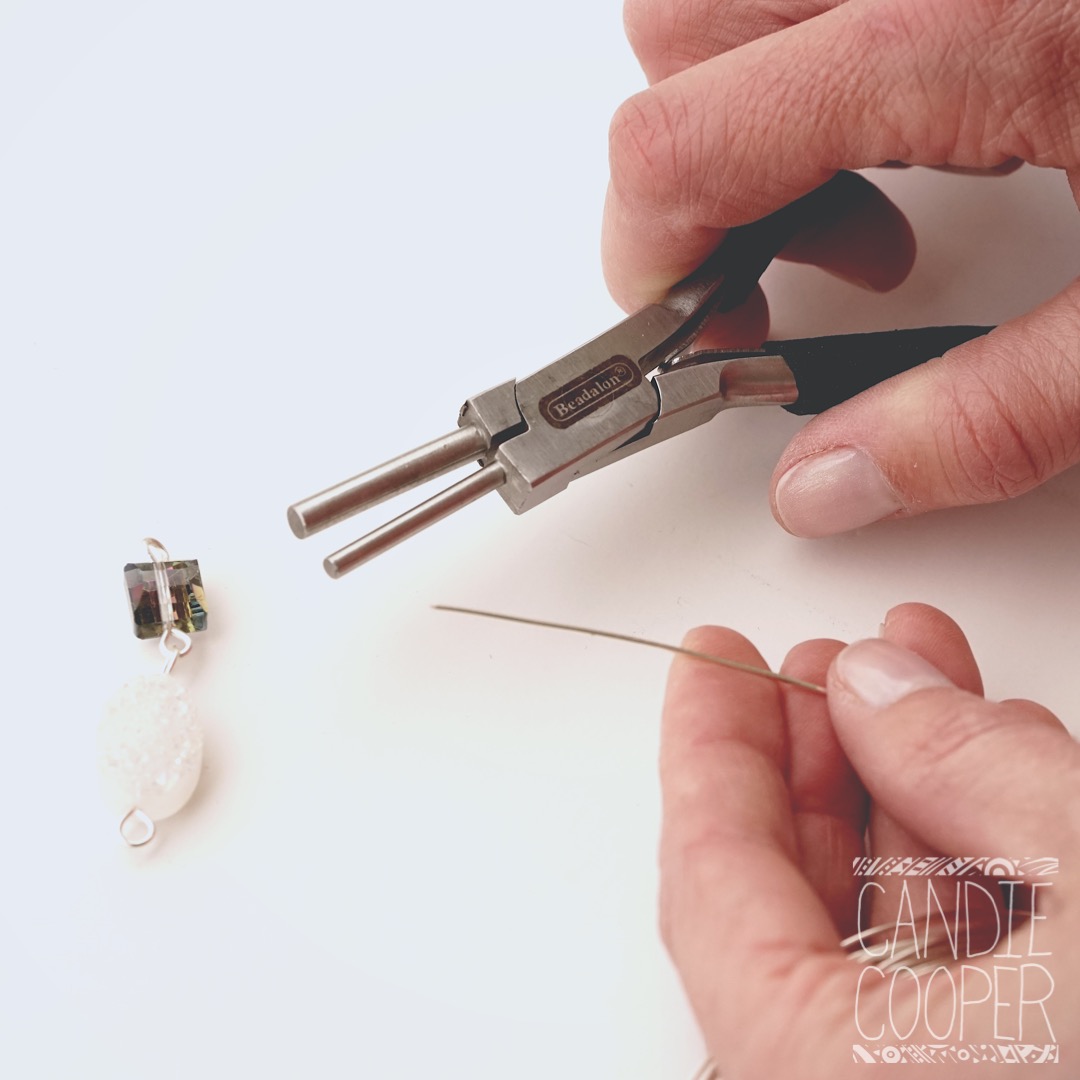 Roll one end of the wire with your bail making pliers to form a loop. You can use either side of your pilers to make this loop. Select the side based on how big you want the finished loop to be. This loop is the bottom of you connector, this will be where you connect the next item that you make.
 When you roll the wire it is okay if the loop looks like a ‘P’ vs. sitting square on the top of the wire. We can fix that.
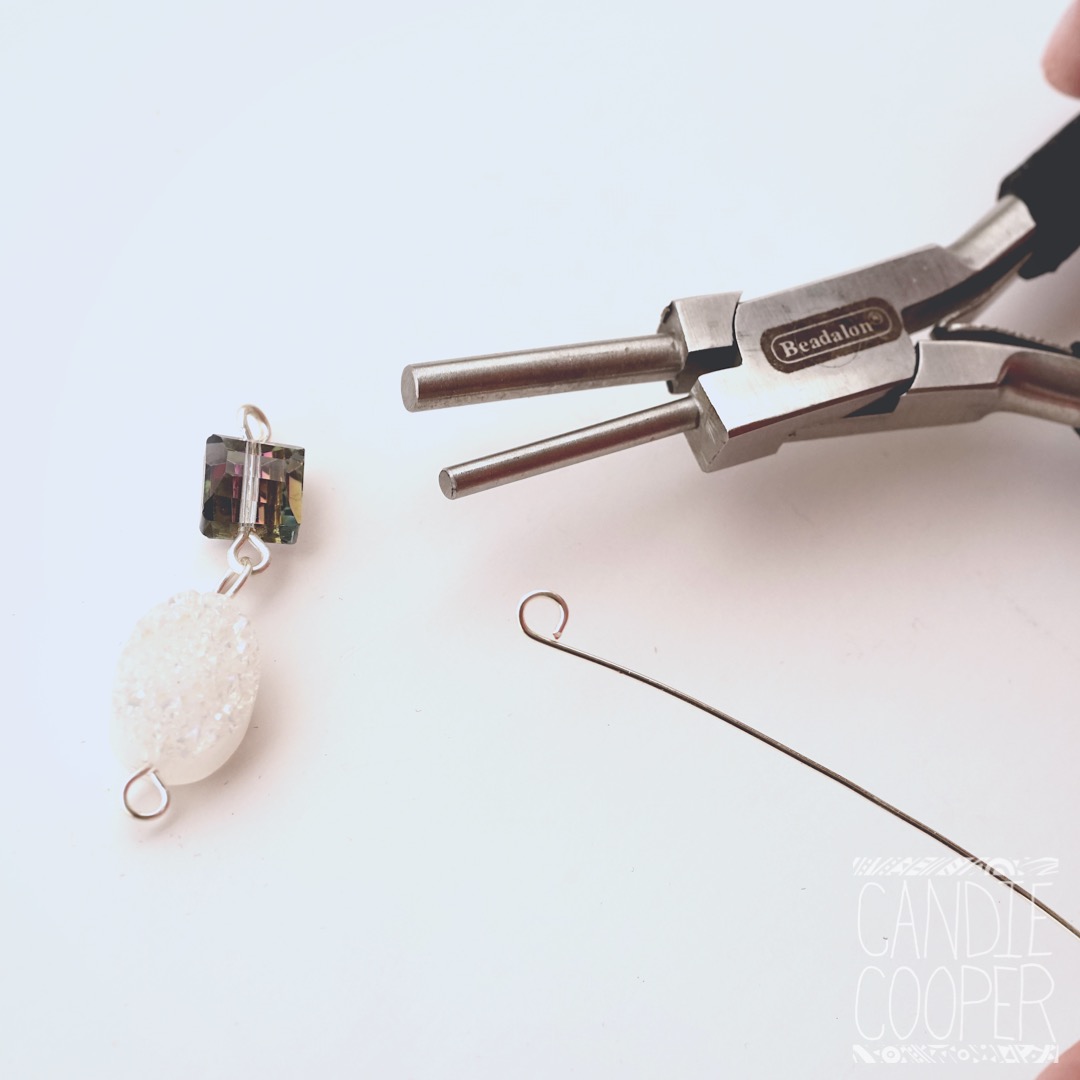 Using your chain nose pliers straighten out the loop. This allows it to sit square on the top of the wire giving a more professional look when the project is finished.
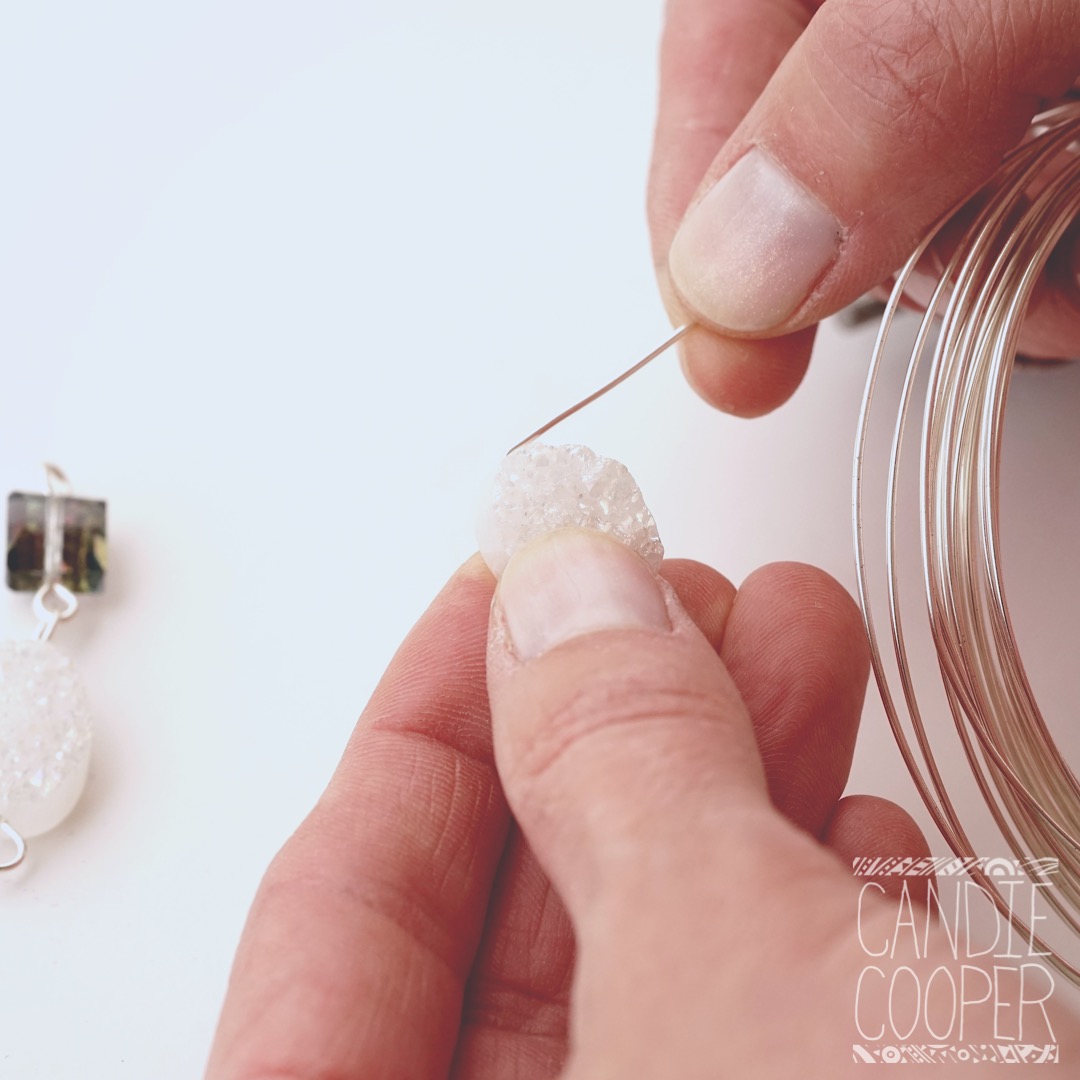
 After that you will string you bead. Looking at my photo here you can see that you have two options for doing this. You can pre cut your wire or you can string your bead first, then bring it down to the loop you just created. By working in this manor you will waste less wire since you will only be cutting it after you measure it.
At this point you will also make a 90 degree bend in the wire to start your other loop.
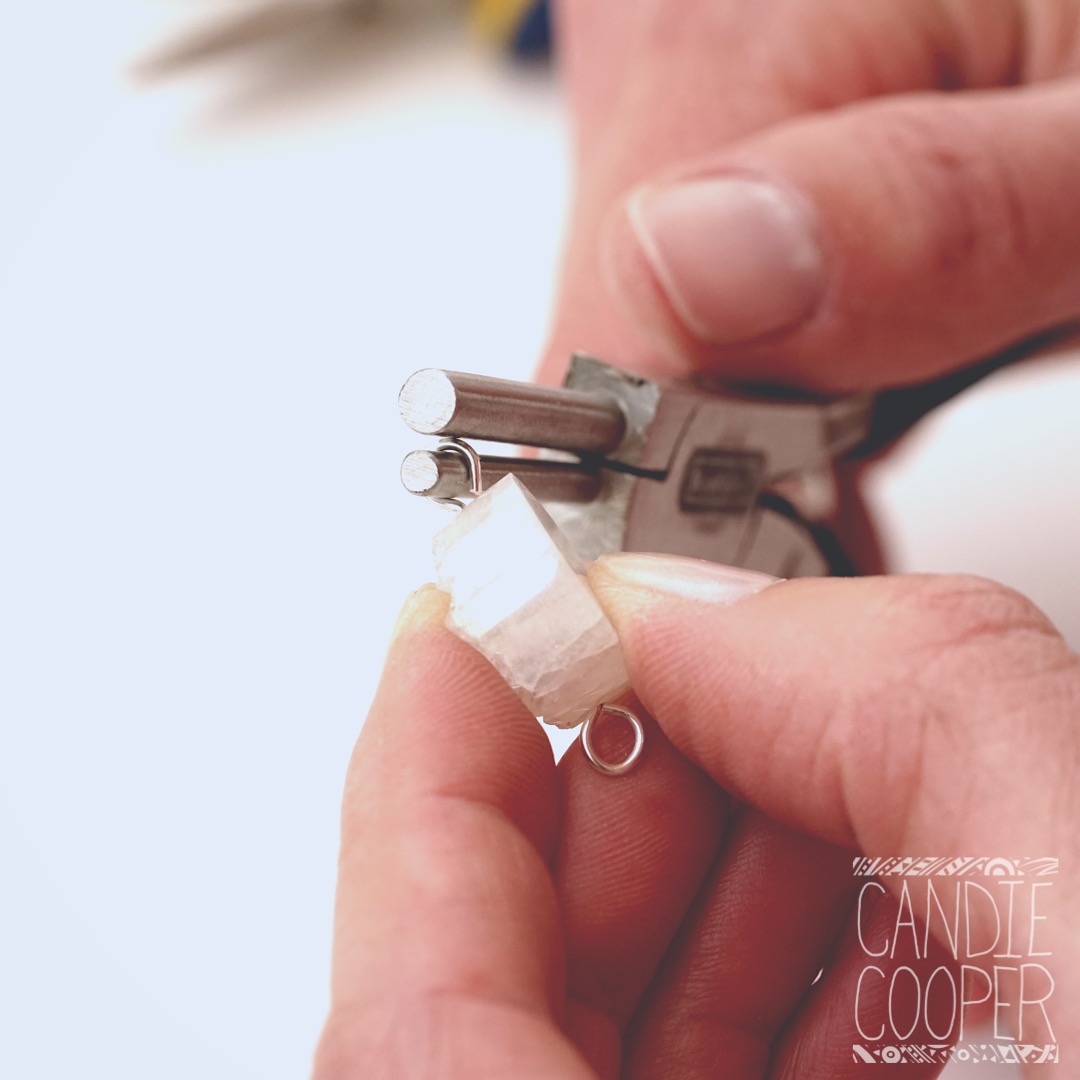
 Using the the same side of your bail making plier as you did in the previous step you will roll the end of the wire to make the second loop. I find it easier to start at the end of the wire and roll it towards myself. This gives me the best leverage. Try working a loop a few times and see what works best for you.
 If you loop does not touch the other side of the wire perfectly it is okay. Keep working the wire with your bail making plier or your chain noes plier until you can snug it up to your bead stack.
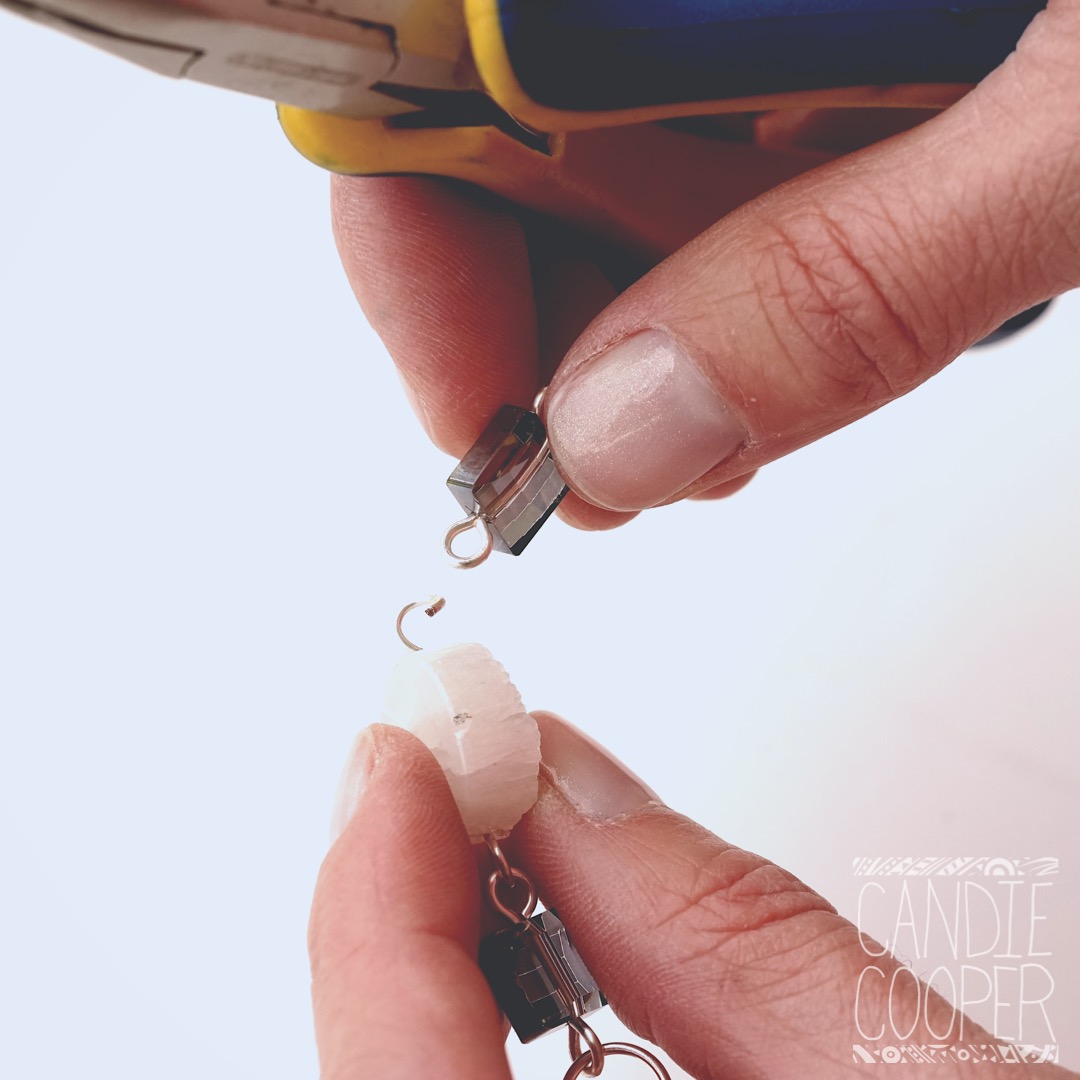
 You have now completed both sides of your eye pin and are ready to connect your bead to your chain. As always twist the loop from side to side, do not try to open it like a ‘C’. If you pry it open vs. twisting it you will lose the nice shape you just worked so hard to achieve.
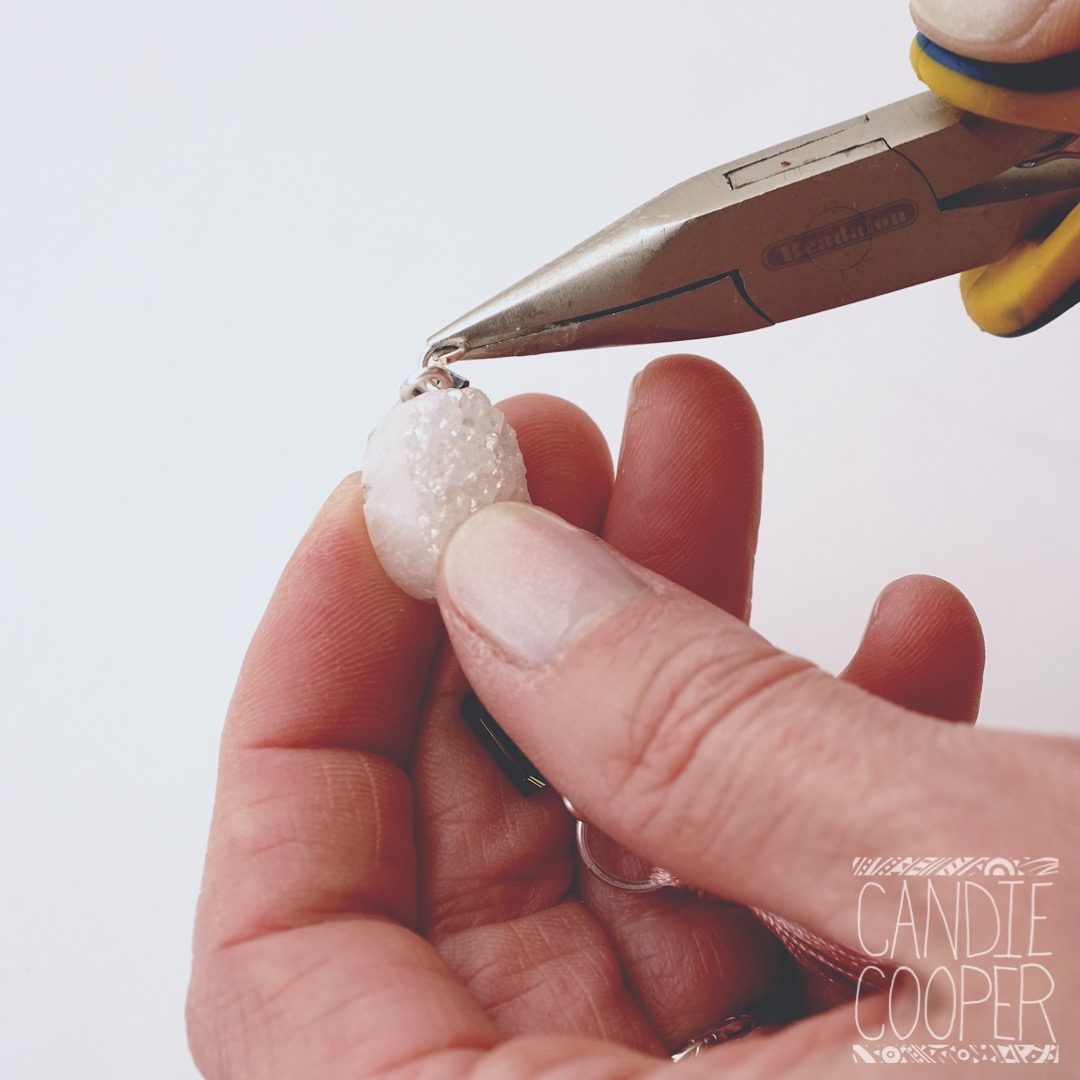 Once you have twisted open your loop you are ready to add your chain or other eye pins that you have made together. You could make a whole chain of beaded eye pins if you wanted to!
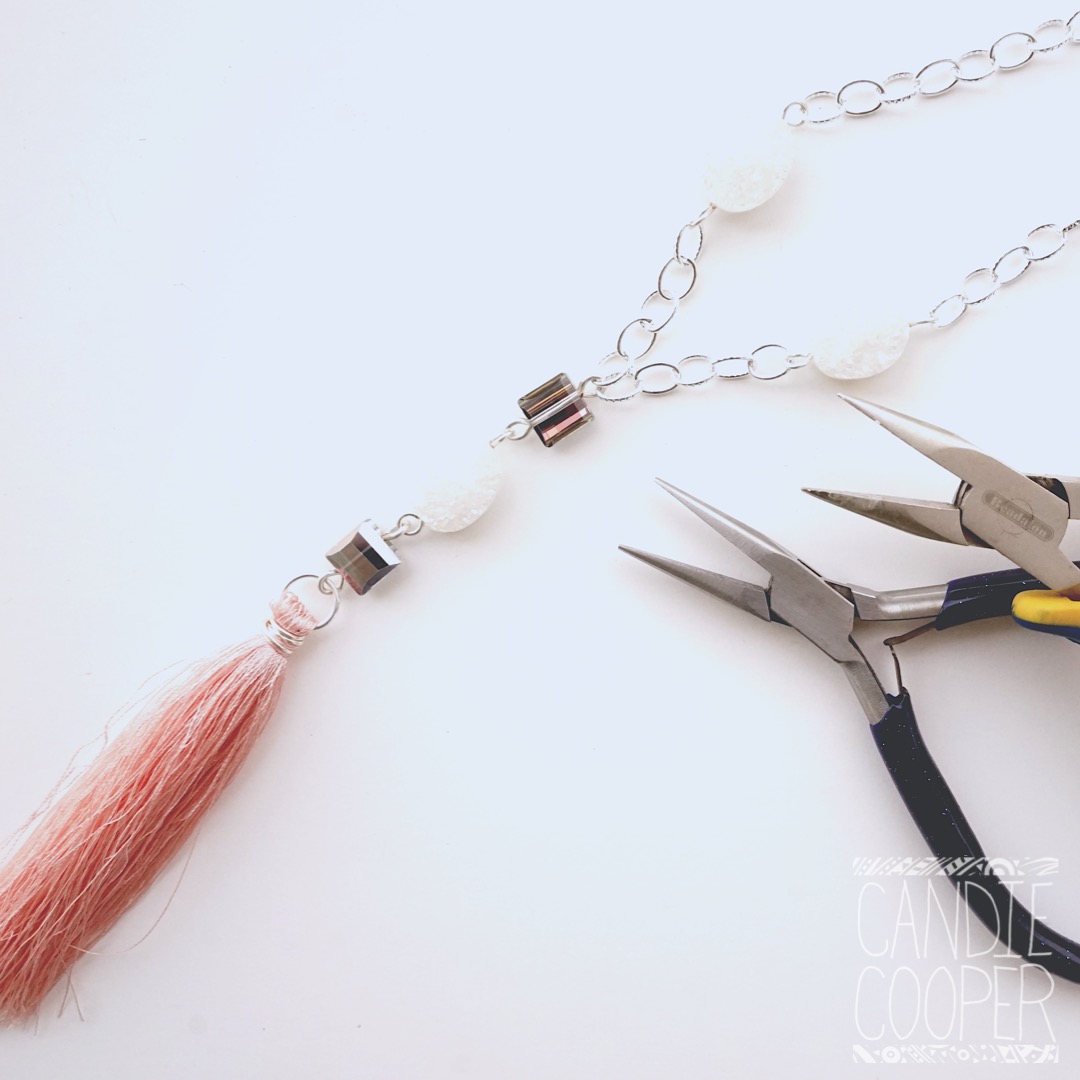
 After all of your components are joined you will have a beautiful finished project with your own eye pins.
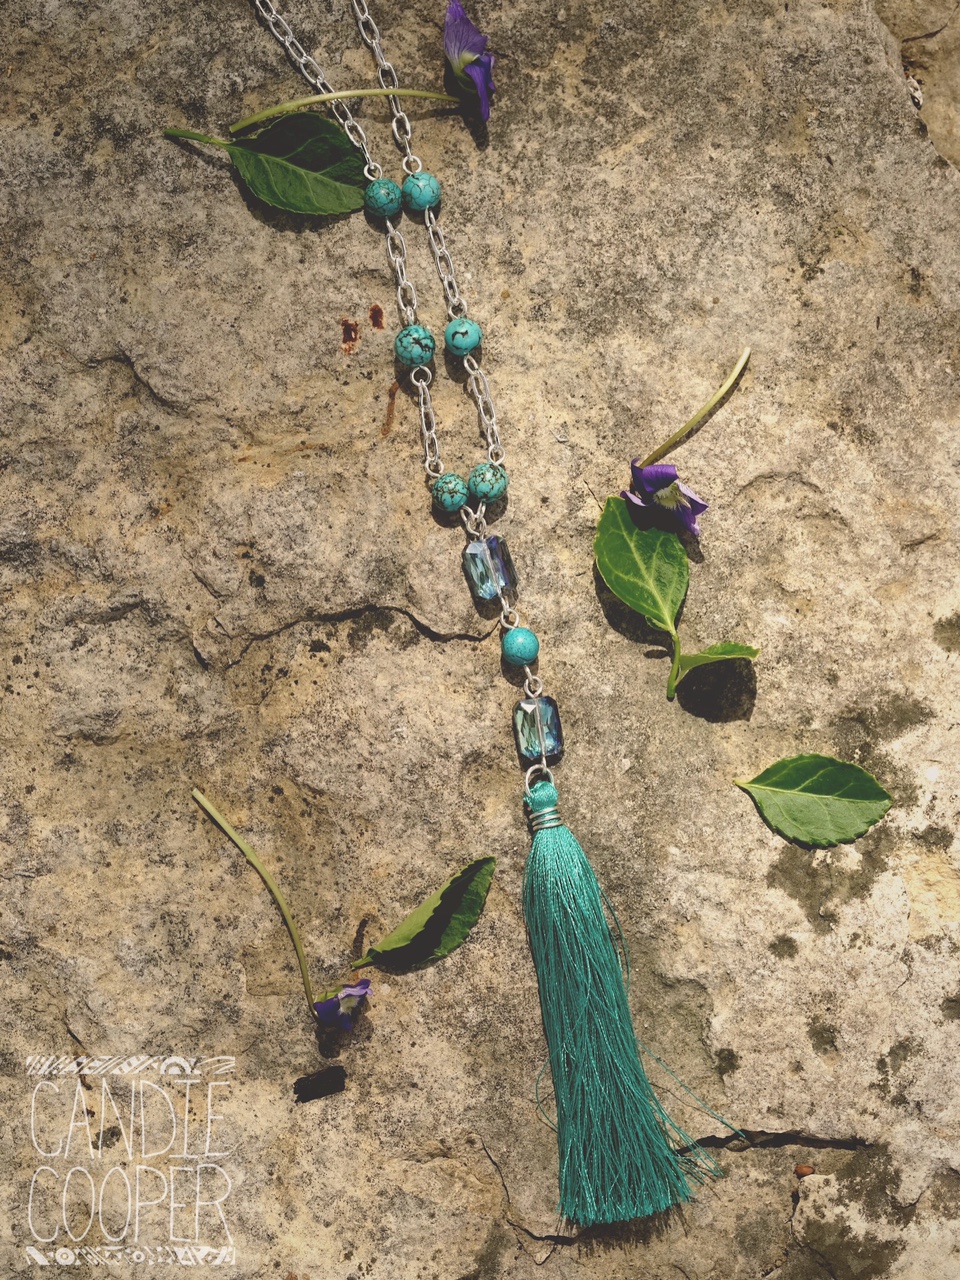
 Now that you know how to make eye pins for jewelry the possibilities are endless for what you can connect together. Never again will you feel the pressure of running out of head pins, you can always make your own.
Head over to the Candie Cooper Facebook page and post pictures of what you design with your eye pins. We would love to be inspired!
 Hi, I’m Candie. I design jewelry and crafts, author books, teach classes and host television programs. I thrive on simple ideas that anyone can achieve. I also love projects made from unexpected materials that stand the test of time. Join me as I lead a creative life!


Share Your Thoughts