Here is a quick project to show you the ins and outs of using a jump ring.
This post is brought to you by Beadalon–thanks Beadalon for sponsoring my blog posts and supporting my love of DIY jewelry.
One of the very first things I show people how to do when making jewelry is how to open and close a jump ring. It’s such a simple act and you can make so many things by knowing this technique for making connections in DIY jewelry. That’s how I made this sweet moth necklace.
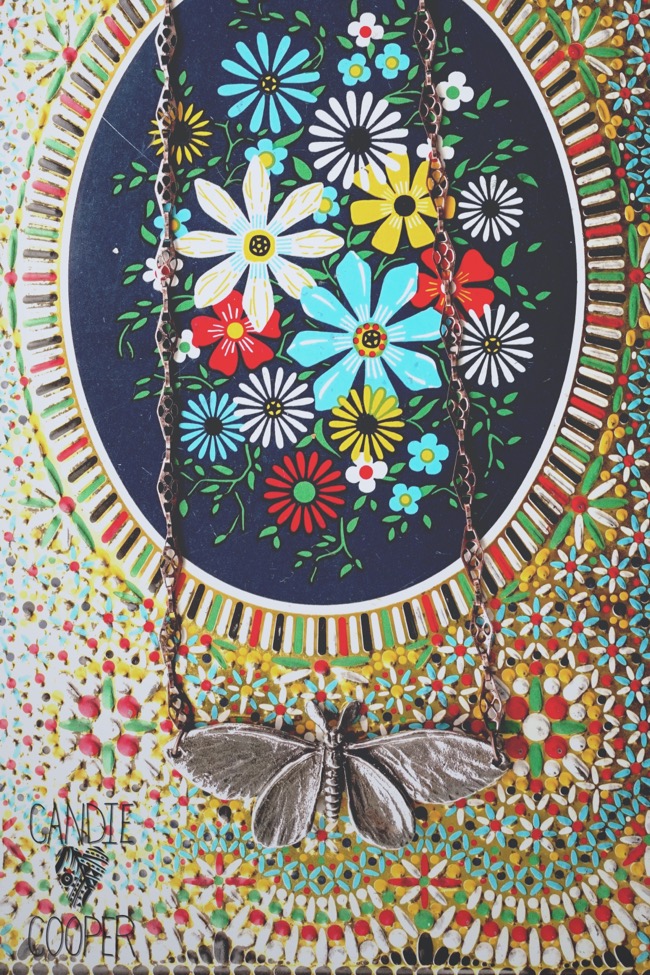 The jump rings at the tip of the wings connect the moth to the chain. In about 5 minutes, you can have yourself an over the head layering necklace (and a really good time). Check out the tutorial and video at the end of this post for details on opening and closing a jump ring.
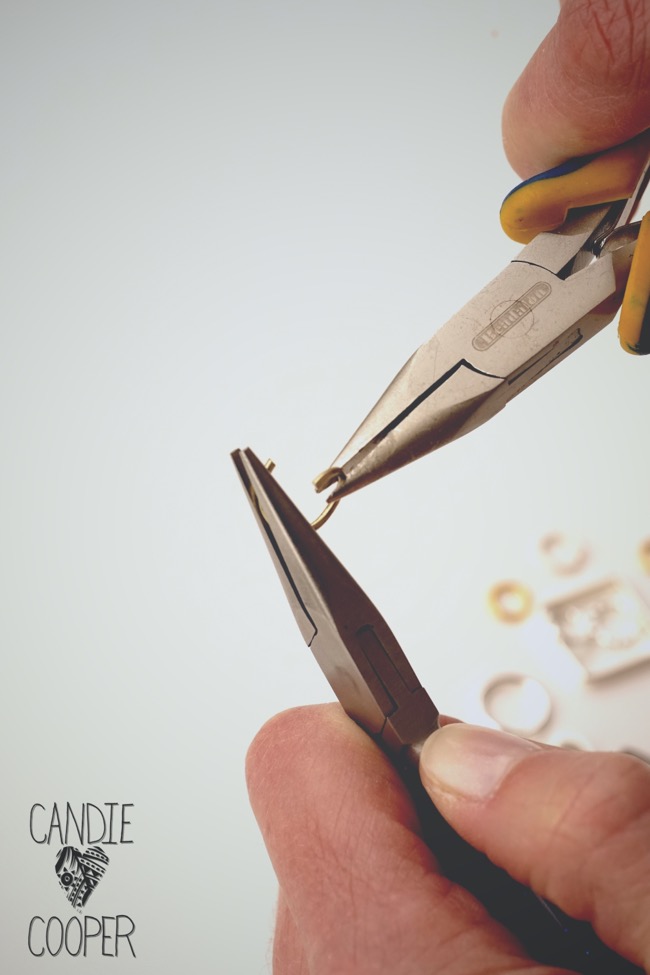 It’s helpful to use two pairs of chain nose pliers (see materials list at the end of this post) when opening and closing rings. Some people like to use a bent chain nose pliers to help hold their jump ring as well. Beadalon also has a super helpful jump ring tool to make opening jump rings much easier. You will still use your pliers to close the ring when you are finished.
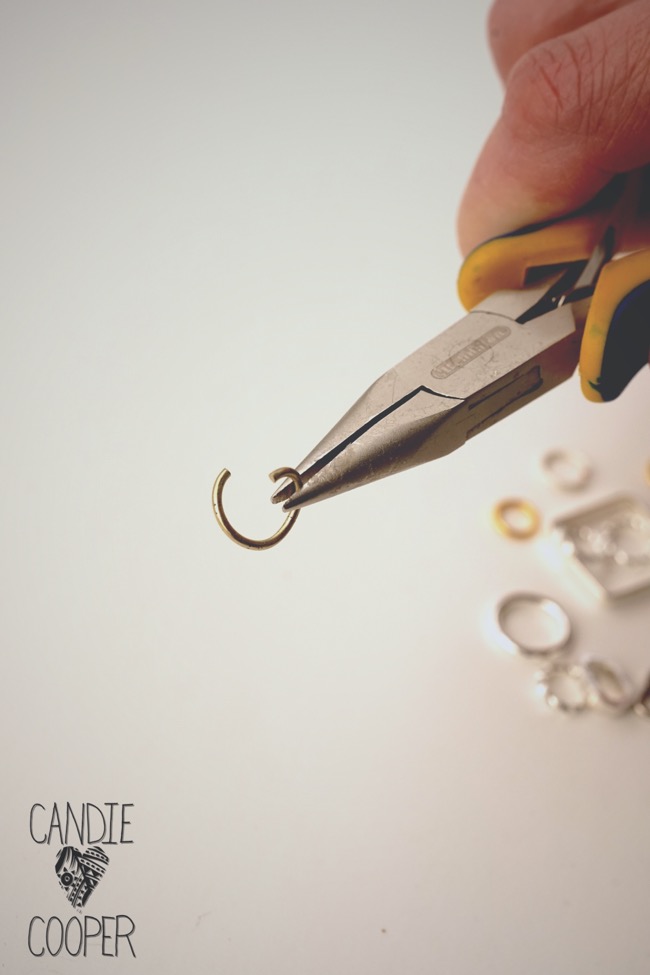
Place the ring’s opening at “12 o’clock” and twist the ring open with the two pairs of pliers. Don’t open it so the ring looks like a “C” because it’s super hard to get the ring to go back into a perfect circle after this.
 Connect your clasp, chain, moth, etc… and twist the jump ring closed.
This is a super quick project with beautiful results. You can use any pendant that has two holes as the top to complete this project, let your imagination take over.
Supply List:
Beadalon Ergo Pliers
Beadalon Jump Rings
Jesse James Bead’s Moth Pendant
 Hi, I’m Candie. I design jewelry and crafts, author books, teach classes and host television programs. I thrive on simple ideas that anyone can achieve. I also love projects made from unexpected materials that stand the test of time. Join me as I lead a creative life!


Good tut!