This post is brought to you by Beadalon.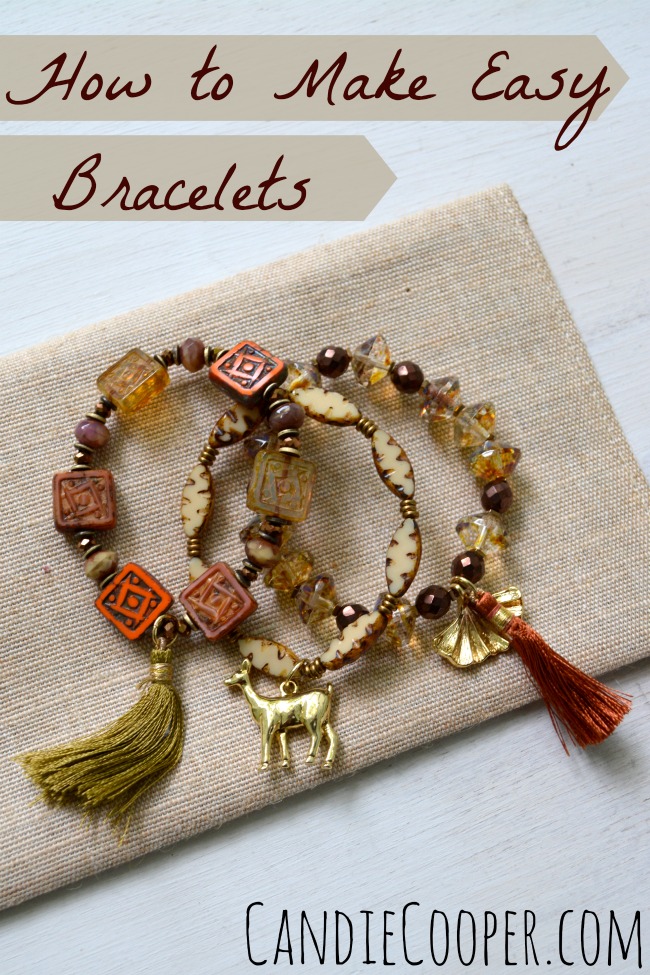 Looking to add a little spice to your fall wardrobe? These DIY statement bracelets will do the trick and they only take about ten minutes each to make.
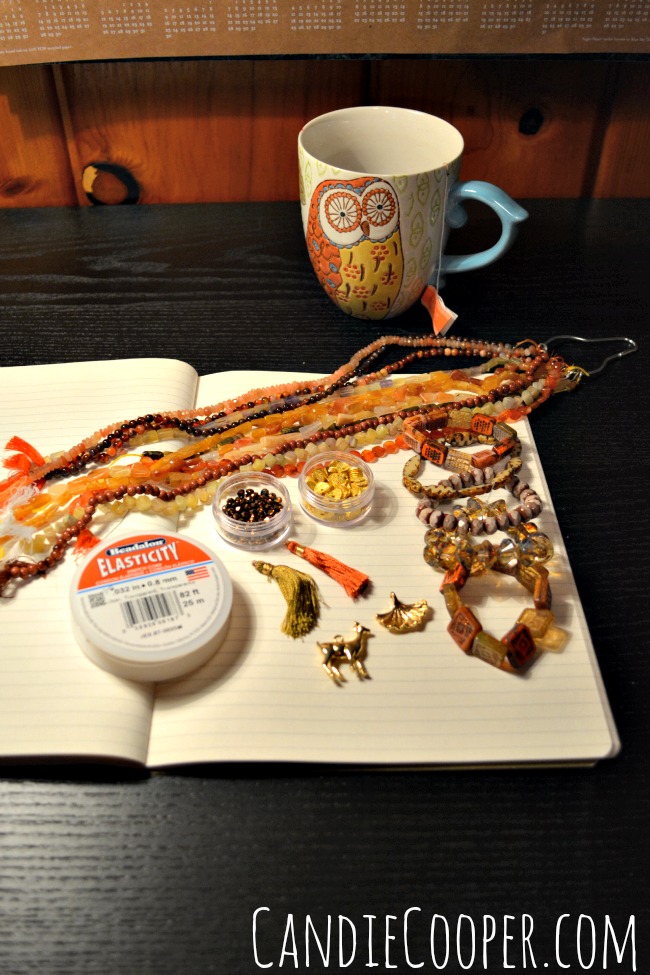 Welcome back to my work table up here in my studio nest. Admittedly, it’s gotten a little more cluttered because I moved more stuff up from the back porch. It takes me awhile to figure out where I want things, plus I’d rather be making than cleaning. Anyone with me?
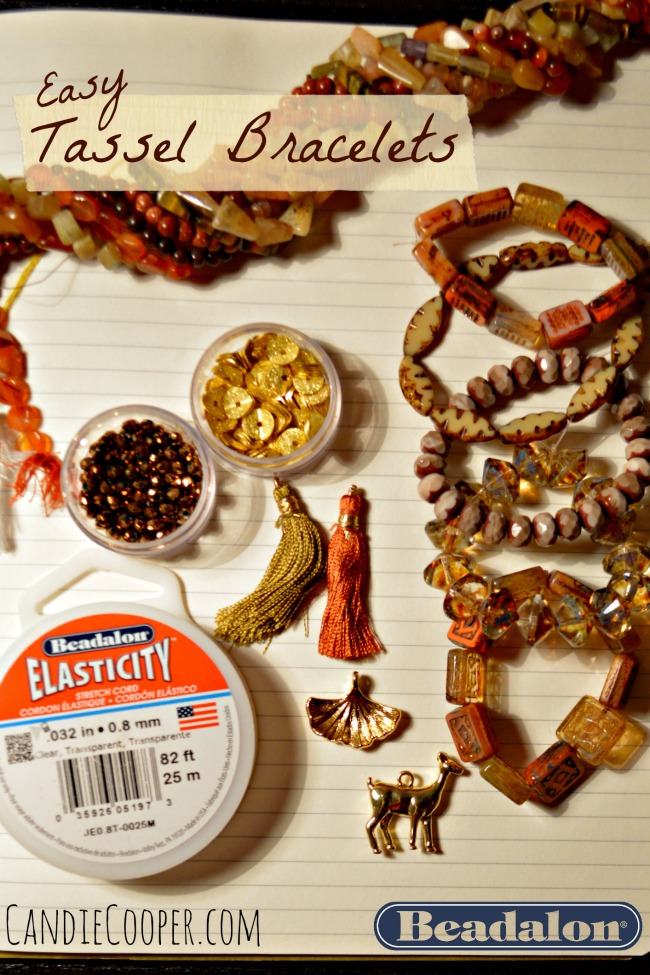 So the other day I rode along with my husband to a fun little town where he had to meet some clients. I worked at a coffee shop for the first couple hours, then we explored during lunch time. Guess what we stumbled upon? A bead shop, closing, everything 50% off. It was bittersweet. I hate seeing a cute shop closing like this, but the lady was happily retiring so I guess it was bittersweet for her too. She had a great collection of Czech glass that I loaded up on and that’s what I used to make these bracelets.
You will also need some Beadalon Elasticity, perhaps some sweet charms and tassels, and metal spacer beads.
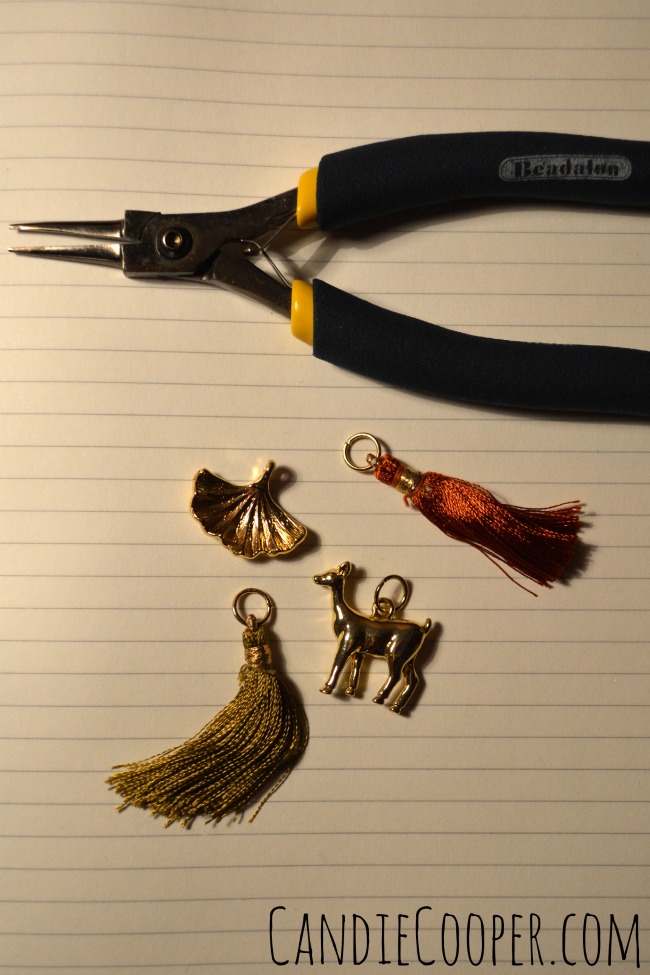 First things first, grab your chain nose pliers and add a jump ring to each charm so they are ready to string.
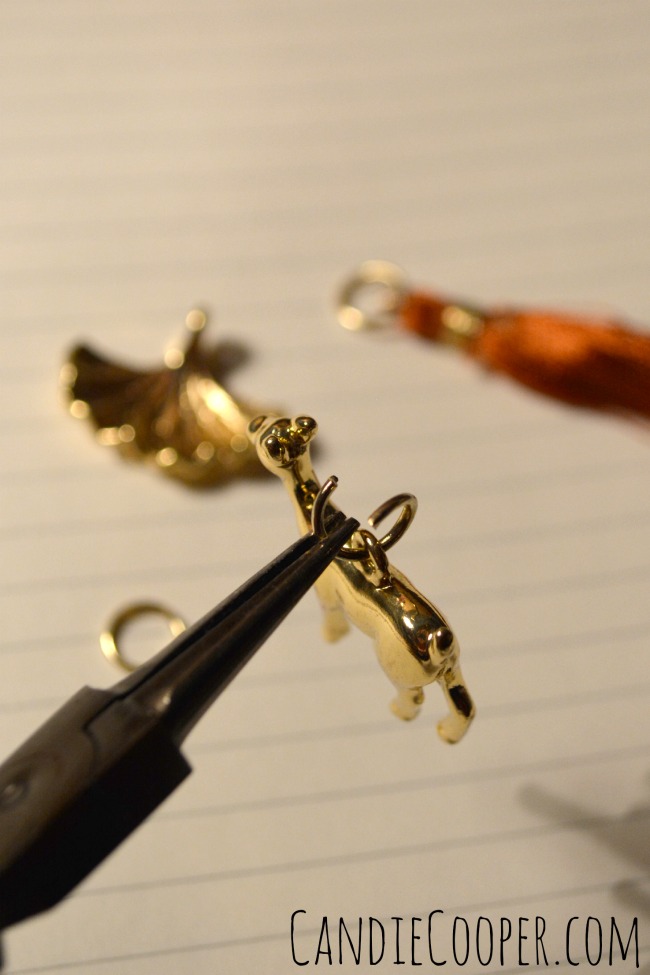 Open your jump ring from side to side (not like a “C”) and attach a charm. Close the ring how you opened it. This keeps it perfectly circular. Beadalon makes findings like these jump rings in a ton of metal finishes and thicknesses.
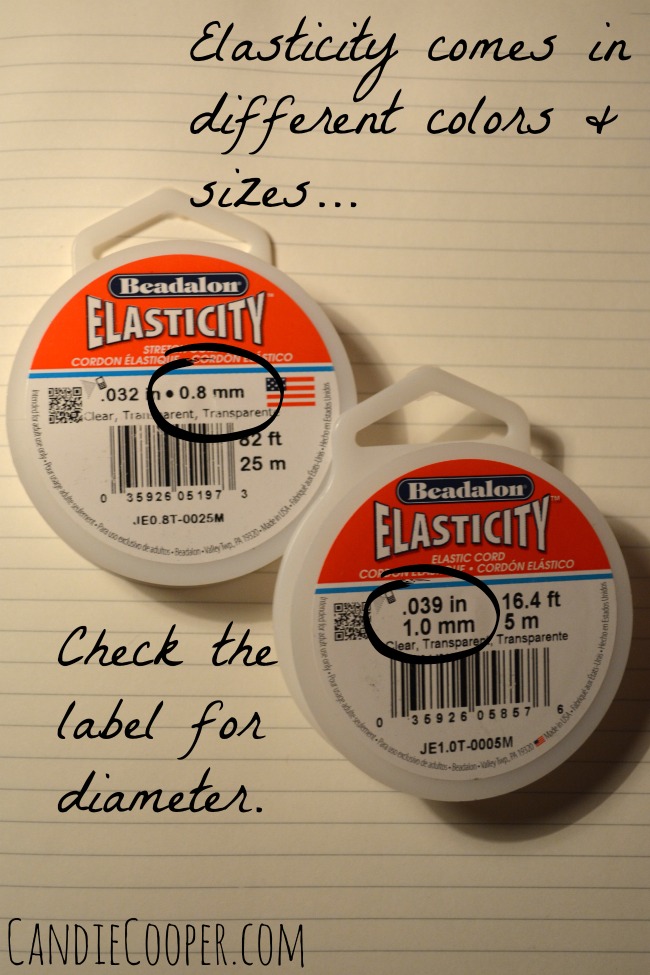 Let’s talk a little bit about beading elastic. Elasticity comes in different diameters–.8 and 1mm seen above are the two I use the most. I use as thick of elastic as I can that will fit through the bead holes so my bracelet is strong.
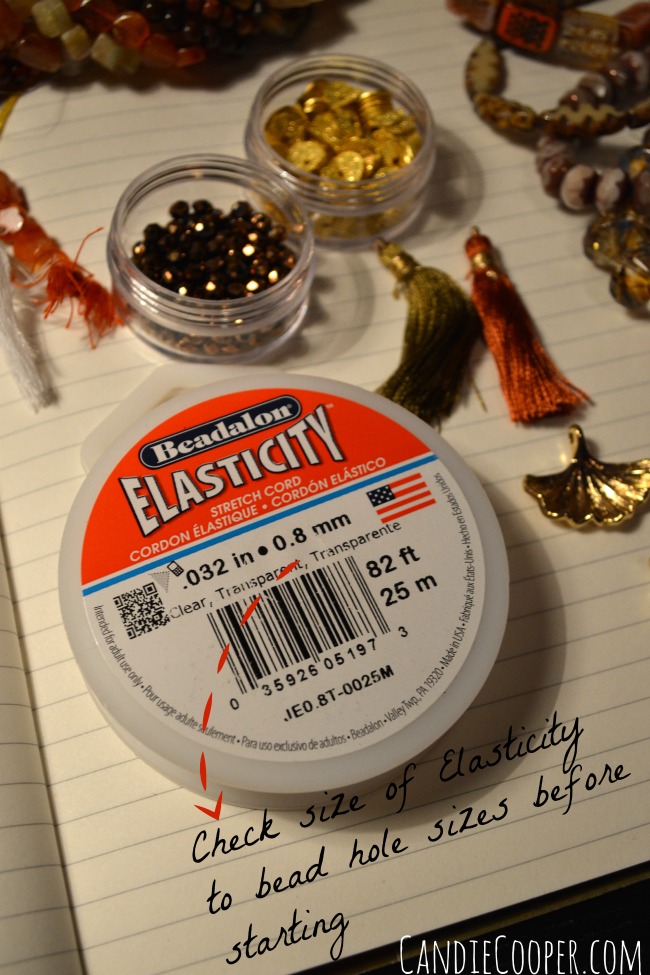 We all know no two beads are alike so check all your beads to the diameter of Elasticity before stringing.
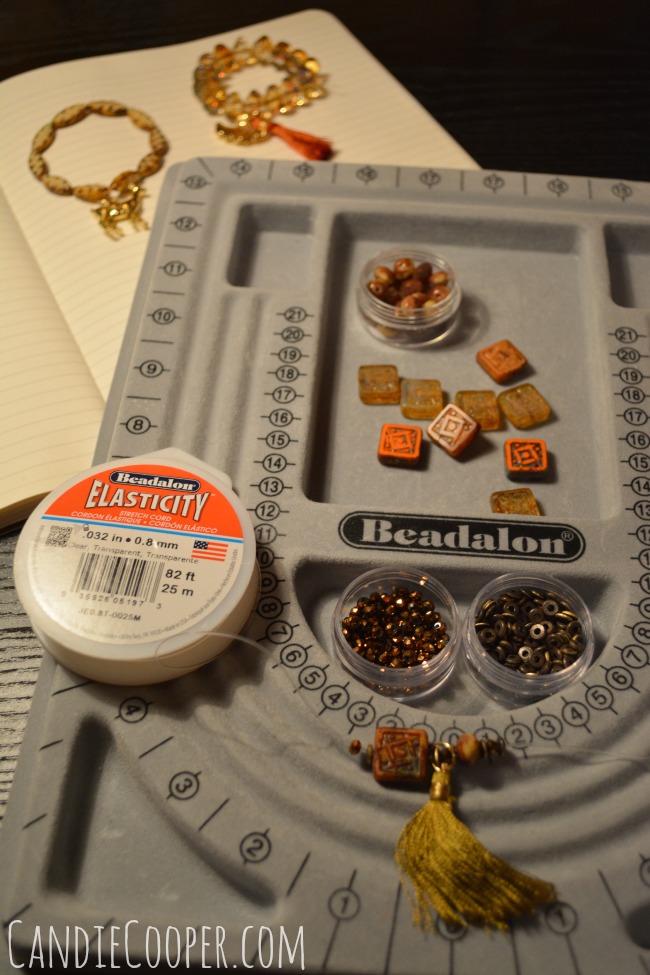 Thank the Lord for bead boards. I use Beadalon’s version with the case so it stays nice and clean plus it travels well (from my studio to my lazy girl chair or even in a suitcase). Lay out your beads and charms on the outer row. This one is in inches so you can see how long your bracelet will be. Start stringing…
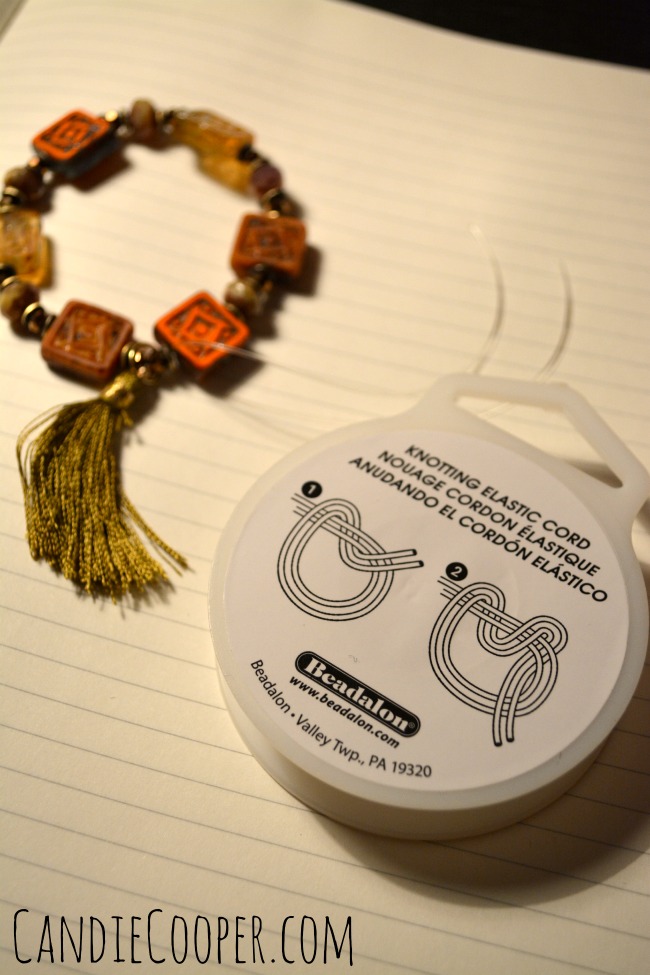 When you’re happy with the bracelet, check the back of the Elasticity package for how to tie a secure knot. It’s helpful to slide the knot towards the beads and then pull the tails apart to cinch the knot even more.
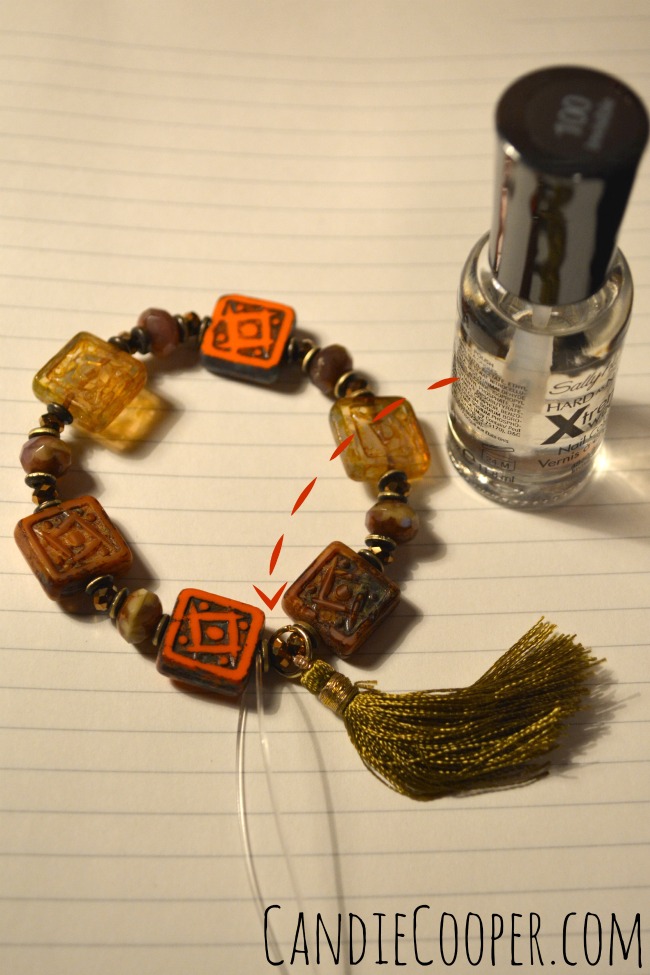 Secure the knot with a touch of clear nail polish. Leave to dry, give it one last tug and then trim the ends leaving little tails.
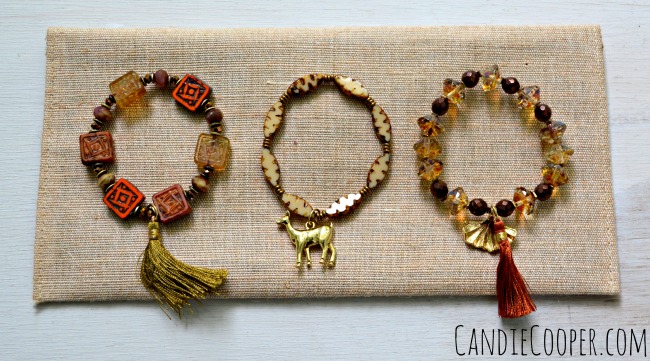
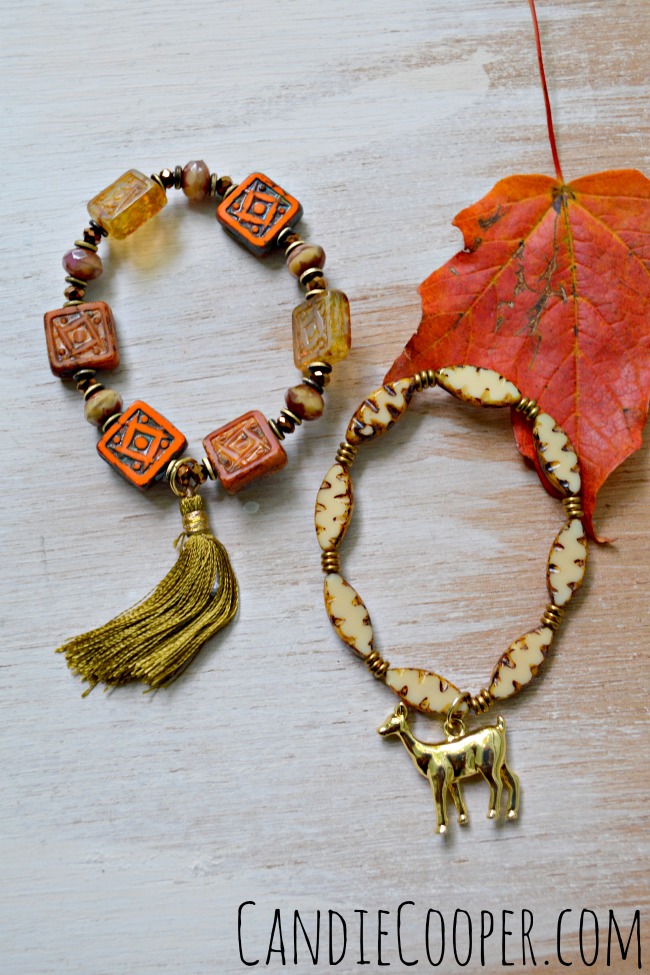 I’ve been wearing these one at a time and all together with some metal bangles, comfy sweaters, brown boots, and my favorite orange scarf. Cozy.
 Hi, I’m Candie. I design jewelry and crafts, author books, teach classes and host television programs. I thrive on simple ideas that anyone can achieve. I also love projects made from unexpected materials that stand the test of time. Join me as I lead a creative life!


