“You Crack Me Up”
Making jewelry from cracked marbles is a wonderful way to use found objects that you might not typically think to use in your projects. Baked marble jewelry is a project that you could make with your kids and teach them a little about science in the process. If you take some time to look on Pinterest you can find many projects to make with the baked marbles technique, but today I am going to talk to you about turning them into a beautiful pair of custom earrings.
Baked Marble Jewelry Supplies List:
- Marbles (you can get these at the Dollar Tree)
- Oven
- Baking Pan
- Container of ice water
- Safety glasses
- Glue (E6000)
- Bead Caps
- Earring Findings
- Head pins
- Pliers-round nose and chain nose
- Bowl of uncooked rice
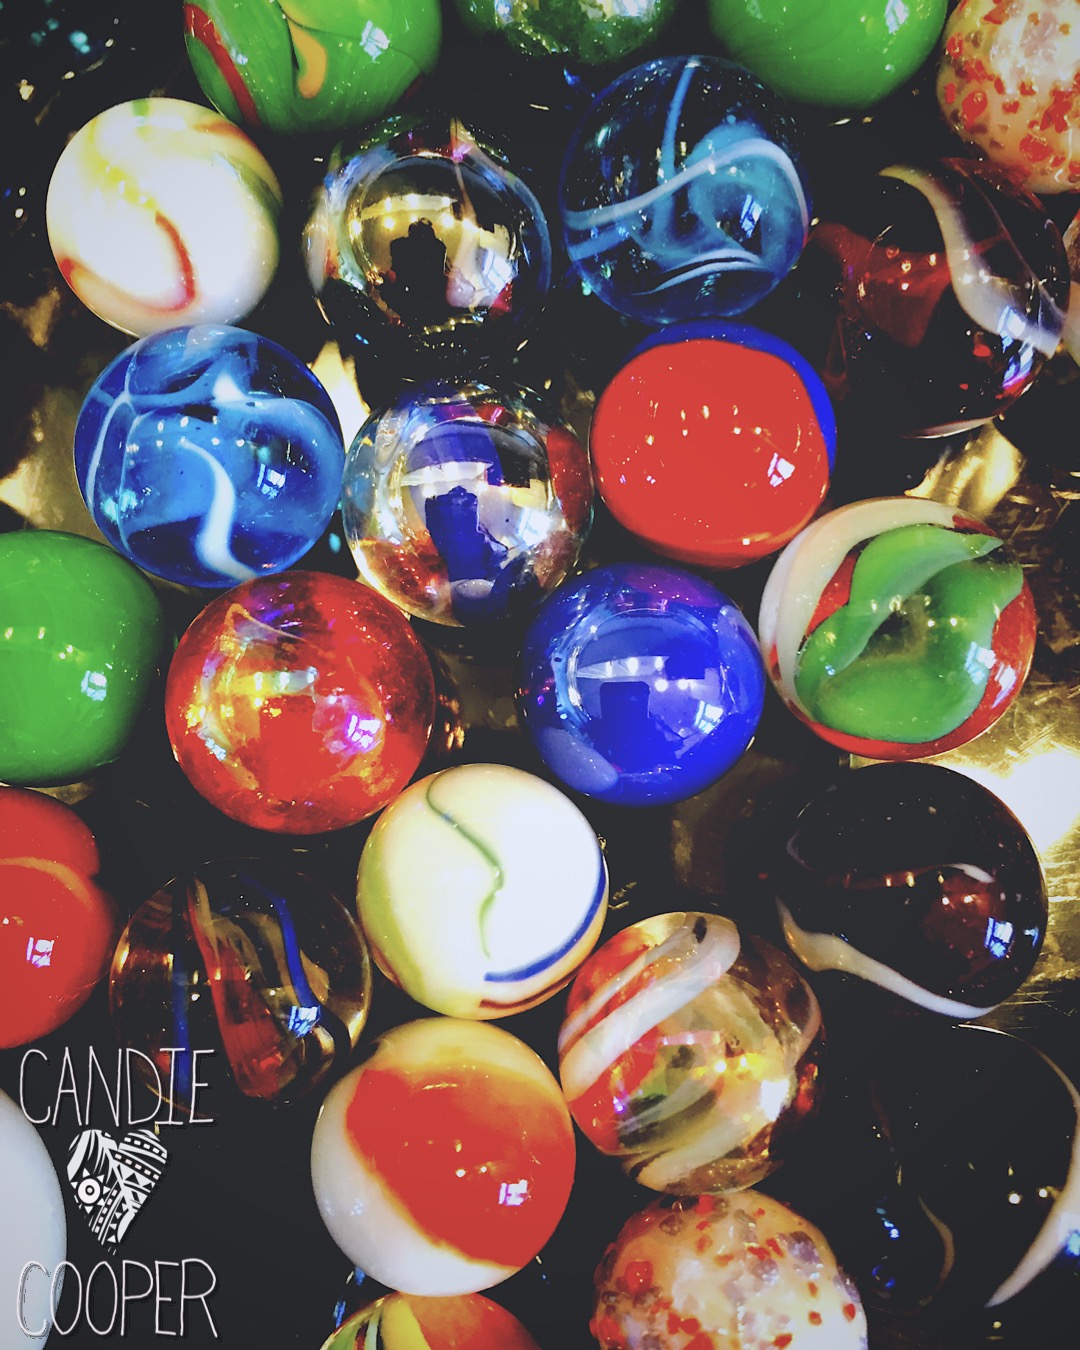
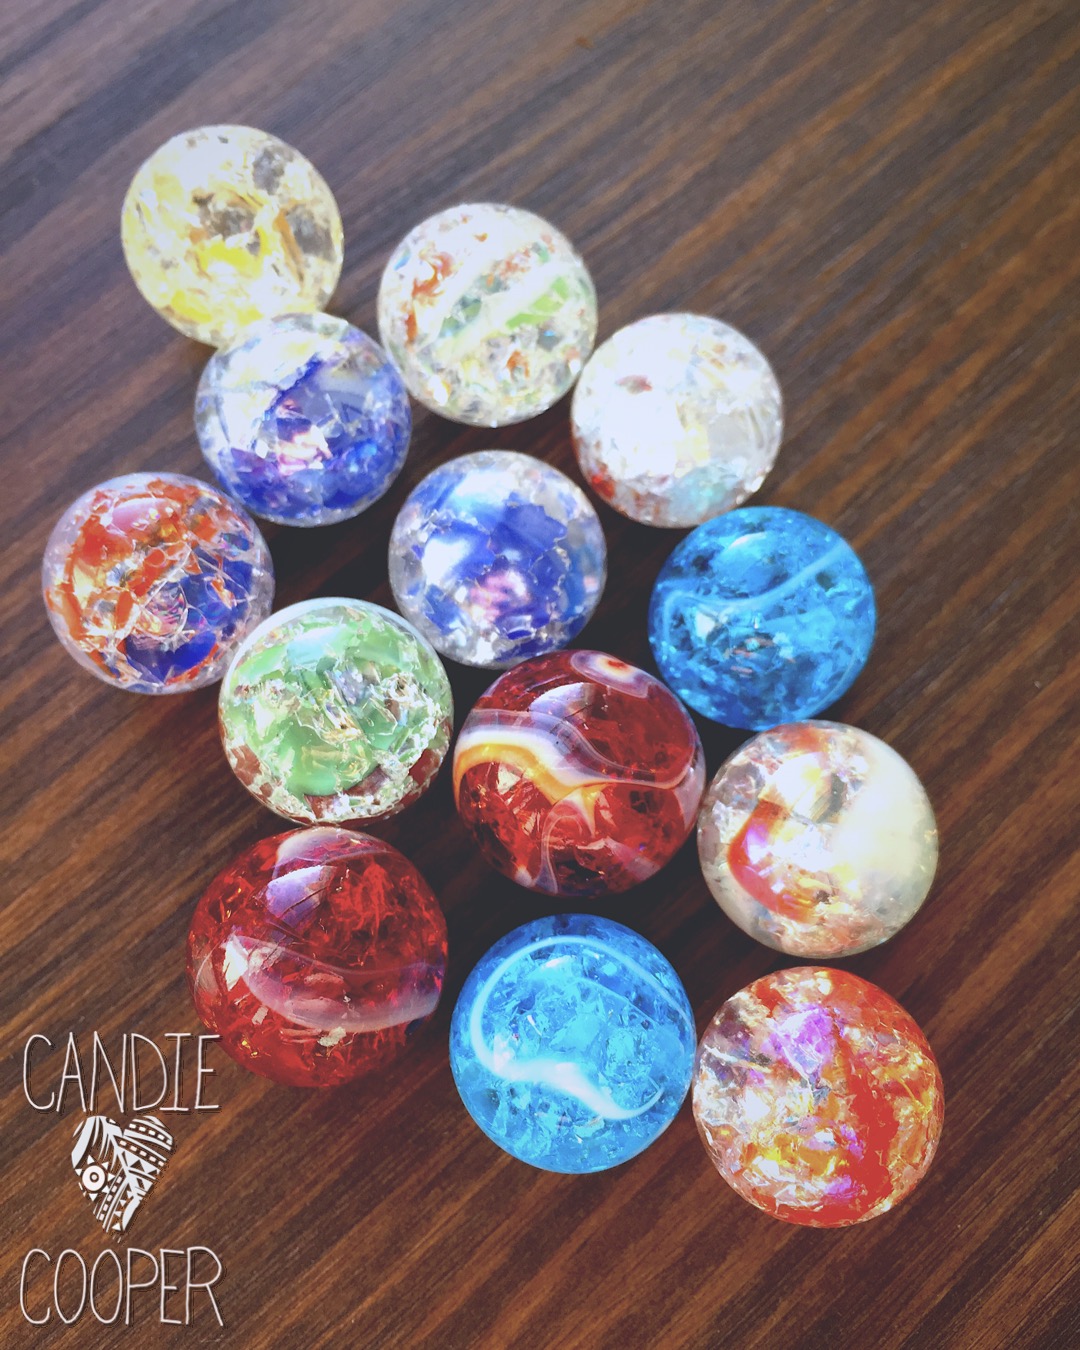
Before getting started there are a few things that you will need to think about. First, this project is made in the oven at a high temperature and for a solid amount of time. I suggest doing this on a day that isn’t too hot or it will make your house hot too, but it can be done whenever you like. When you pick out your supplies for your baked marble jewelry you will need to look for clear marbles. Opaque marbles will not work well for this project. Due to the nature of the coloring in opaque marbles you won’t be able to see the cracks in the marble, which is what is giving us the uniqueness of the piece. Another tip that I found was to not use the two tone marbles. You can see below how my marbles turned out and I have a few that were multi colored that worked out just fine. Be sure to make a few extra marbles to be sure you have two that you like for your earrings.
Baked Marble Jewelry Directions:
You may be surprised at how easy it is to get the cracked effect in the marble. You will preheat your oven to 500 degrees (F) and then bake the marbles for 20 min. Once you have baked them long enough you will take them out and immediately dunk them into your ice water. As the marbles hit the ice water you will start to hear them crack.
After the marbles have been cracked and cooled you will then be able to assemble them into your earrings, or whatever piece you want to create.
 Assembly of Baked Marble Jewelry:
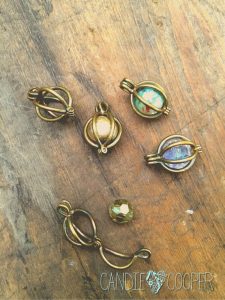 In this tutorial we are talking about making earrings. If you have one marble that you really love and there isn’t a match to make earrings with you could always get one of the cage pendants that I have in stock in my Etsy shop to display the marble. The cage charm will allow you to display your favorite marbles and change them out to match what you are wearing.
For the video tutorial below I made a pair of earrings. In order to attach the marble to earring wires I added a bead cap with glue. Be sure to use E6000 on this project NOT super glue. If you use super glue you run the risk of frosting the marble if you get excess glue on it. Super glue will frost any glass surface once it dries, this will hide the cracked effect that you worked to put into the marble. Before you start glueing your piece together be sure that the marble is completely dry. Any moisture on the marble will not allow the E6000 to adhere securely. One tip about using the E6000, be sure to pull the glue away quickly when you are finished. If you pull it away slowly you will get the strings as you would see if working with hot glue.
Ann Gardan bead caps are one of my favorites and what I really wanted to use in my baked marble jewelry. As I was putting the piece together I noticed that my Ann Gardan bead cap did not give me enough contact with the marble. Without a fairly flush connection (you want as much surface area connection as you can) you run the risk that the marble will come off of the bead cap if stressed. To get more contact between the bead cap and marble I decided to add another bead cap that had better contact first and then stacked the second bead cap on top. Finishing off the earring I used a wrapped loop to keep the stack of beads together.
When choosing your bead cap you will want to test out the size of your head pin. If the head pin is too small it will fall out of your bead cap and you won’t be able to put another in once it is glued. As you test your bead cap and head pin size together if you find that it is too small just add a spacer bead to the head pin before threading it through the bead cap. This will stop it from falling out.
 Drying Tip:
After you have glued your piece together you will need to allow the glue to dry for about 12 hours to be sure that it is completely dry. It is tricky to set up a round object to dry without moving the stack of beads on the top. My tip for allowing the pendant to sit up right is to use a bowl of uncooked rice. This will give your marble a nice bed to sit upright as to not move the glued bead cap on the top.
The Facebook Live video posted below will walk you through the creating of the baked marble jewelry that I made today. Please share any items that you make from this technique on my Facebook Page. Like the Facebook page to be notified of what is going on and you will be able to see the Facebook Live Videos. I go live every weekday at 2:30pm EST, unless I am traveling, with a new project idea for you. See you around online!
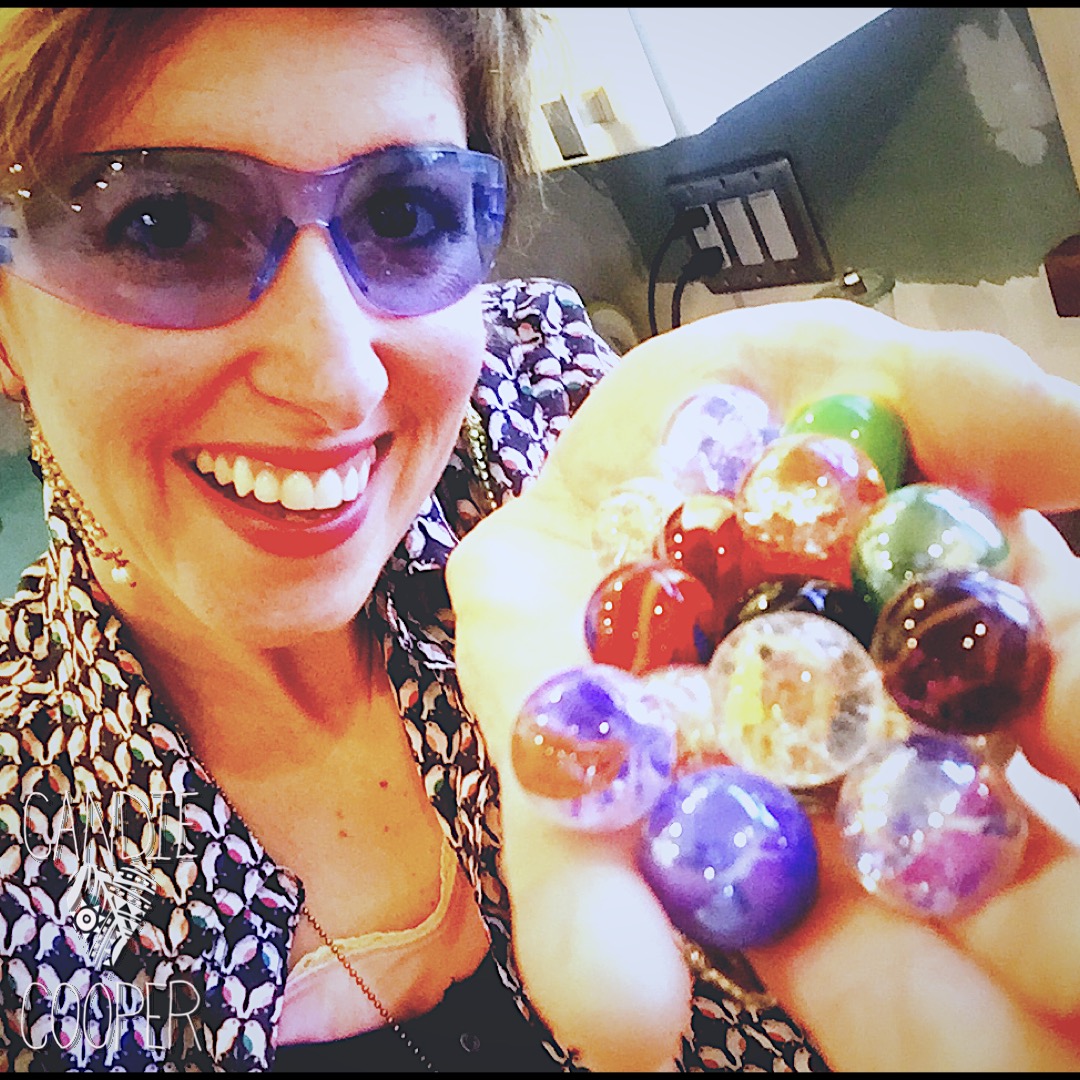
 Hi, I’m Candie. I design jewelry and crafts, author books, teach classes and host television programs. I thrive on simple ideas that anyone can achieve. I also love projects made from unexpected materials that stand the test of time. Join me as I lead a creative life!


