What in the Wire?! Beading wire explained

This post brought to you by Beadalon.com.  Thanks Beadalon for sponsoring this post and helping me to share my love of DIY jewelry making.what wire to choose for jewelry makingIt’s one of the great mysteries of the universe.

Well….the jewelry making universe anyway.

Beading wire.

This is nylon coated beading wire we are talking about.  It’s flexible and used for stringing beads of all shapes and sizes.  Beading wire is not used for wire wrapping stones.  That’s a common confusion I’ve found.

There are so many different ones available and it can get really confusing.  That’s why I created this post to help you understand the different types of beading wires used in jewelry making.what wire to use for jewelry making
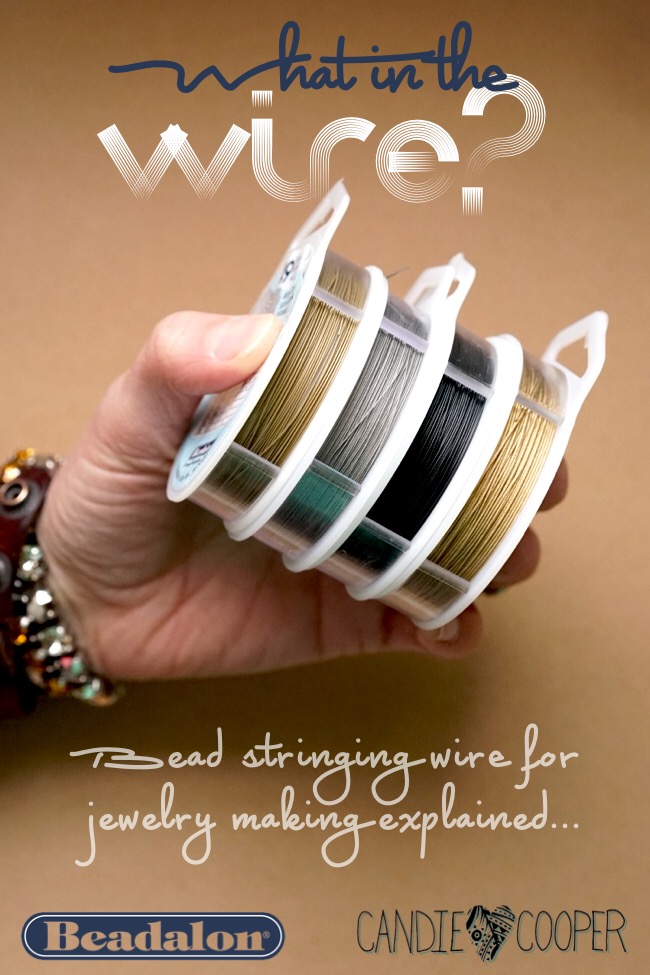
7 strand, 19 strand, this diameter, that diameter, but what if I’m stringing chunky gemstones or making an illusion necklace?  So many jewelry design ideas, but where to start?

The first thing I ask myself is what am I stringing?  Seed beads or heavy gemstones?  I pulled this image from the Beadalon website so you can see what wires are good for what beads.how to pick Beadalon beading wire for DIY jewelry making
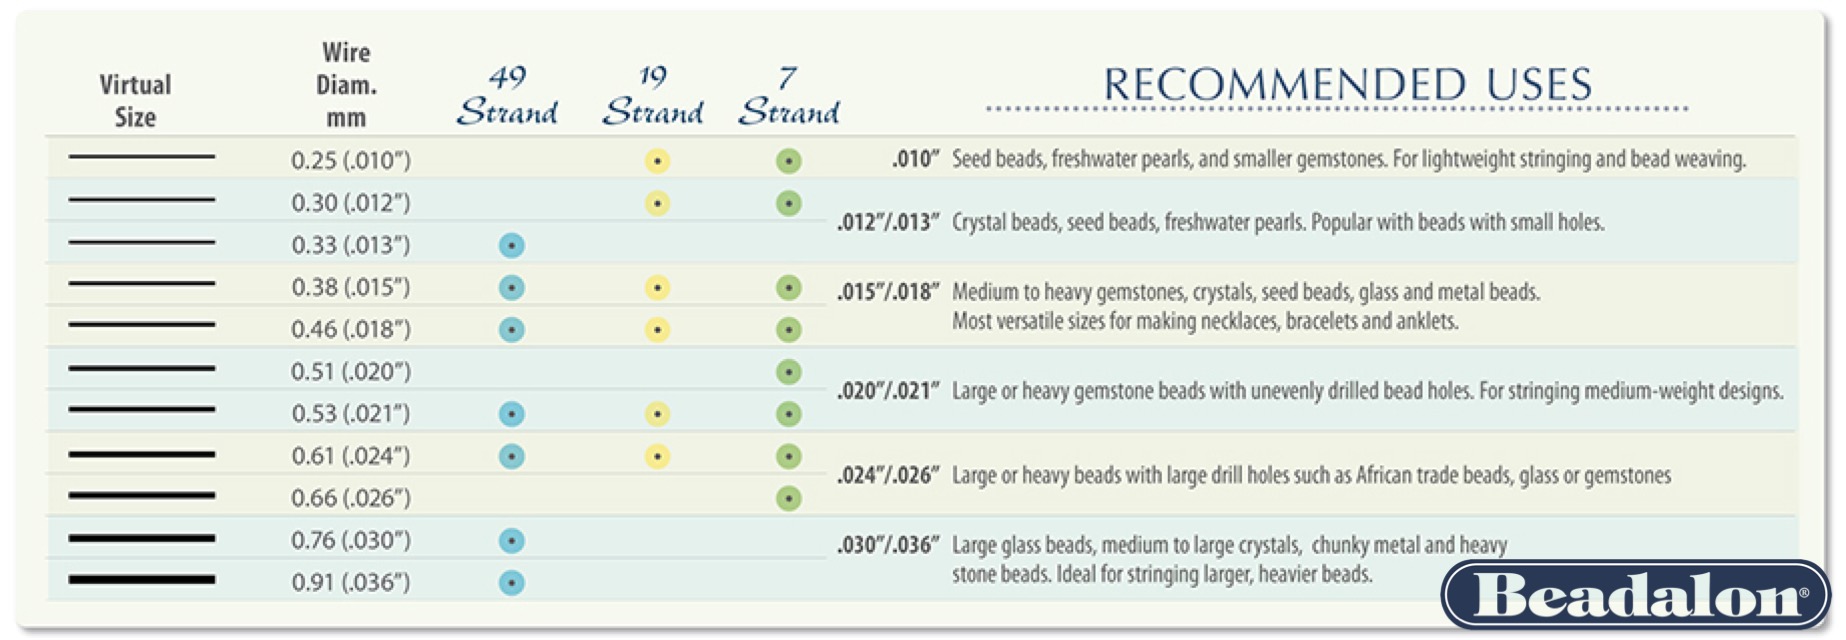
You can click on this image to make it bigger.  From left to right:

Virtual size is the thickness of the wire.

Wire diameter is just that–I usually speak in millimeters here on the blog (i.e. .018)

Strand count is how many tiny wires are twisted together to make the single wire.  More strands equal more flexibility.

More wire diameters–those are simply recommendations for the type of bead you are stringing.  For example, Beadalon recommends .010 diameter wire for seed beads.

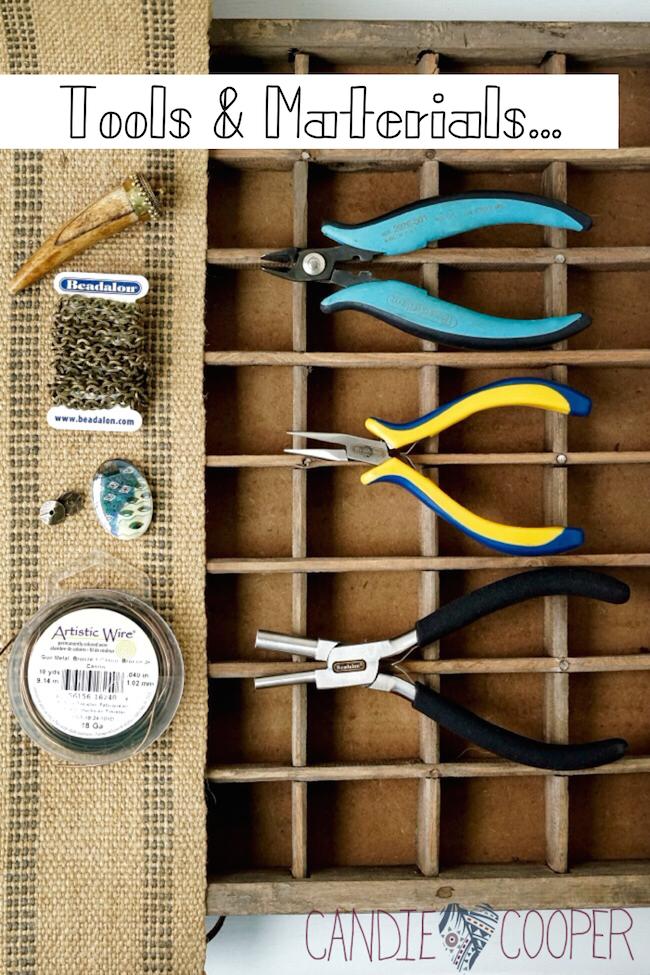
Before I forget–did you know Beadalon wire is made right here in the USA?!  I love that so much.

File May 11, 2 56 28 PM
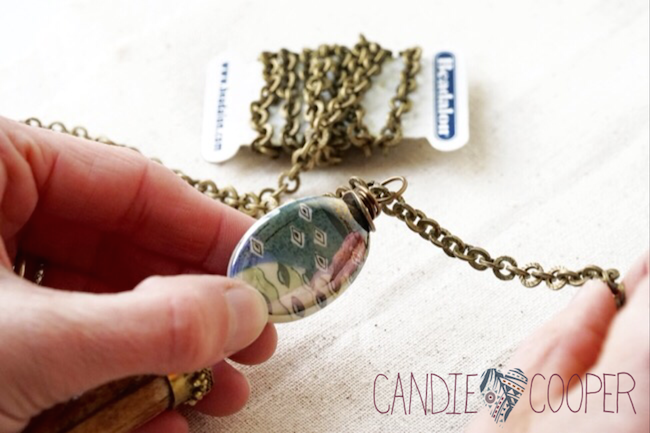
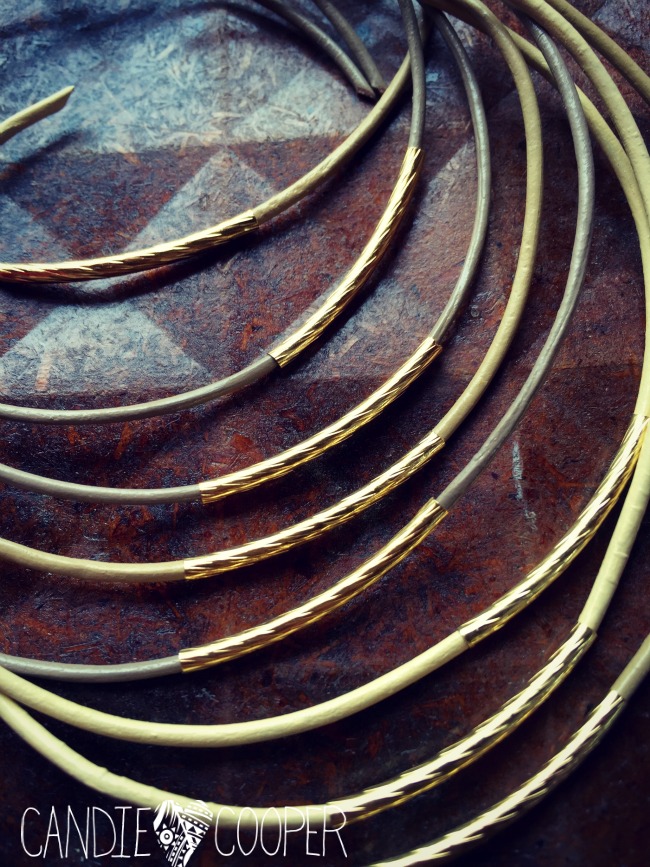
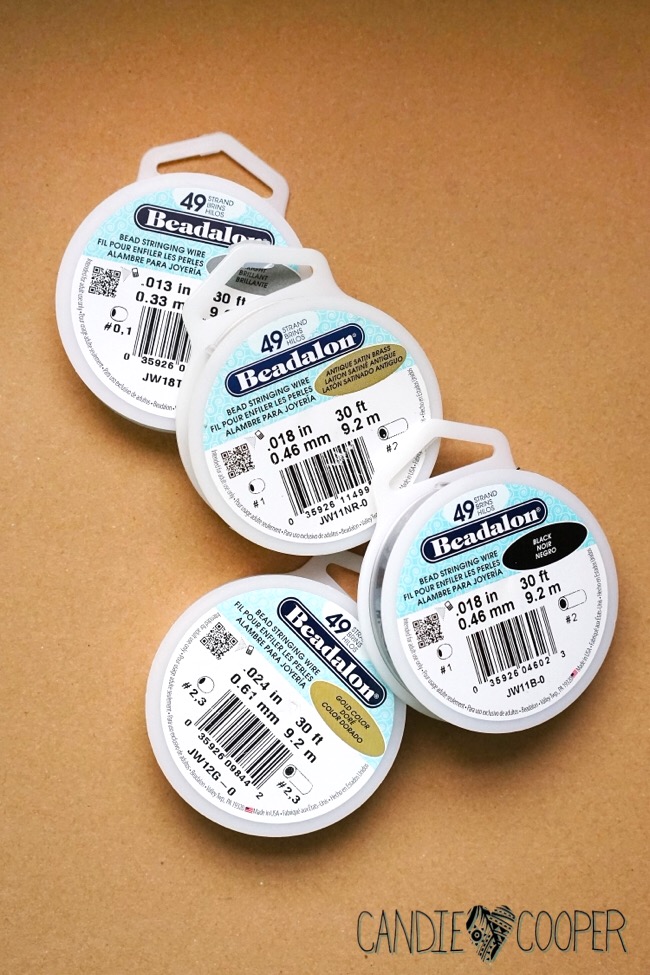
Ninety percent of my jewelry uses 49 strand beading wire because it’s my fave if you can’t tell.  It’s also the most expensive.  And while I get mine for pretty much free from Beadalon–I’d still use this or 19 strand in my jewelry projects because I want it to last.  You can see I have a few different diameters here.

If you’re just getting into this DIY jewelry making world I suggest starting with 49 or 19 strand .018 mm diameter.  It’s a great all-purpose choice for your first jewelry making projects.what wire to use for jewelry making
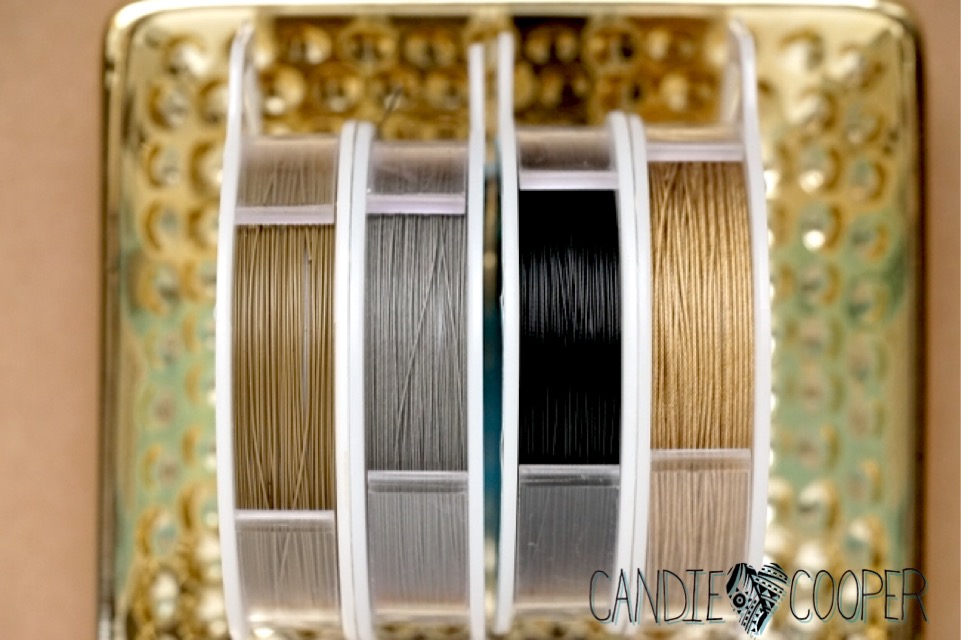
Beadalon wire also comes in a huge array of colors from neutrals like these to ones found in the rainbow.  You can shop their site to see all of them.What wire to use for jewelry making using Beadalon wire
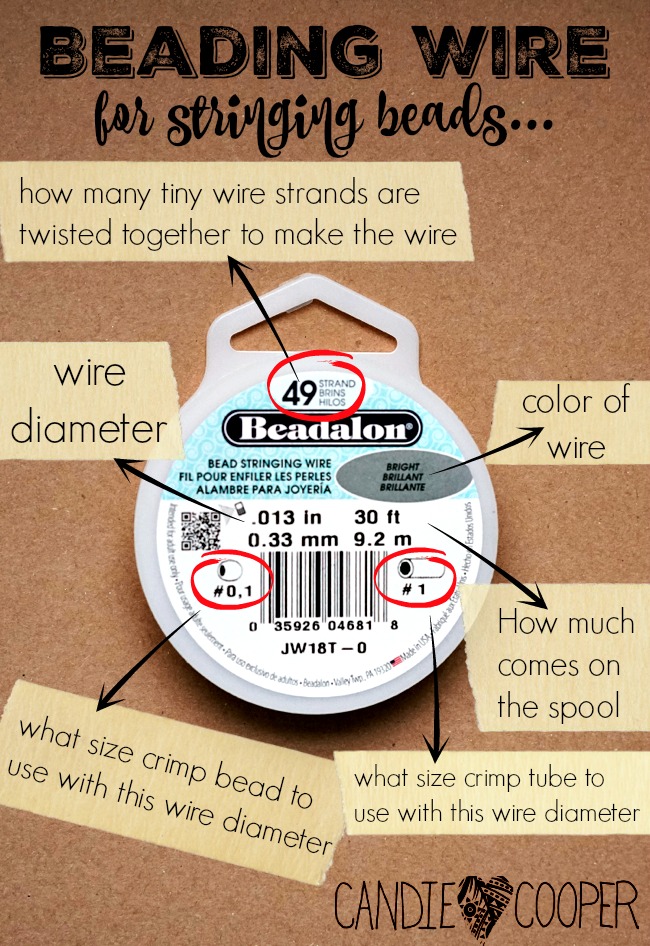
Lastly, one really important thing to pay attention to on the package is what size crimp bead or tube to use with that particular beading wire.  Crimps secure the clasp and beads to the wire in DIY jewelry.  See the #1 or #2? These numbers vary according to the wire diameter.  There are #3 and #4 crimps as well.  If you would use those with this wire, your piece would most likely fall apart because they are too big for this wire.how to pick beading wire for jewelry makingI hope this post has solved some of the mystery.  The more you make, the more you learn…sometimes the hard way, I’ve found! Haha!


Special thanks again to Beadalon for keeping me locked and loaded on beading wire and sponsoring this post.

Now Watch Me Whip…This Wire Pendant Up

This post brought to you by Beadalon.com–maker of jewelry findings in all types and metal colors.
DIY jewelry Making Wire Wrapped Horn Pendant with chainRemember that pendant I made a couple weeks ago with the wire piece from the hardware store?

Meet it’s new BFF.

DIY bead wrapped horn pendant. Wearing multiple necklaces in fashionThe idea of wearing these chains together was a coincidence.  I had the first two pendants on when we shot the tutorial.  Naturally, I needed this statement horn piece to complete the look.

Can you say, power play?DIY jewelry making toolsI’m using Beadalon’s new bail making pliers at in this tutorial.  More on those later, plus:

Beadalon bail making pliers tool for wire wrappingSo first, make a loop using the bail making pliers.  The thing I like about these pliers is that they are not conical like round nose pliers.  This makes it easy to get consistent size loops every….single….time!  And that makes me happy!
Horn necklaceLoop in the horn pendant.How to make jewelry with beads and wireGrab the chain nose pliers and hold the loop while you wrap the extra wire.
How to make a perfect wrapped bead link in jewelry makingString some unique beads…
Artistic Wire for making wrapped bead link jewelryand make a 90-degree bend just above the last bead.
DIY jewelry-Beadalon bail making pliersUse the large section on the bail making pliers and wrap the wire up and around.How to make a Wire wrapped bead linkNow wrap the extra wire above the last bead.
DIY wire wrapped jewelry with Beadalon bail making pliersSo easy!
DIY jewelry with wireCut away any extra wire with the flush cutters.
Wire Wrapped beads DIY pendantHave I ever told you that I think there should be no spacer beads left behind?  That’s my philosophy–I think beads look so nice in a spacer bead frame.
DIY jewelry Making Wire Wrapped Horn Pendant and brass chainjpegThread the chain through the wire loop.
DIY jewelry Making Wire Wrapped Horn Pendant -- how to link chainDetermine the length of the necklace that you want, open a link and connect the ends–No clasp needed.DIY jewelry Making Wire Wrapped Horn Pendant with brass chainDIY jewelry Making Wire Wrapped Horn Pendant with chains from Candie CooperThat’s all there is to it!  Let me know if you decide to try those bail pliers!

Have a great weekend!

DIY Painted Leather Cuffs That Will Knock Your Socks Off!

How to paint and embellish leather cuff bracelets LeatherCordUSA.comThis post brought to you by leathercordUSA.com.Candie Cooper demoing in the LeatherCordUSA booth at the To Bead True Blue
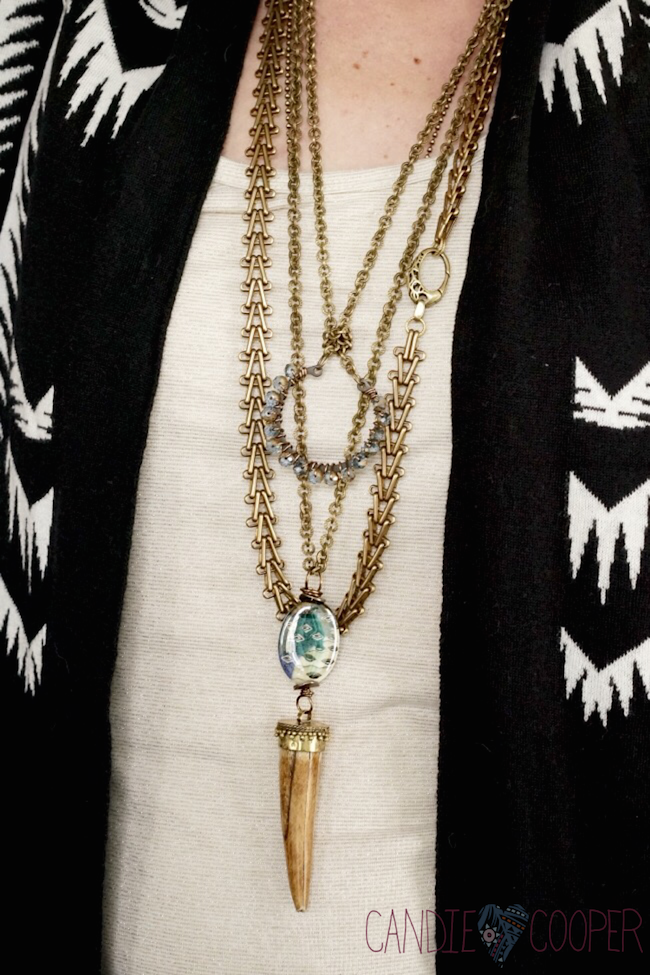
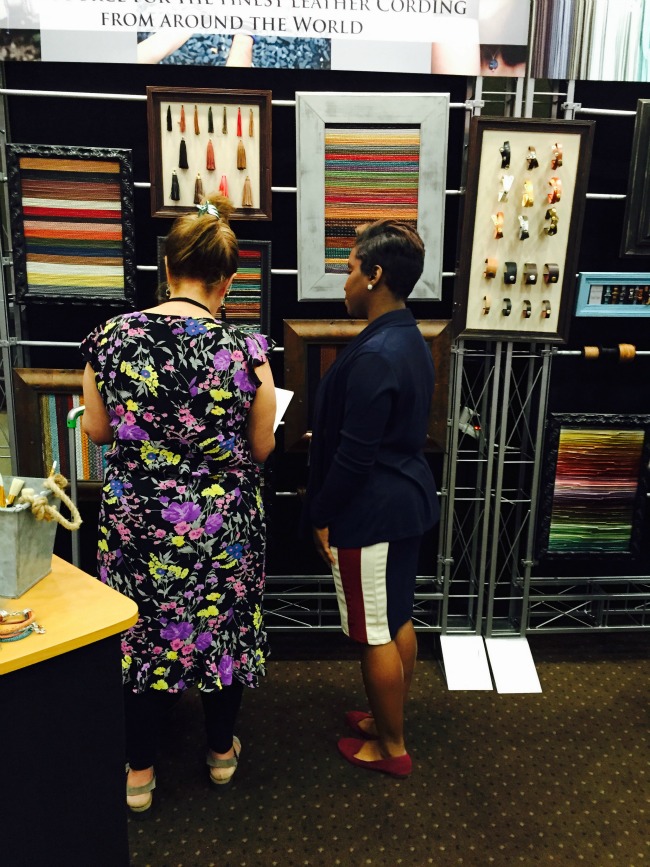
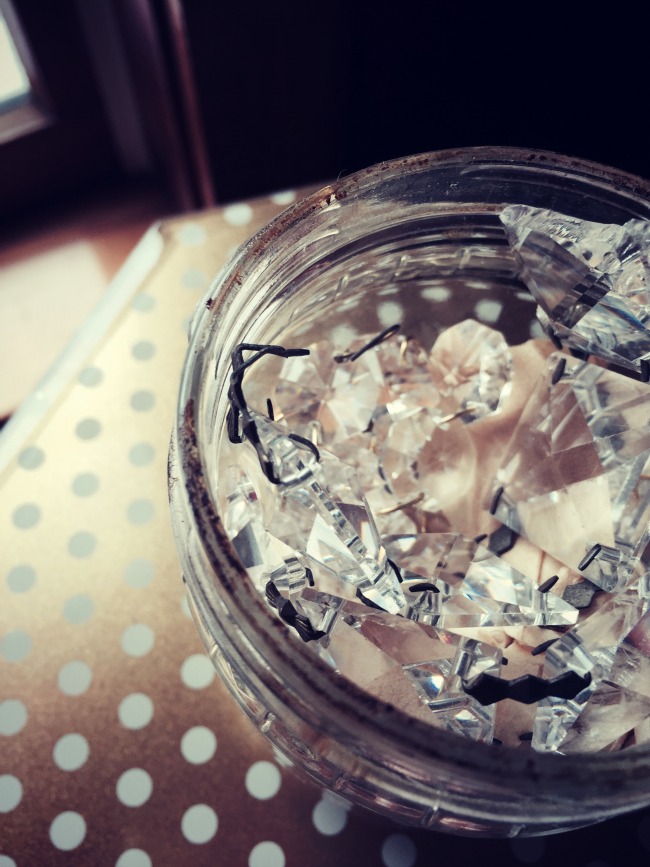
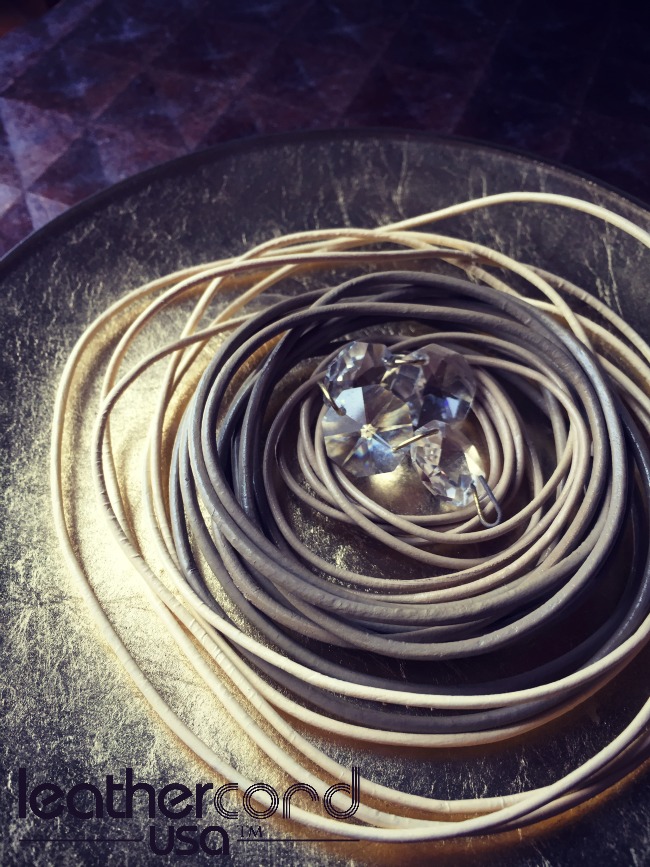
All last week, I worked in the leathercord USA booth showing mixed media techniques to use with leather at the To Bead True Blue Show in Tucson.  Holy cow.  I painted cuff after cuff and after each one, I fell a little more in love with the process.  These are some of my new friends I made as well as Michelle and Que that work at LCUSA.  It is lovely visitors like these that make my job fun.  If I didn’t say it at the time–thank you from the bottom of my heart for stopping by and watching, asking questions and chatting.  YOU are my favorite part of these gigs.Leathercord USA booth at the To Bead True Blue showWe were hoppin’ at the LCUSA booth and people were really digging the new metallic gold and silver gecko printed and stitched leather (it really is magical looking–you get lost looking at it).  The tassels were also hot sellers!Leathercord USA at To Bead True Blue show in TucsonIf you do art shows or craft festivals, you know that displaying work can be a challenge.  I overheard compliments on the frames of leather over and over in the booth.  It really is a great idea.

Now onto some techniques!

If you love artsy jewelry and building up layer after layer (or making artsy messes in my world), I think you’ll find this post right up your ally because I’m going to show you some new ideas on how to paint and embellish leather.LeatherCord USA tassels

Do you remember that post that was all about painting leather tassels?  That’s one of the first leather surfaces I tried adding Ranger Patina paints on.  These are a few tassels I splashed some metallic paints on with a stiff bristle brush.

Here’s a peek at my demo area in the leathercord USA booth–there’s a little bit of everything, no doubt!
Candie Cooper in the LeatherCordUSA boothRemarkably CLEAN and tidy by my standards though.  I don’t trust an artist with a clean work surface 😉  Haha.
How to paint and distress leatherThis is a detail of one of the cuffs.  Believe it or not–these take about 10 minutes to create, start to finish.  Tracy at Tierra Cast put the rivets on for me (thanks Tracy).  I love these simple little details that add so much!

leathercord USA makes the cuffs in all different sizes and finishes.  You can see them here.
Painted leather cuffs by Candie Cooper with LeatherCordUSA cuffsQue at leathercord USA filmed me painting one.  This is me talking in the video.  If you like it or have questions, let me know in the comments.

Have fun! (useful supply list at end)

LeatherCord USA cuffs (wholesale order on site or ArtBeads.com has them)

Stencil1 Stencils

Sakura PenTouch gold pens

Ranger Patina paints

Stayz On Ink pad

Leather hole punch

Tierra Cast rivetables


Lucky Wire Wrapped DIY Pendant

This post is brought to you by BEADALON–makers of great jewelry findings and tools.
Make a wire wrapped pendant with Beadalon Artistic 22g. wire and chainThis pendant.  I’ve worn it every other day since I made it.
Candie Cooper DIY Jewelry projectsThis morning I was watching GMA and they were making dinners that cost $5.   (or really close if you play your coupon cards right).  It’s just as good, right?

Now I bring you the $5 DIY jewelry edition.  You ready?
DIY Jewelry Making project. Easy wire wrapped pendant with crystal rondellesI’m using a dollar strand of beads, Beadalon’s antique brass chain, a retainer ring from the hardware store (look for it in the washer/bolt section of the store), 20g. antique brass colored Artistic Wire, a couple jump rings and that’s all.
Bead stringing on wire for wire wrapped pendantString a row of 20 to 25 beads onto the Artistic Wire.  It’s definitely better to have more so you can wrap your heart out.
Best wire for jewelry making Artistic Wire from BeadalonArtistic Wire for jewelry making and crafts comes in every color under the rainbow.  If you’re making this project with tweens, I would work with 22g. vs. the 20g. so it’s extra easy to wrap.
How to make a wire wrapped pendant with Beadalon wireHere’s a closer peek at the retainer ring.  This thing is made of steel so you’ll need to rub it with some beeswax or spray it with a lacquer so it doesn’t rust–I learned this from the master of steel wrangling, Brenda Schweder.

Secure your wire with a couple wraps.
How to make jewelry with supplies from the hardware store using Beadalon Artistic WireSlide a bead next to the retainer ring and make a full wrap.
How to make easy jewelry with supplies from the hardware store and Beadalon Artistic wireRepeat.  Repeat. Repeat.  Each bead is separated with a full wrap of wire to help with spacing.
Beadalon jewelry making tutorialAnchor the wire the same as when we started with a few wraps.  This is the back side of the pendant.
Beadalon brass chain for DIY jewelry makingUse jump rings to attach the pendant to the chain.How to make jewelry with Beadalon findingsBoom.
Make a wire wrapped pendant with Beadalon Artistic 22g. wire and chainDonesies.

A little design tip after wearing this necklace a few thousand times.  Leaving it long is awesome, but if it’s too long, you can make an overhand knot so it hangs shorter–like we used to with super long strands of pearls found in grandma’s closet.
The best winter boots and Candie Cooper DIY JewelryI don’t know about you, but we are in the thick of winter and I need all the instant gratification I can get.  This necklace fits the bill.

Until next time, stay warm and visit Beadalon.com for the goods!

Whipped Buttercream Frosting Leather Jewelry Idea

Easy Jewelry Making with leathercordUSA leather from Candie CooperThis post is brought to you by LeatherCordUSA.com.LeatherCordUSA color inspiration for January 2016

Leather Cord USA sent a box of goodies recently with all kinds of color palette ideas for the next few months.  Sign up for their newsletter to get inspiration like this delivered right to your inbox (the sign-up box is at the bottom of their home page).

January’s pallet is all about butter and mushroom colors.  I love both.

Hungry yet?  Me too.
Jar of vintage crystals color inspiration

Mixing and matching the leathers, I started seeing this color combination everywhere.  On bananas, when the sun hits the porch walls just right, and in this jar of crystals I’ve had on my shelf for years.Leather Cord for Jewelry Making -all colors from LeatherCordUSA.comThis is my swirl of favorites.  Yum.  Swirl.  This is the moment I saw buttercream frosting.  Paging Cinnabon.  Come in Cinnabon.  Did I mention I’m trying to get off the bread and carbs?  That’s another story for another day.

I’m only using the round leather cords from LeatherCord USA in 1 and 1.5mm diameters for these projects.  This is the simplicity that I love when it comes to using leather in jewelry making.  Pick your favorite colors and go!
DIY leather earringsThe first idea I had was to make some earrings using those funky fold over end findings (get them at Hobby Lobby) and delicate shell bead dangles.How to use fold over end findings for leather in jewelry making tipSimply cut your leather so one piece is 3 and one is 3.5 inches long, string some beads and set the ends inside the finding.  Use chain nose pliers to roll the ends over.  Connect to ear wires and add beaded dangles.  I’ve ironed out the kinks so I think you can knock these out in 30 minutes.DIY Jewelry Making Gold and leather braceletThe second idea I want to share uses the super skinny macaroni-sh shaped beads strung onto the leather to make a bracelet (also from Hobby Lobby).  I really loved how this instantly gave it a chic feel.  Cut ends at an angle so they fit nicely in the end finding from LeatherCord USACut the leather at an angle so it nestles nicely in the LeatherCord USA Glue and Go end finding (see foreground).Use Loctite glue gel for leather jewelry makingUse Loctite gel to glue it in one end.  Check the fit and make adjustments.  Glue the second side.

Tip:  Leave one or two strands out and use a toothpick to pry open a spot or two so you can put them right where you want them.DIY Leather and gold jewelry making idea using leathercordusa.com leather
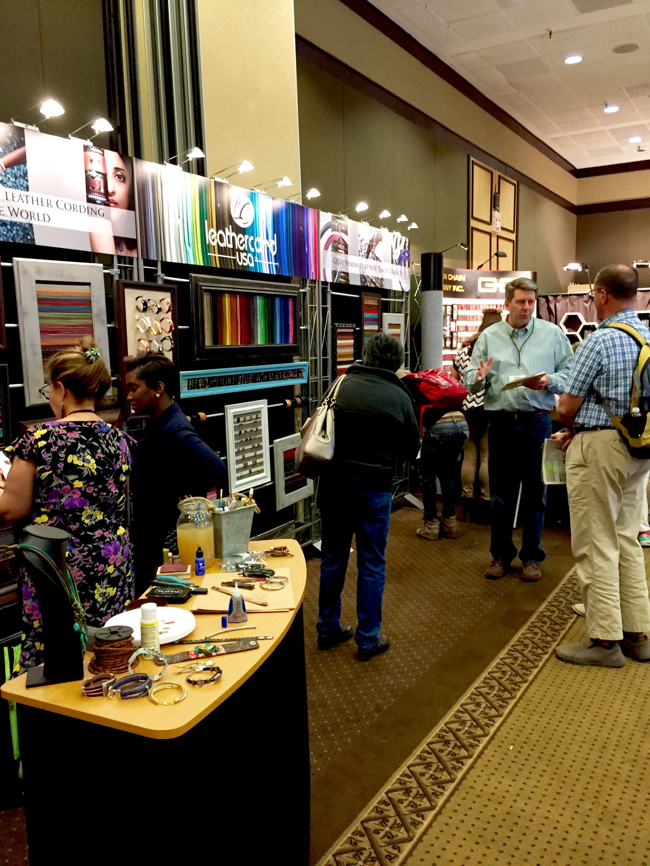
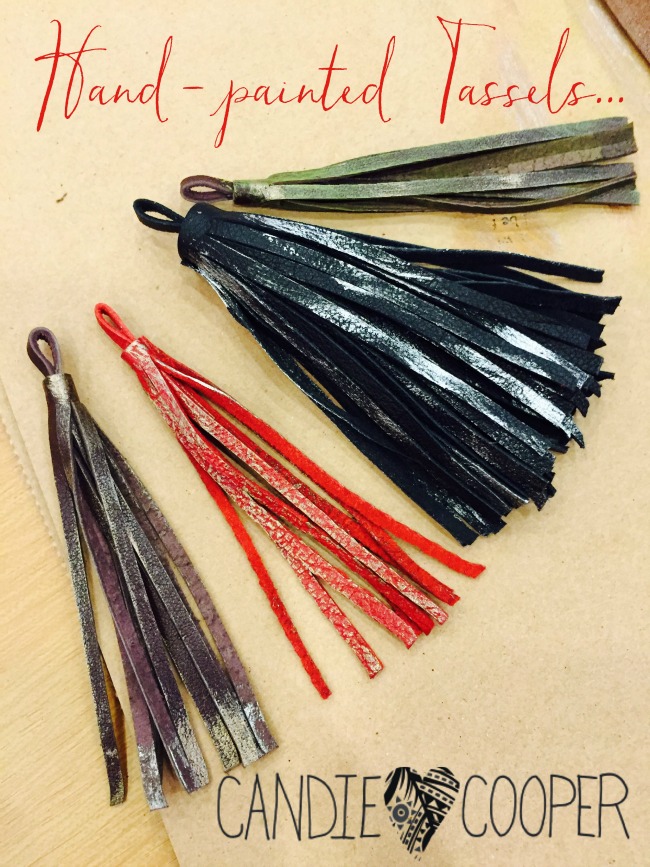
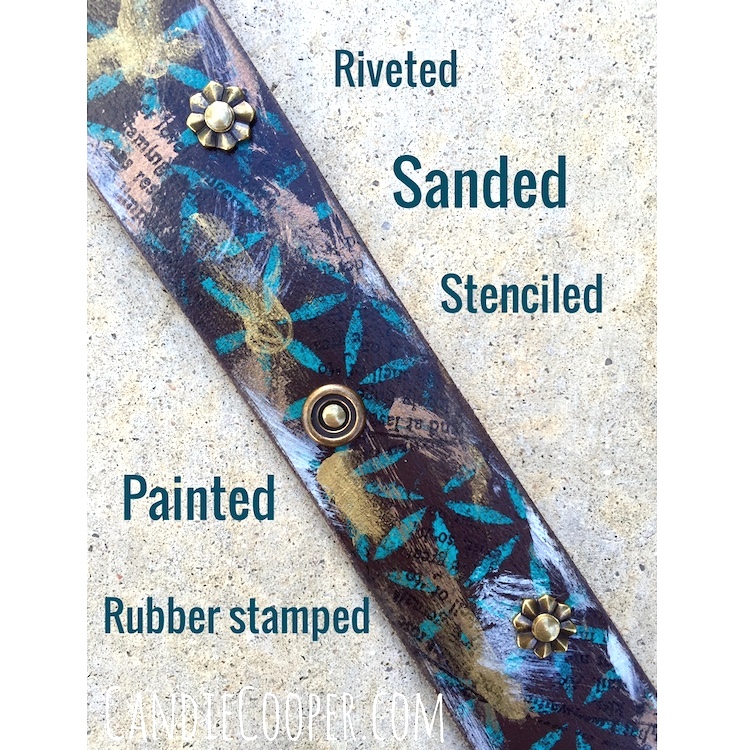
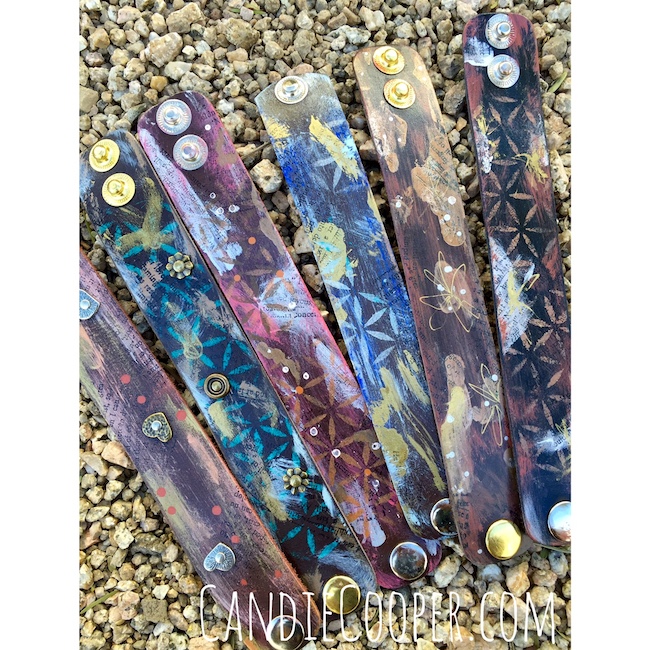
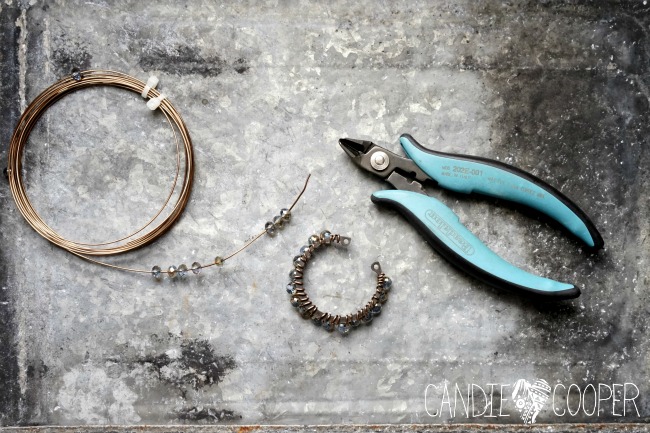
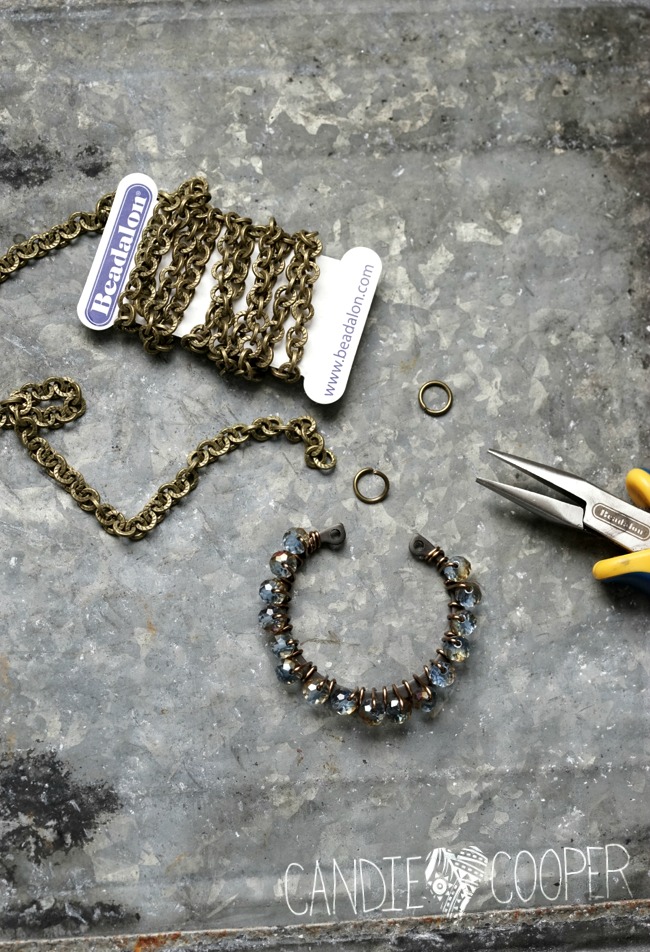
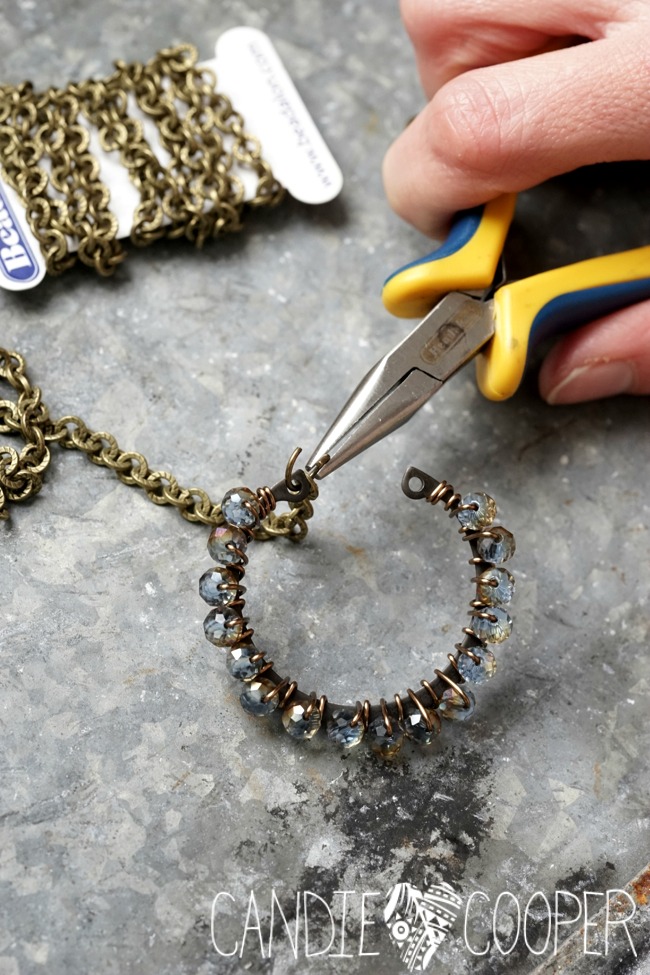
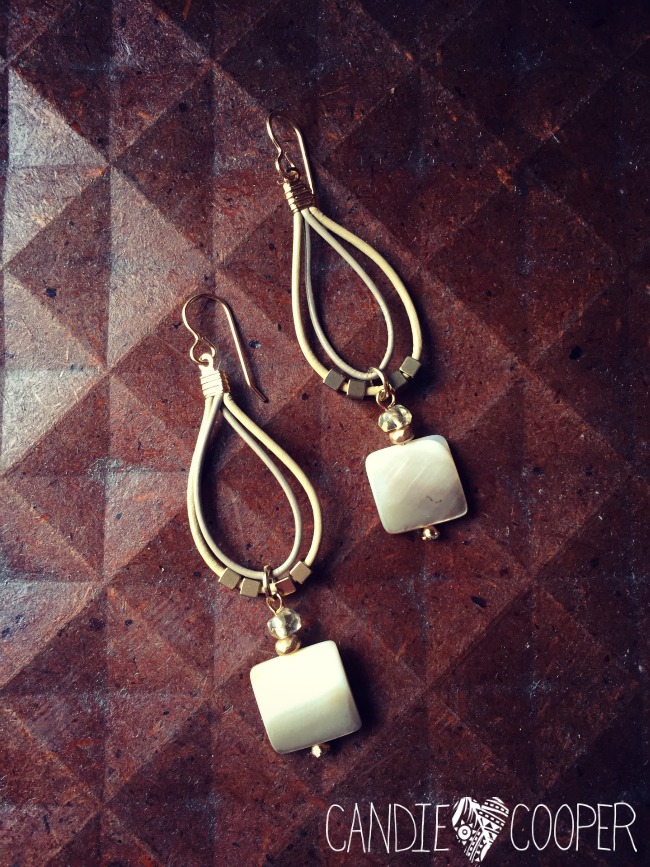
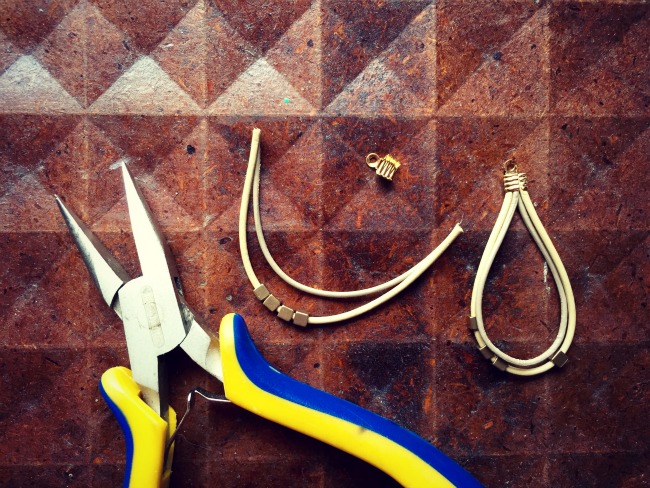
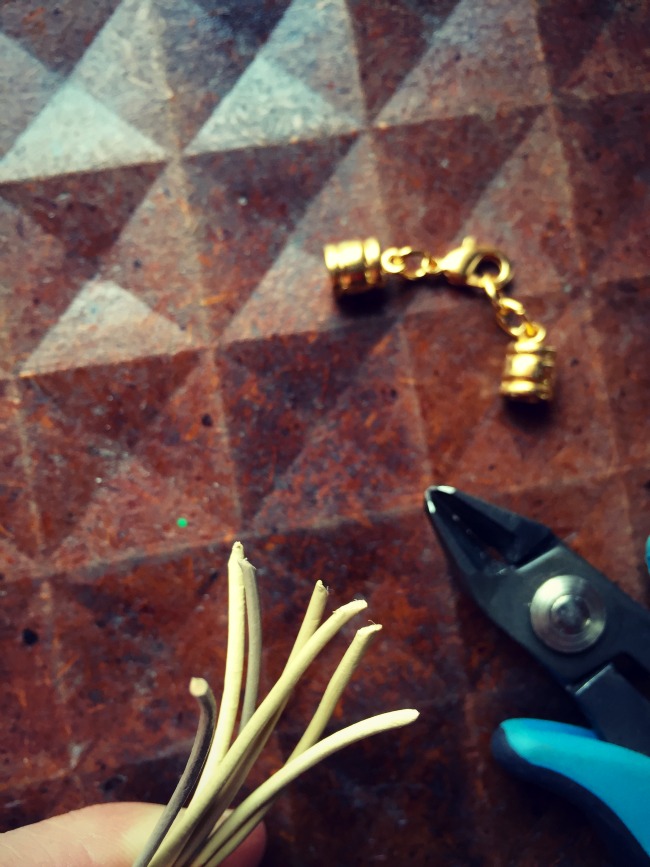
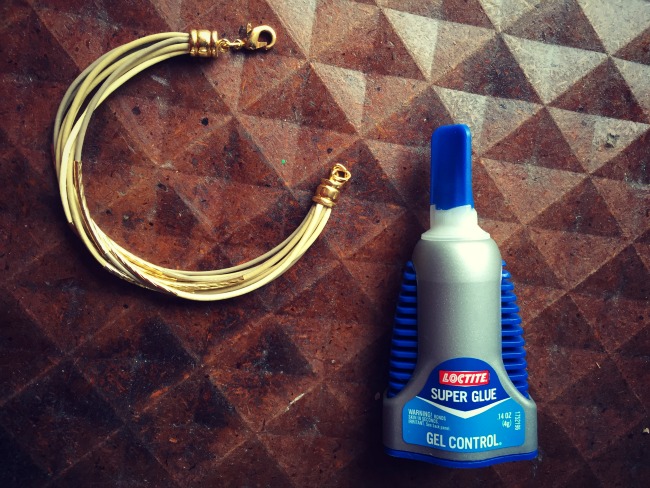
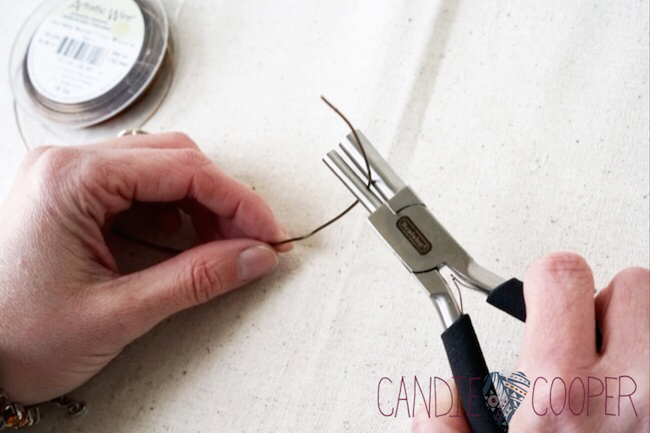
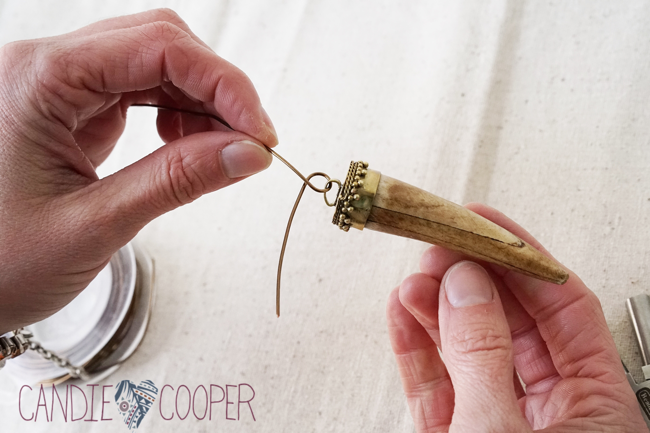
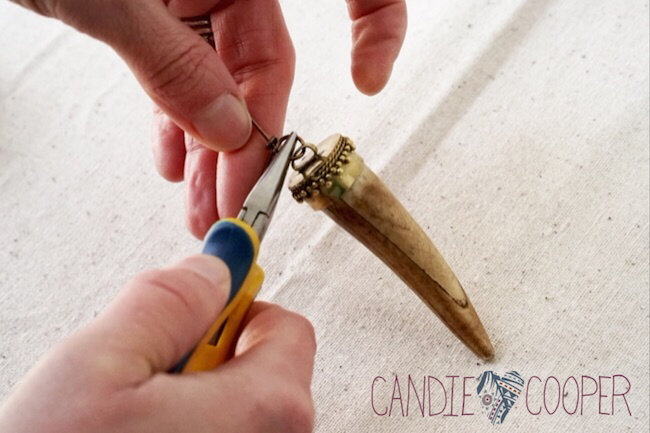
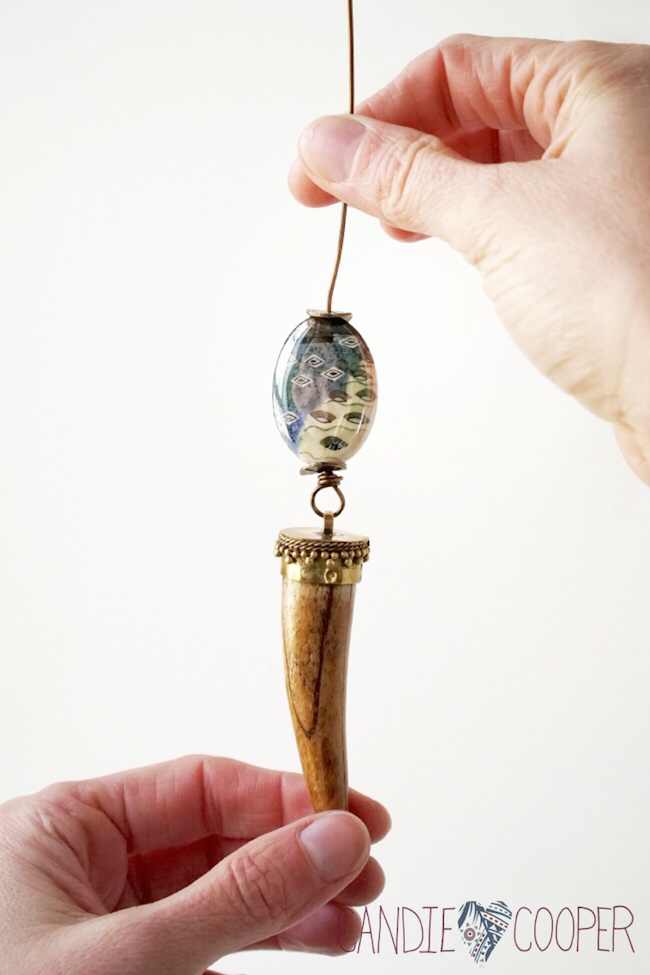
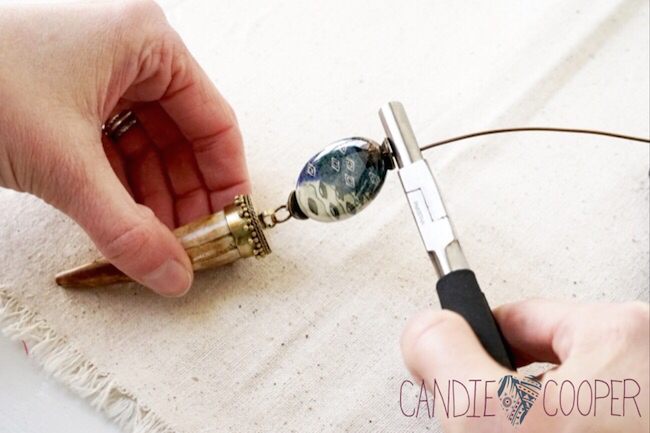
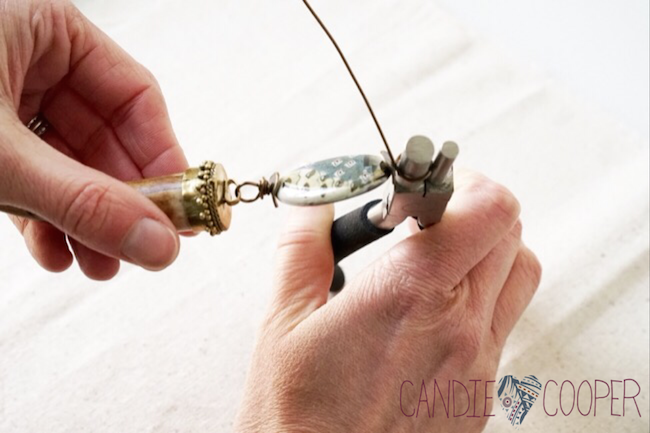
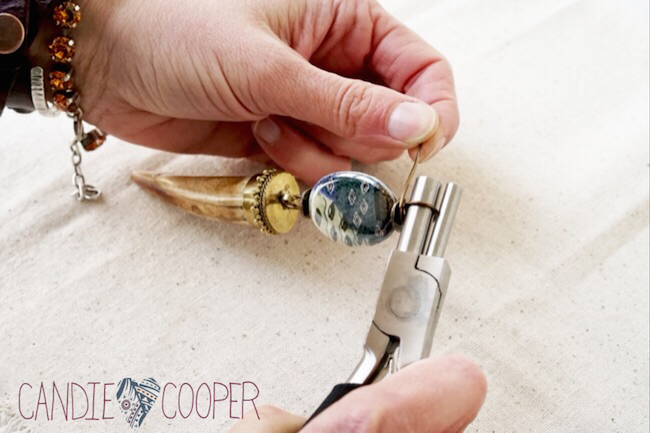
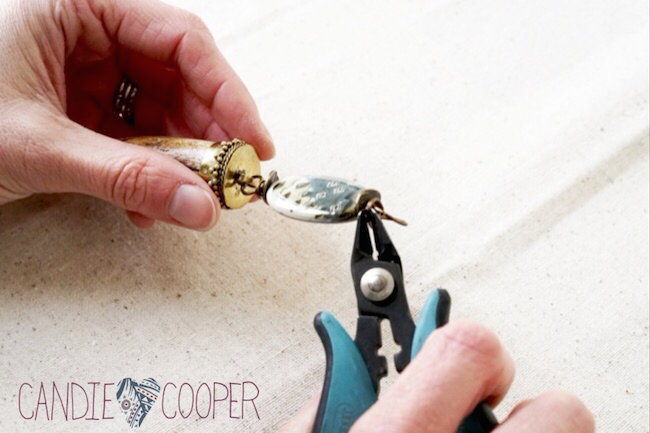
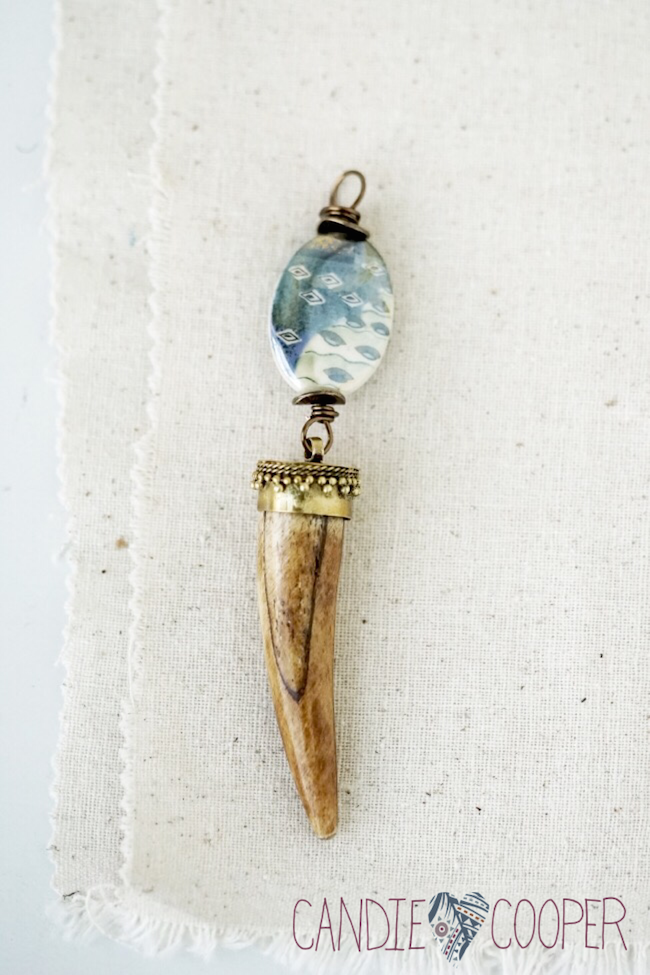
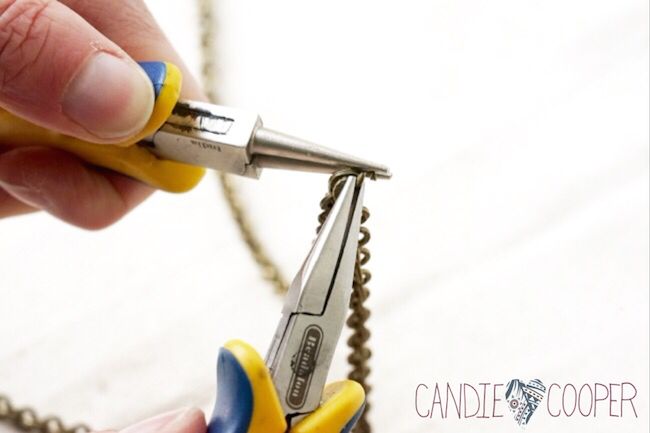
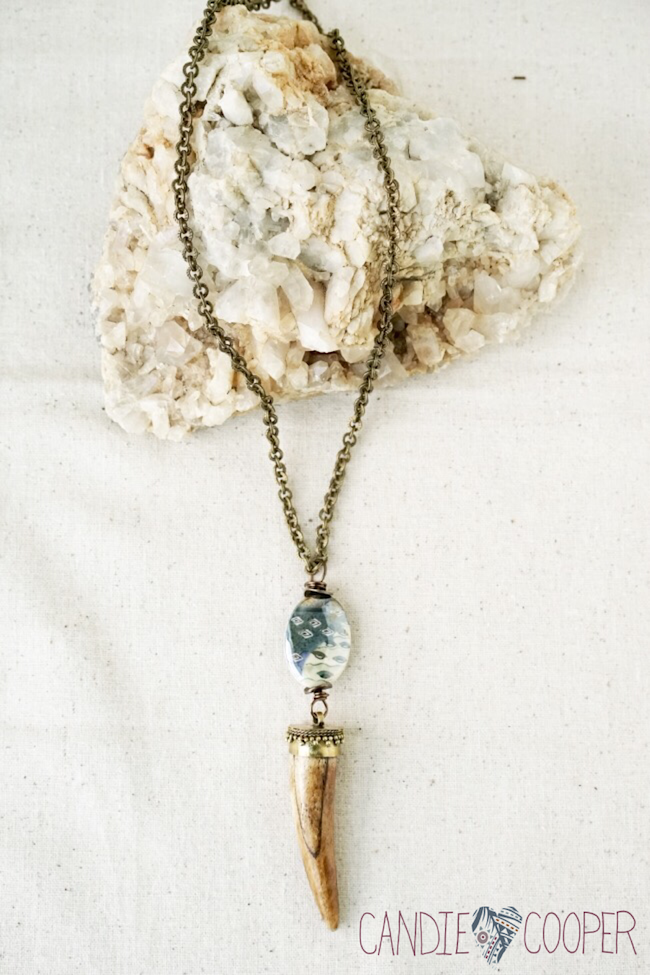
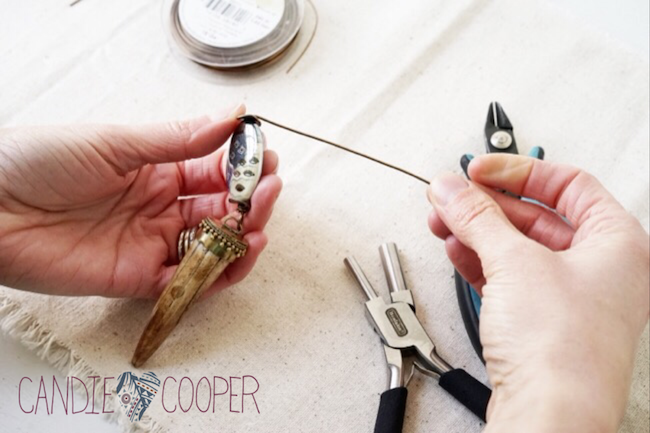
That’s really all there is to it.  Shout out to my vintage picnic basket for making the perfect surface to shoot this on.
Easy Jewelry Making with leathercordUSA leather from Candie CooperThis set is going to get me through winter.  Sunny days ahead people!

Check out LeatherCordUSA.com for more beautiful leathers and ideas.

DIY Elastic Skull Bracelets

Candie Cooper Fancy Skull BraceletDo you ever have an idea that rolls around in your head for a year, but you can never find that extra hour you need to make it? Probably because it was jewelry solely for me.  Anyway, that’s exactly what happened with this stack of bracelets.  It all started with some gum-ball head skull beads.  I wanted to make some Halloween jewelry without it really looking like Halloween jewelry.  Know what I mean?  No orange and black.  No dangling skull charms.  Very sneaky.  This fancy design worked.  People did double takes!  My mother said, “Candice, are those skull beads?”  “Why yes Mother, they are.”  So fun to wear!  Make one.  Make eight!  Don’t over-think the bead order–just string them!  I made mine with hefty 1mm diameter beading elastic and Jesse James focal beads between the skulls.  Tie the ends of the elastic in a surgeons knot and touch the knot with clear nail polish.  Let it dry and go on with your bad self!