Into the Woods Tassel Necklace

In To The Woods Tassel Necklace by Candie Coooper
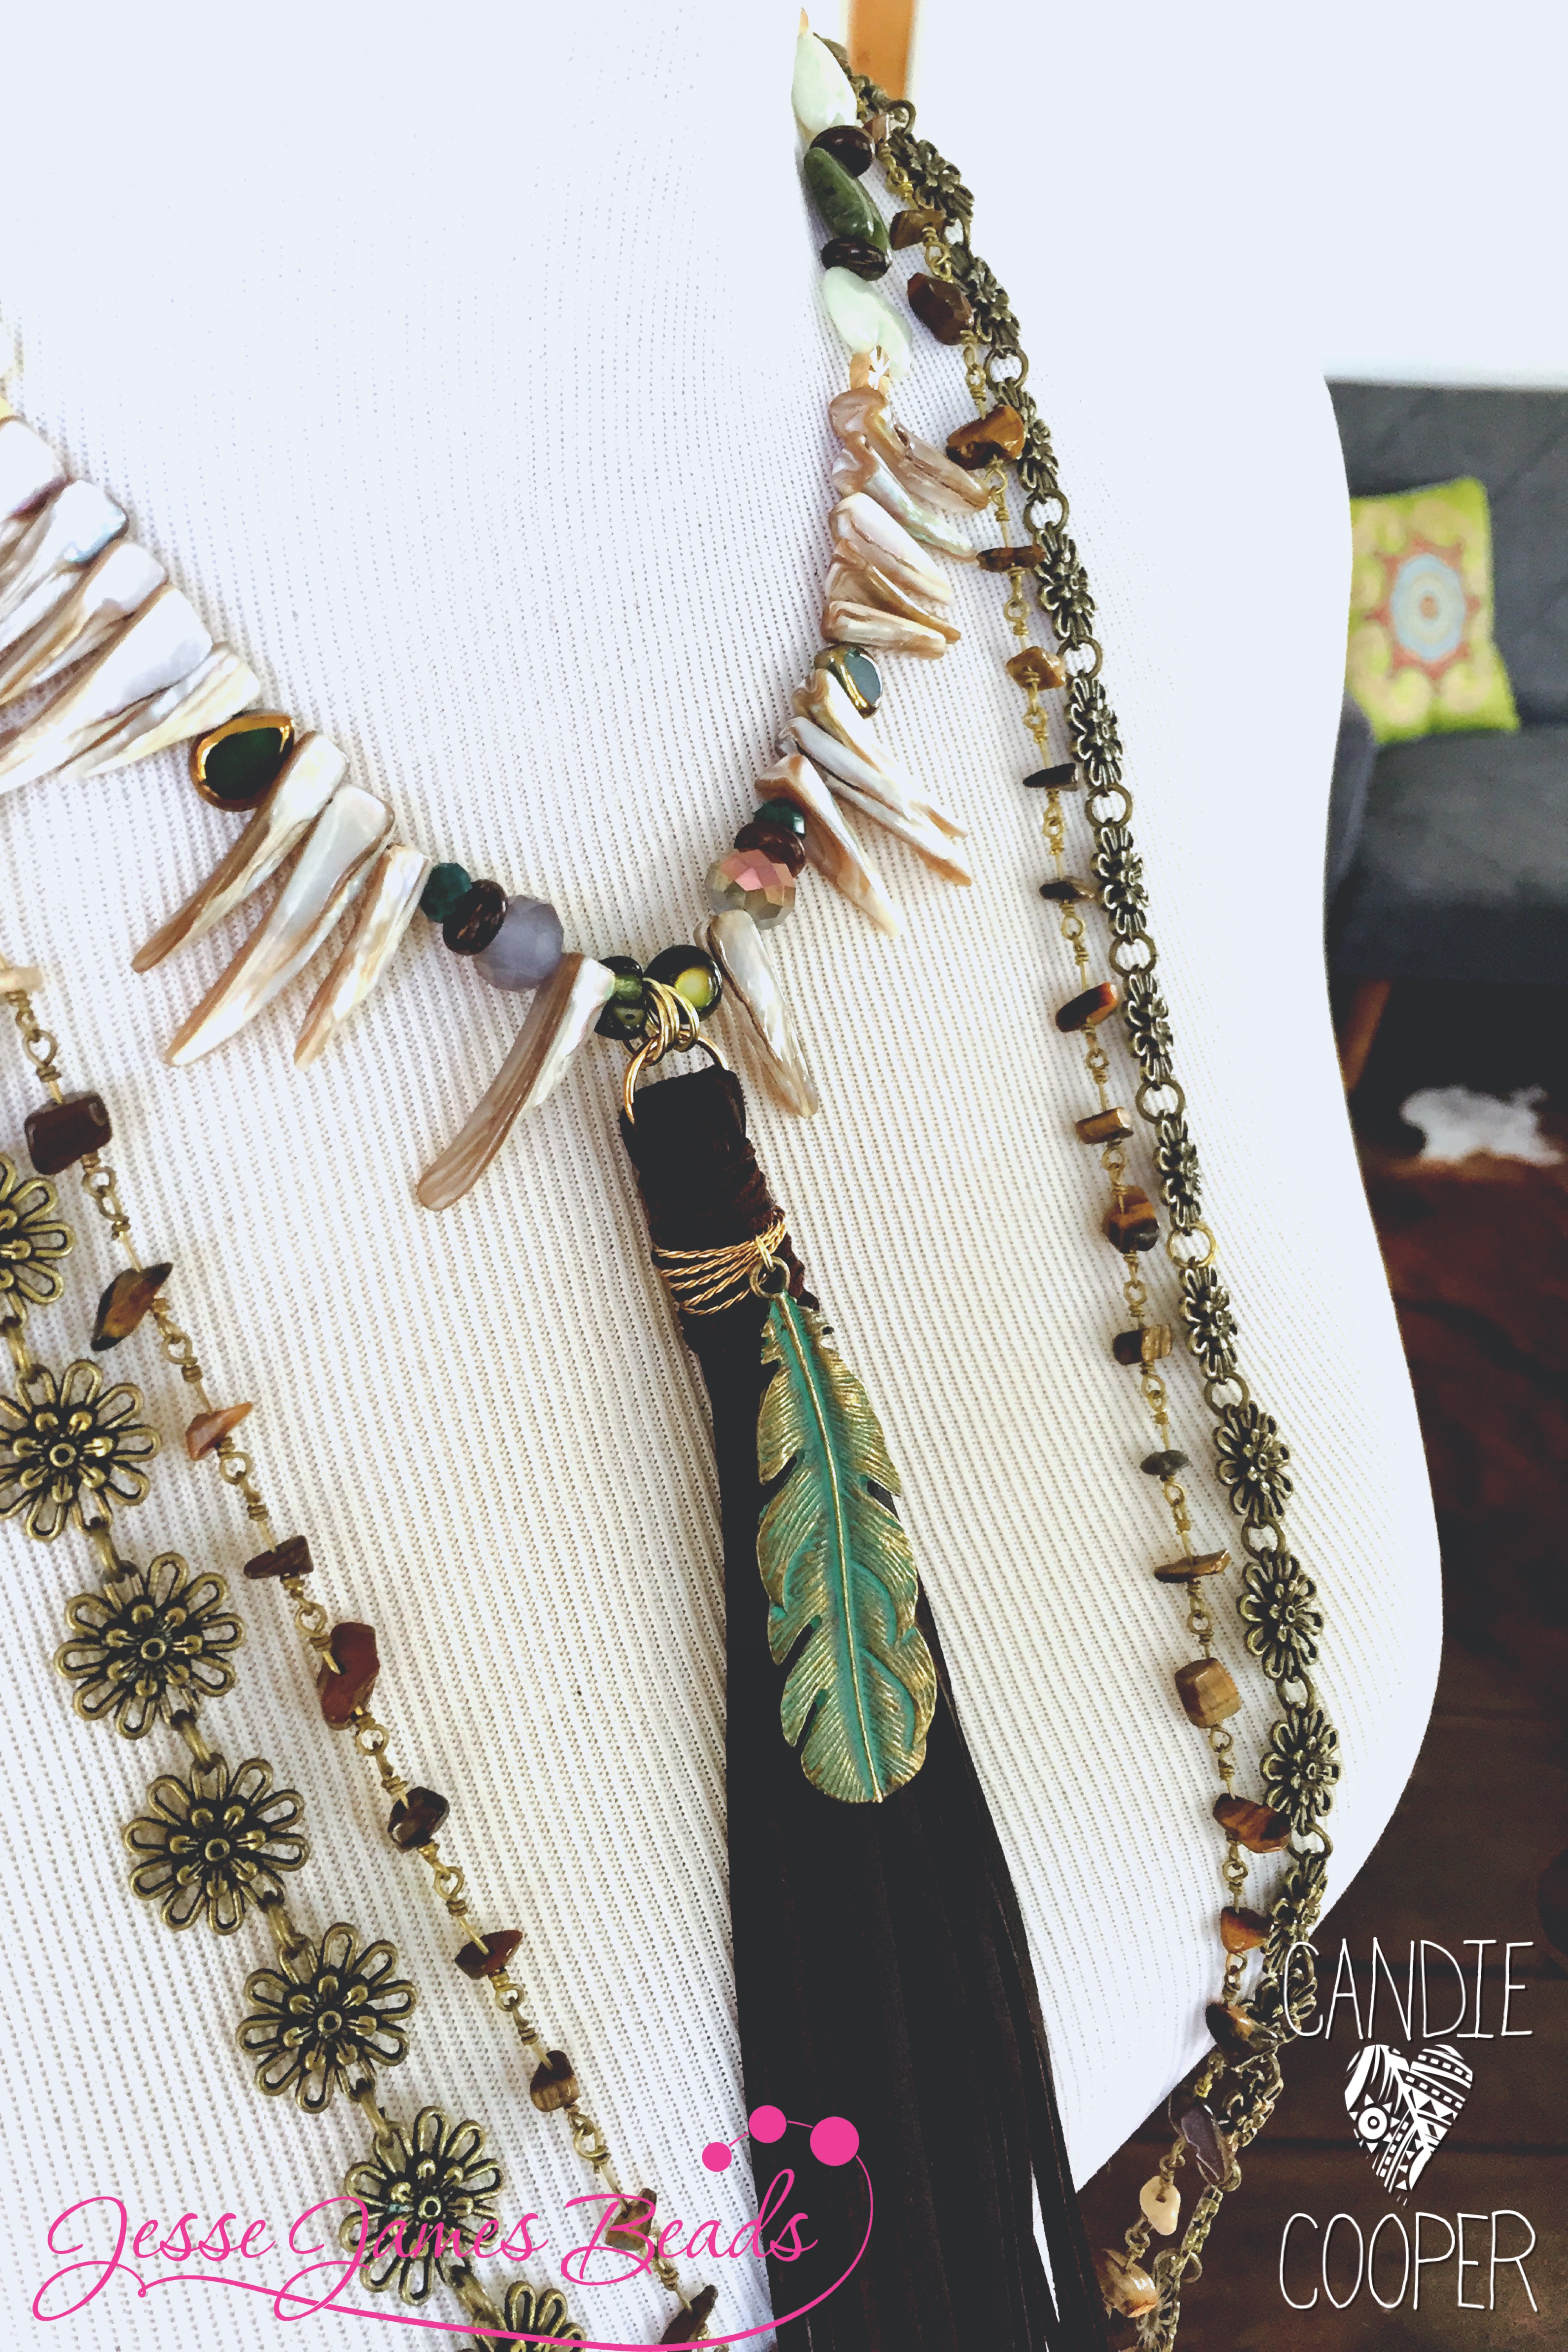
In this Facebook Live Video I showed you how to make the Into the Woods Tassel Necklace.
This video was sponsored by Jesse James Beads and Beadalon, all opinions are my own.

In the video I show you how to layer a pendant with a tassel and how to do some basic wire wrapping. Tassels have been a hot trend for a while and something that I love to add into my jewelry. Tassels can be made from a lot of different materials but today I will be showing you a chain tassel.

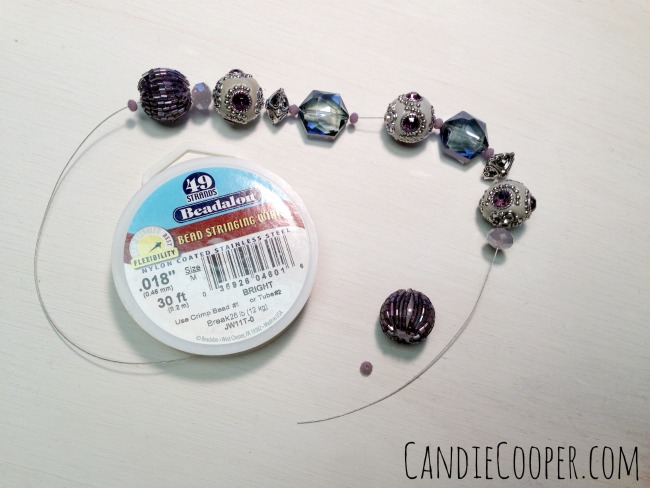
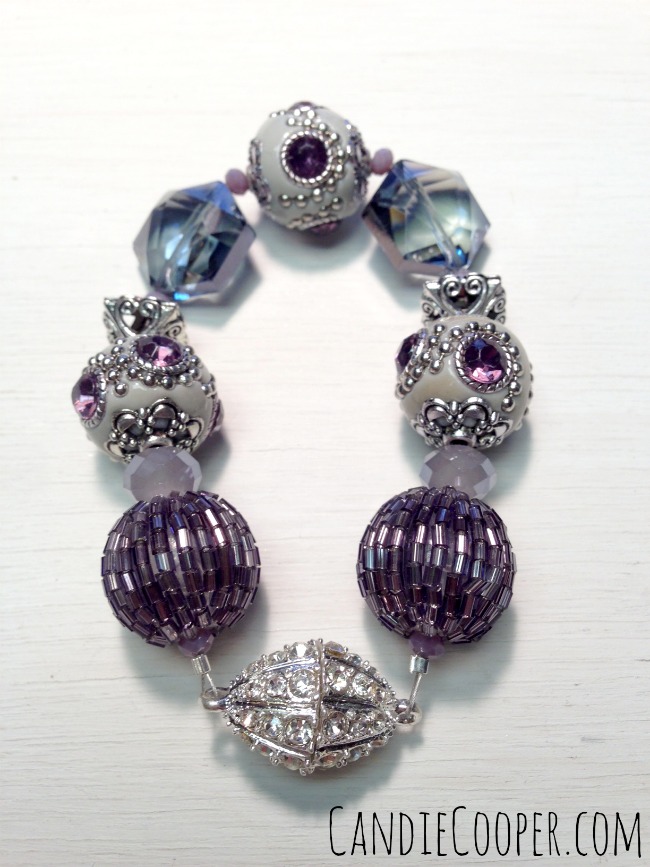
This necklace features Jesse James Beads’ new collection, Into the Woods. This is a beautiful earthy collection that you could use in so many ways. This necklace could be made with any beads but the Into the Woods collection really gives the piece a unique edge.

Keep reading to see where you can purchase the other supplies for this project.

When you make this project you can select any color pallet that you like. You can try to mix different pallets to get a different look each time with the same technique. If you make this project head over to my Facebook page and post a picture so we can all be inspired! While you are there be sure to turn on the notifications to see the LIVE Facebook videos. There is a new video almost every weekday at 2:30pm EST.
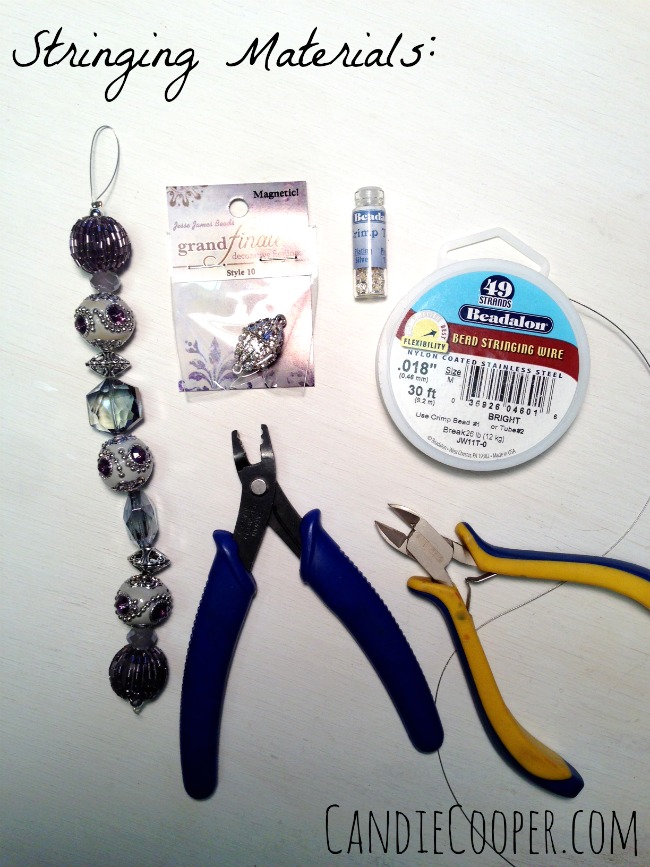
Supplies:

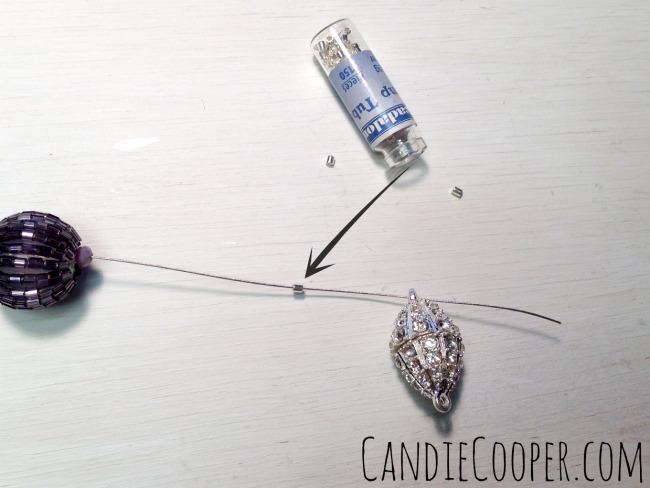
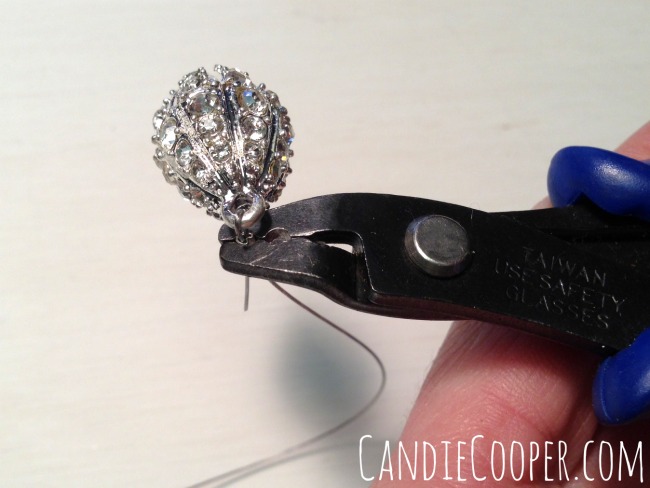
We already talked about the beads needed for this tassel necklace but there are a few other items you will need to finish the project.

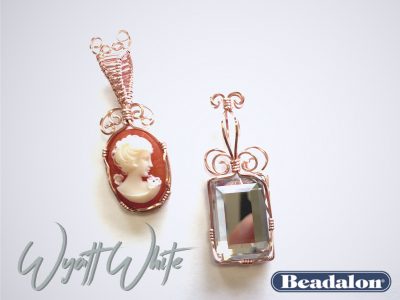
You can find wire and chain for this project on Beadalon’s website. If you need a bail making plies to complete the project you can pick up the bail making plier with your Jesse James Beads order or you can see the full selection of jewelry making pilers on Beadalon’s website.


LIVE from Beadalon-Wire Wrapped Cabochon Pendants with Wyatt White

This post sponsored by Beadalon.  All opinions are my own.  Thanks Beadalon for supporting mine and many others love of DIY jewelry.Wire Wrapping BailsIs anyone else intrigued with pendants like these?

They just. don’t. stop.

Wire turning and twisting, up then down and around and ta daaaa–you’ve got a pendant.

Yesterday on the live show, I had Wyatt White from Beadalon show the basics of making wire wrapped cabochon pendants.  He actually shows how to make the wrapped crystal on the right using a Swarovski faceted flat back.

According to Wyatt, you can set lots of things with this technique.  He’s a wizard and if you’re curious about wire wrapping and setting cabs, definitely watch this video.  He has designed special banding pliers from Beadalon that make the wrapping process really easy.  So many comments were expressing excitement about these pliers.  We like easy around here so thanks Wyatt!Beadalon Wire Wrapping Giveaway

Materials:

Wire Wrapping Component & Stone Setting Booklet, by Wyatt White

Double Band Banding Pliers

Single Band Banding Pliers

Practice Wire Kit

Candie Cooper and Wyatt WhiteWatch the replay of the live video for how to make amazing pendants like these.  And join us daily on my Facebook page at 2:30 EST for fun daily doses of DIY jewelry and mixed media techniques.


How to String a Bracelet

How to String a BraceletAre you ready for your life to be changed forever?  Here is a tutorial I created this afternoon to explain how you can transform a pile of beads into a beautiful bracelet.  It’s to kick off my first ever classes at Beadfest Philly in April.  I’m so excited!!!  It only took a mug of chicken soup, 2 raspberries, a cup of coffee, piece of fruit leather and a little chocolate for me to pull it together.  I hope you find it a useful resource and something you want to share with your friends and family.   And if you live in the Philly area, I hope you’ll come take a class with me at Beadfest.

Let’s get rollin’!

Stringing MaterialsThese are the basic materials needed.  Before I forget, this post is brought to you by Jesse James Beads and Beadalon.  They both help keep the lights on in my studio.

Back to the materials:  Wire cutters, crimping pliers, 49 strand .018 nylon coated beading wire, crimp beads, beads and a sparkly Upper Clasp.

One thing that is so very important:  the crimp beads must correspond to the wire diameter.  Look at the bottom of the wire spool–it says use with crimp bead #1 or crimp tube #2.  The crimp bead and tube packages will be marked with #__.

I promise, I’m not making this stuff up.

String the beadsI always use 49 strand .018 Beadalon wire for my stringing projects.  It’s so versatile and can hold the big chunky beads with no problemo.  The Jesse James Beads were strung (almost) exactly like they were on the wire.  I added a few tiny 4mm glass beads in the middle and at the end.  The nice thing about JJB is they come in 7″ strands.  My wrist is 7.5ish so by the time I strung the beads and included the clasp length in the total bracelet length, I had a perfectly sized bracelet.

Row of beads length + clasp width + approx 1/4″ for wire connections = your bracelet length

Crimp beadWhen you are happy with the bead section, string one crimp bead followed by one end of the clasp.

crimp on claspRun the tail of wire back through the crimp bead and slide it up next to the clasp.  Leave a little room for the clasp to move freely.

Crimp 1Crimping pliers have two openings in the jaw–the “U” shape and the “EYE.”  That’s what I call them at least.  First, hold the wires so everything stays in place and put the crimp bead in the “U” shape. Clinch the crimping pliers together to mold the crimp bead into a “U” shape.

Crimping 2Turn the crimp bead 90 degrees and place in the “EYE” shape.  Clinch again so it folds the crimp bead over (kinda like a squashed “C”).

cut the wire from spoolSlide all the beads to the clasp/crimped end of the bracelet and cut the wire from the spool so you have an 1.5″ or so to work with.

I string with the spool attached so I don’t waste wire.  You can pre-cut the wire too.  For me, that’s just too much of a commitment though (laughing).

Pull out the slackRepeat for the other side, stringing a crimp bead and the second part of the clasp.  Run the tail of wire through the crimp bead and pull out all the slack.  Not so tight that the beads can wiggle a bit though.

Final crimpCrimp again as you did before.  It’s helpful to put the flush side of the crimping plier up against the beads (see arrow above).

Cut the wireNow cut the tail of excess wire.  Check twice that you have the right wire and cut once (ancient bead stringing secret).

bracelet 4And that my dear friends, is all there is too it!  Are your ready to get this bead stringing party started or what?! Hokey Pokey time!!!

Bracelet Un-latched Now they are doing the loco-motion!  Woot-woot!

bracelet 3Here they could be doing a little line dancing or the funky chicken dance.

No wait.  They are doing the Macarena.

Heyyyyy Macarena!  These beads came to play, y’all.

Speaking of party….guess what?  I’ve got a little giveaway for you!

Bead Stringing Starter Kit GiveawayThis is a beginning bead stringing kit!  It has Beadalon wire, crimping pliers and crimp beads along with the infamous Jesse James Beads below.  It will also include a sparkly Upper Clasp like the one on my bracelet above.

Is that Macarena song stuck in your head too?  Mine too.  Sorry about that!

a Rafflecopter giveaway

Happy entering and thanks for showing the like love to these dear sponsors!