The Leather Scout Bracelet

This post brought to you by LeatherCordUSA.com.
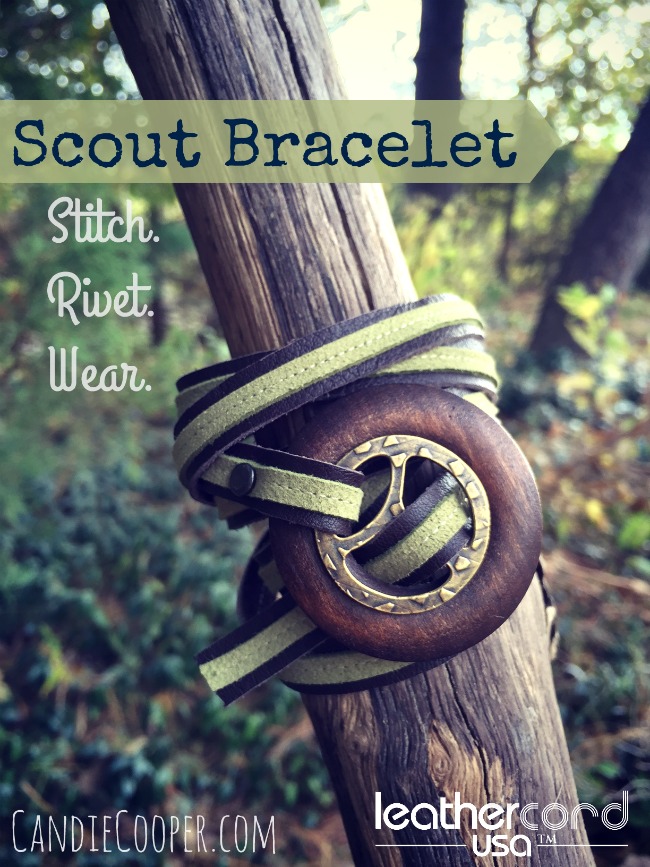
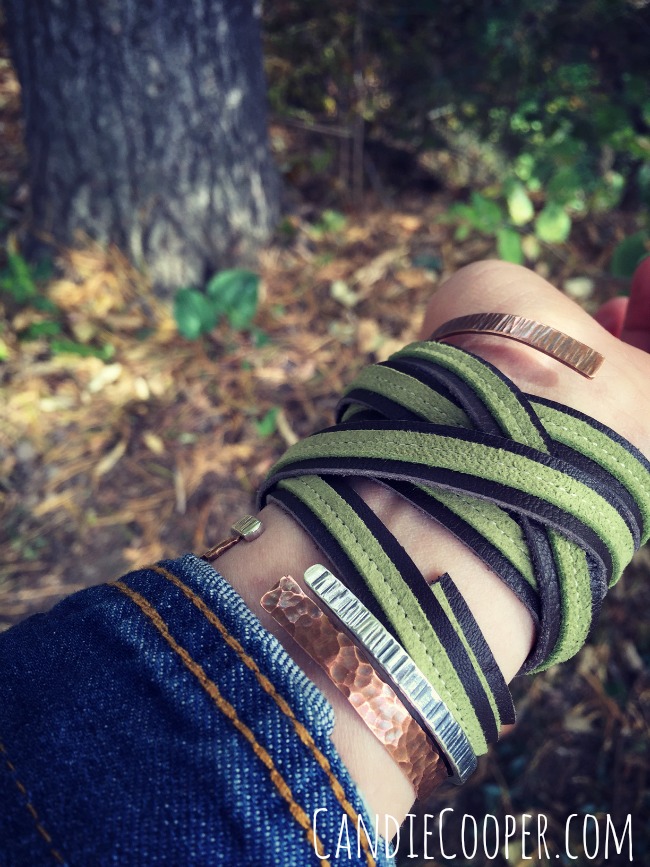
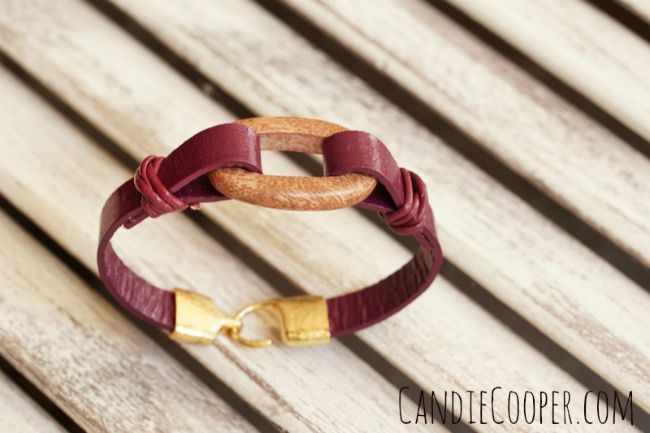
Jewelry Making-leather stitched bracelet on @candiecooper blogGood morning, campers!  Autumn is here and the mornings are brisk, making that hot coffee taste extra amazing.  I call this the scout bracelet because of the colors, textures and the fact that it seems kind of multi-purpose:  you can wear it as a bracelet, a necklace, or tie the tent pulls together (you know, if you need too).
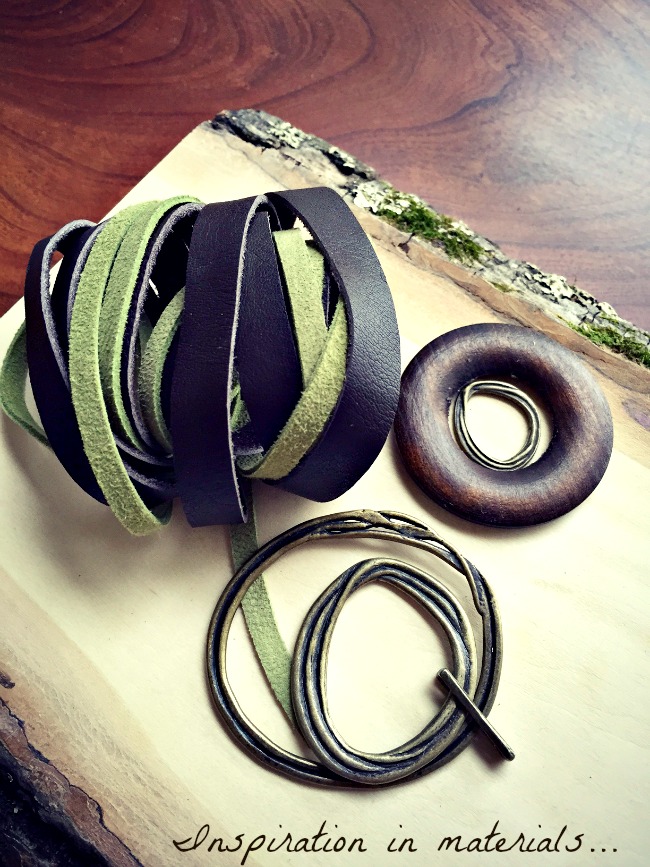
LeatherCord USA leatherWhere do you find inspiration?  For me, it’s often in the materials.  I was collecting and gathering things around my studio to use with the LeatherCord USA  suede and 10mm wide deertan lace.  It comes in a ton of colors, but this green and brown combo was perfect for a fall statement bracelet.
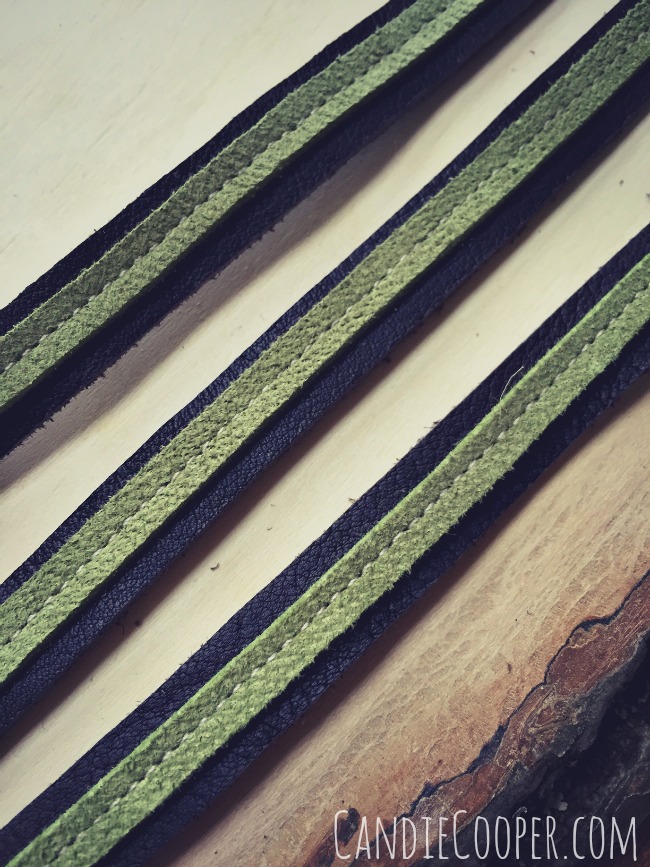
Jewelry Making  Stitching on leather - Steampunk JeweleryI really didn’t want to cut this nice long piece of lace so the first thing I did was experiment with stitching the two leather types together.  The pair has a nice contrast with the matte suede and smooth deertan lace surfaces.
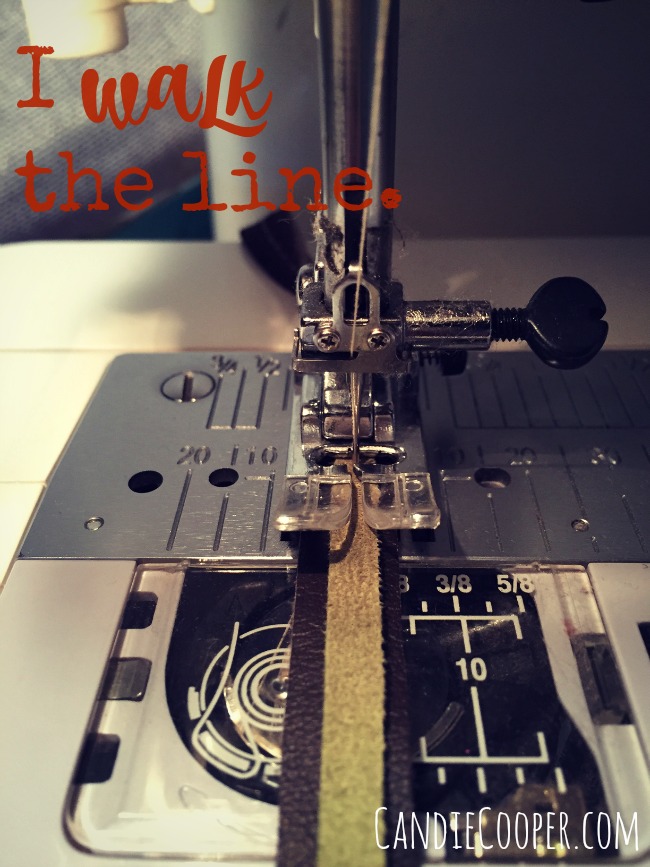
Sewing on leather with LeatherCord USA strap and suedeNot going to lie—it was tricky keeping the leather and stitches in the center.  I slowed the machine to “as slow as it would go” speed.  This is an all purpose needle, but I plan to put a new one in before I start piecing fabric together again.  After a yard of sewing leather, it’s sure to be dull.
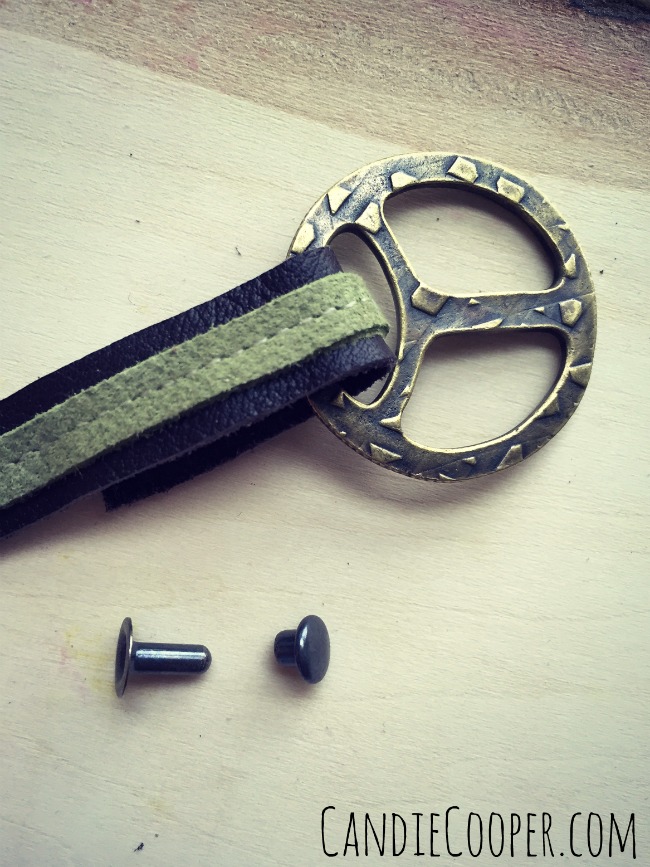
Making a leather bracelet with a rivet and buckleNot in the photo is this buckle clasp and rivet from Tierra Cast.
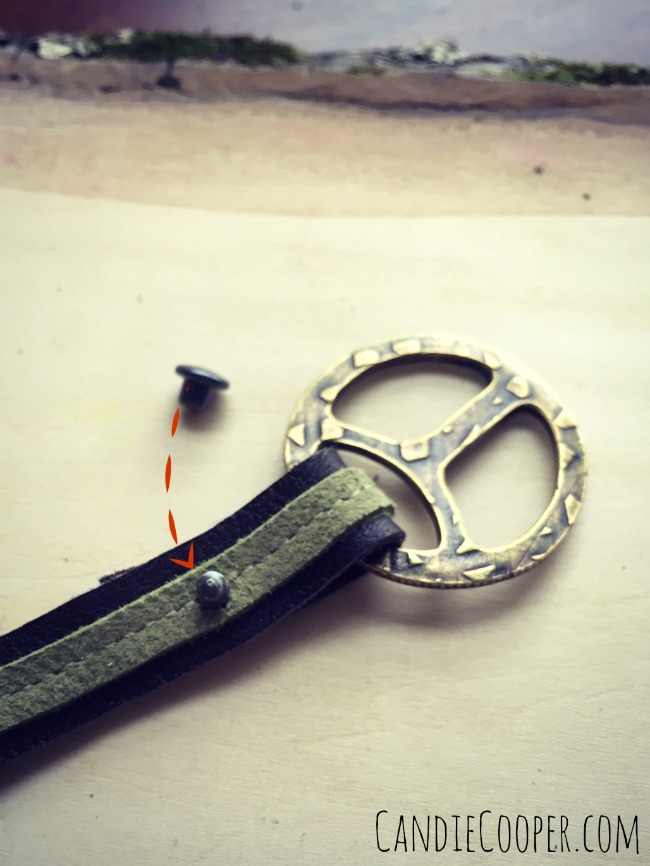
Riveting Leather in Jewelry MakingYou’ll need to hole punch the leather so it fits perfectly with the rivet diameter.  Put the skinny part in through the layers back to front and top with the mushroom piece.
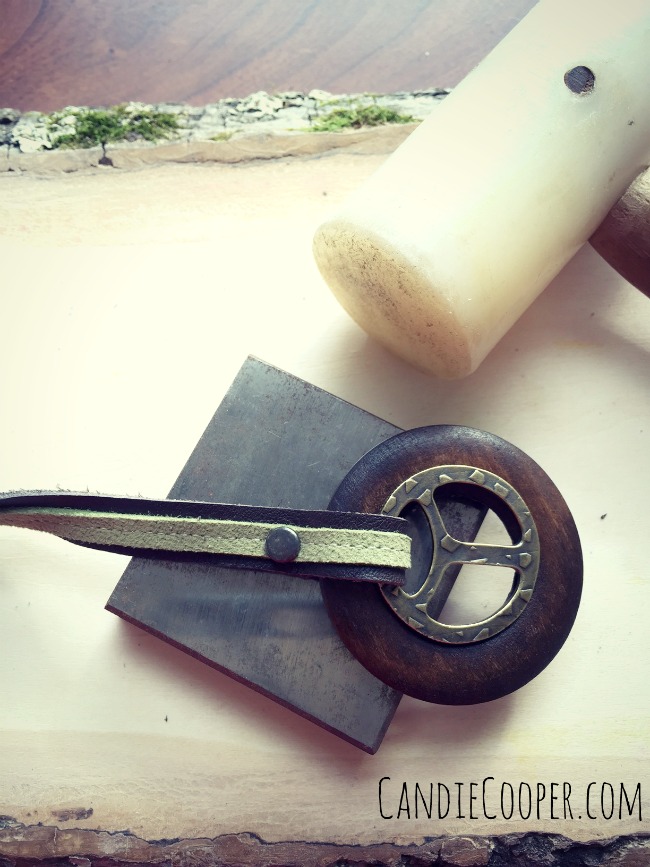
Riveting leather together how-toI changed the buckle piece up a bit by adding the wood ring to make the bracelet a little more chunky.  Place the rivet section on top of a steel block and tap the top of the rivet with an eyelet setter or simply a plastic mallet.

Tip-seal the back side of the leather at the end with Fieblings Leather glue to keep the stitches from unraveling.
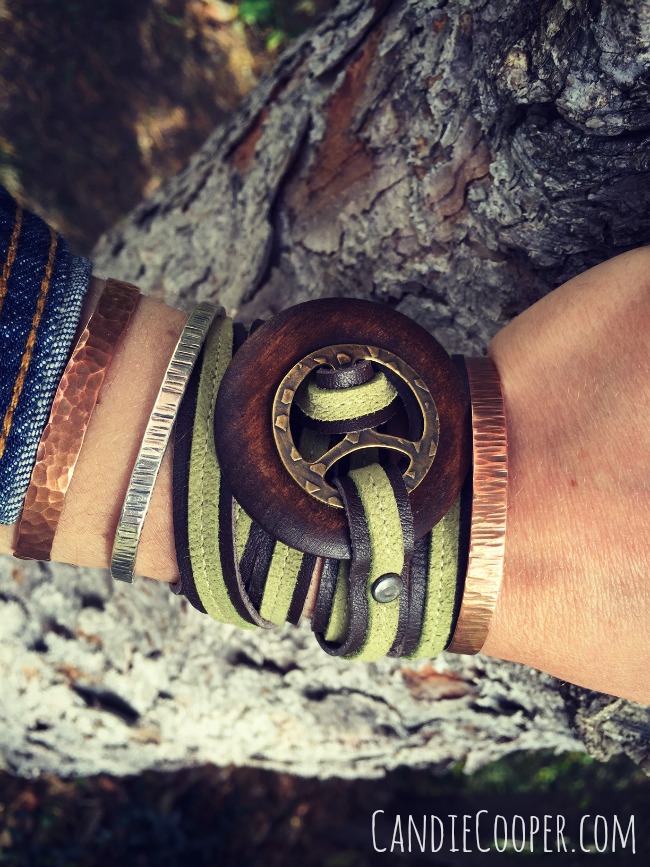
Jewelry Making-Wrap Around leather braceletWrap and roll.  I love lots of wraps, but you could do a couple and trim the leather exactly how you want.
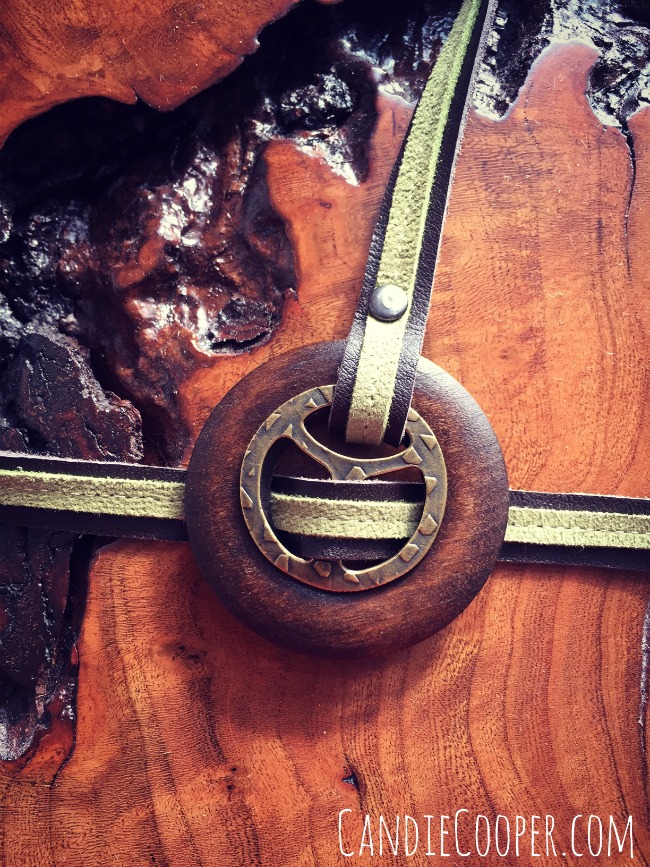
Steampunk Jewelry Idea with leatherLeather wrap around bracelet with LeatherCordUSA.com leatherDid I mention I love lots of wraps?
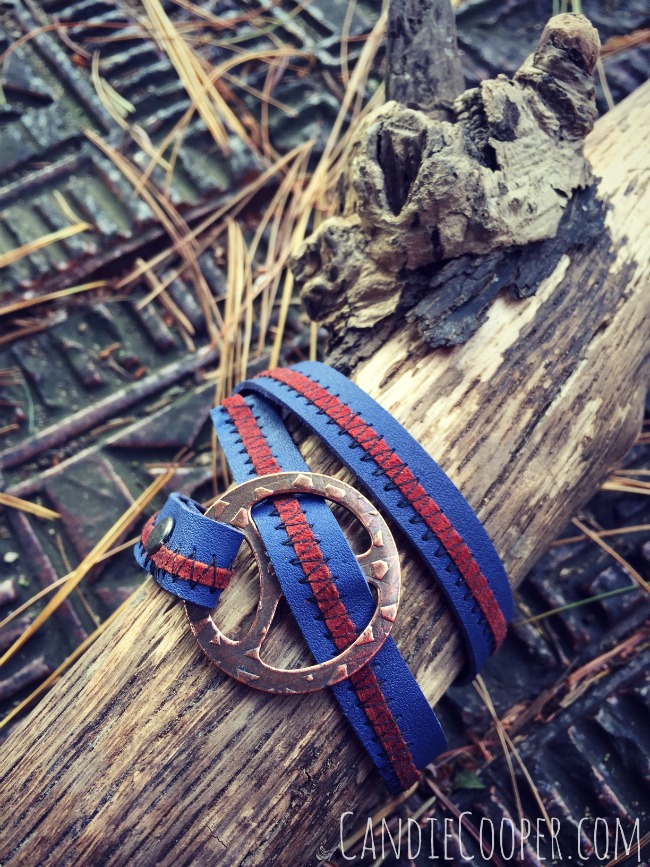
Steampunk Jewelry Idea-Wraparound stitched leather braceletHere’s another experiment with zig zag stitching and colorful leather.  Only a couple wraps here…and you don’t have to “walk the line” while sewing!  For the free spirits in my life.
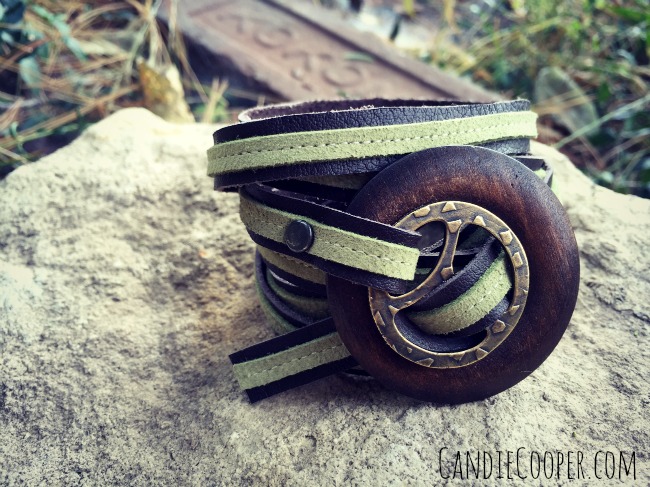
The Scout Bracelet- Steampunk Jewelry IdeaThis would make a great steampunk jewelry accessory piece too.

Visit LeatherCord USA for great leather products and more ideas.
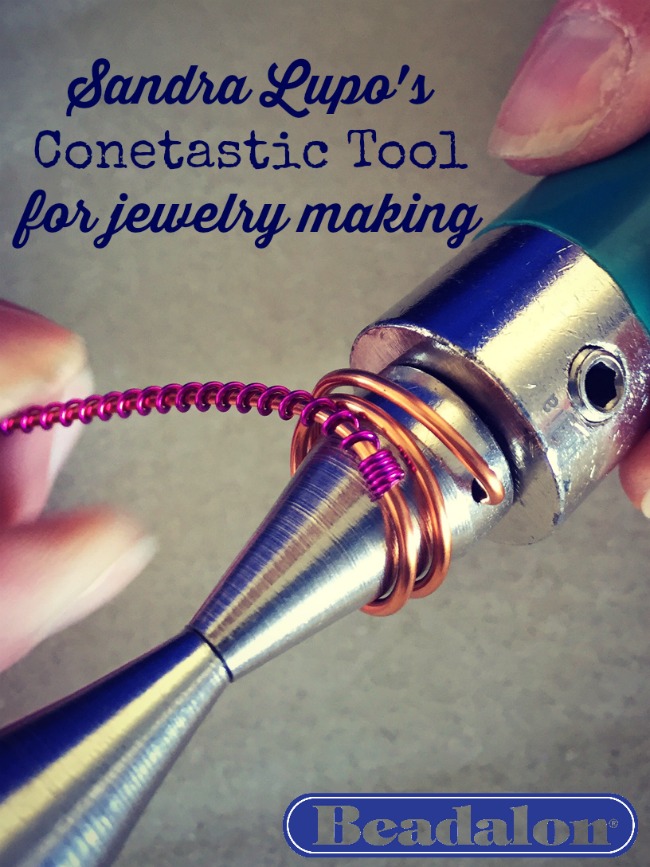
How to Use the Conetastic Inverted Attachments

This post brought to you by BEADALON!Wire Working-Sandra Lupo's Conetastic Tool for Jewelry MakingAre you into wire working?  Then you need to know Sandra Lupo!
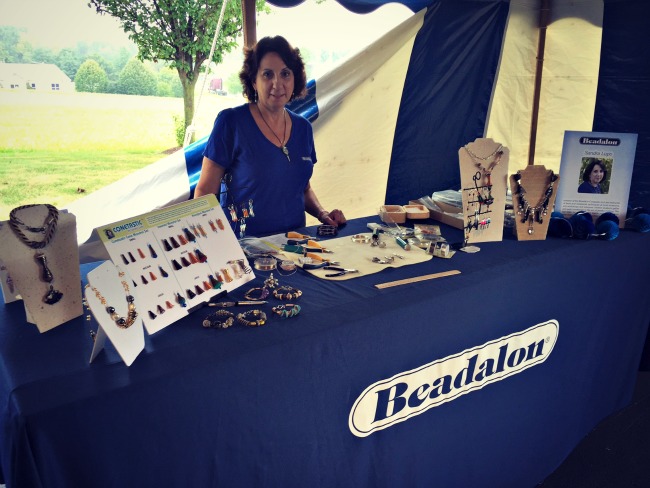
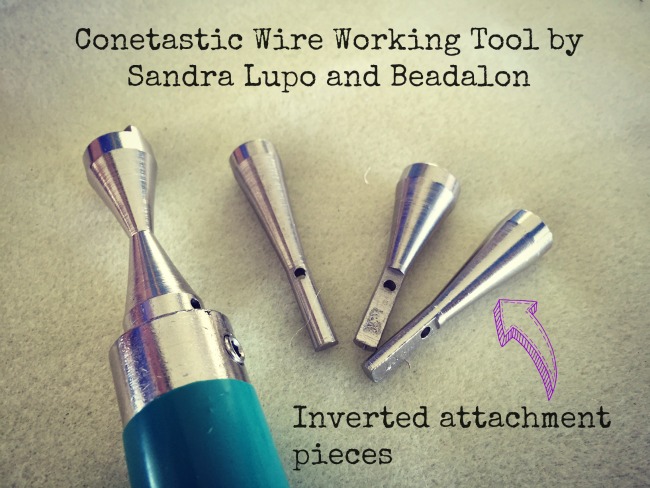
Sandra Lupo demoing her Conetastic tool at the Beadalon Tent SaleShe is the inventor of the Conetastic tool for Beadalon.  The Conetastic is a fun tool that makes wrapping wire into well, a cone shape!  I’ve gotten to know Sandra over the last year and she is one of the most delightful people in the DIY jewelry making industry.  That makes using her tool that much nicer, doesn’t it?Conetastic tool invertedFor the tent sale, Sandra showed off her new Inverted Conetastic attachment pieces.  Now you can make two bead cones at once OR a cool bead piece like she did for this tutorial.  Remember those Steampunk earrings I made about a year ago?  Those were made with Conetastic 1.0 attachments.
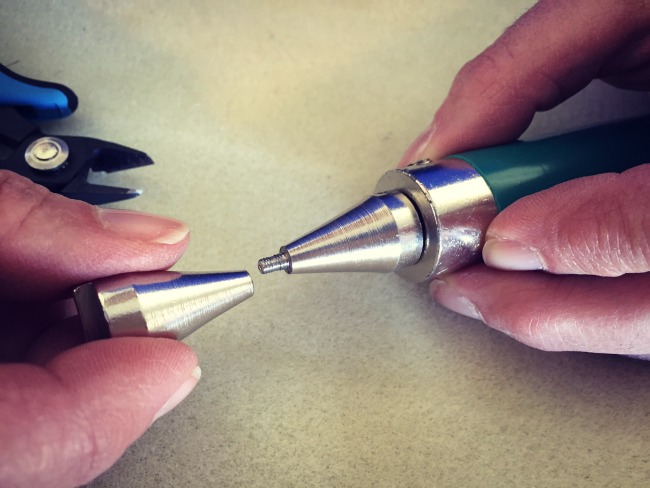
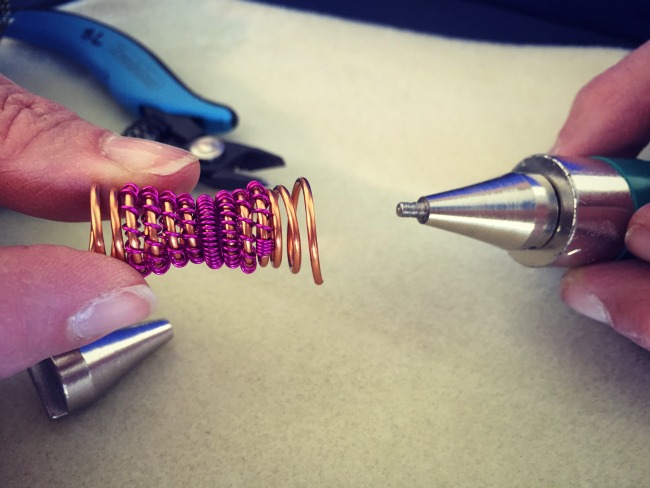
Inverted Conetastic Tool how toJust like before, the inverted version comes in multiple sizes, so pick your size and attach one end to the Conetastic handle piece and the opposite cone piece threads onto the tip.  It should look like an hour glass shape.

These are the days of our jewelry making lives….

Sorry, I couldn’t help it.
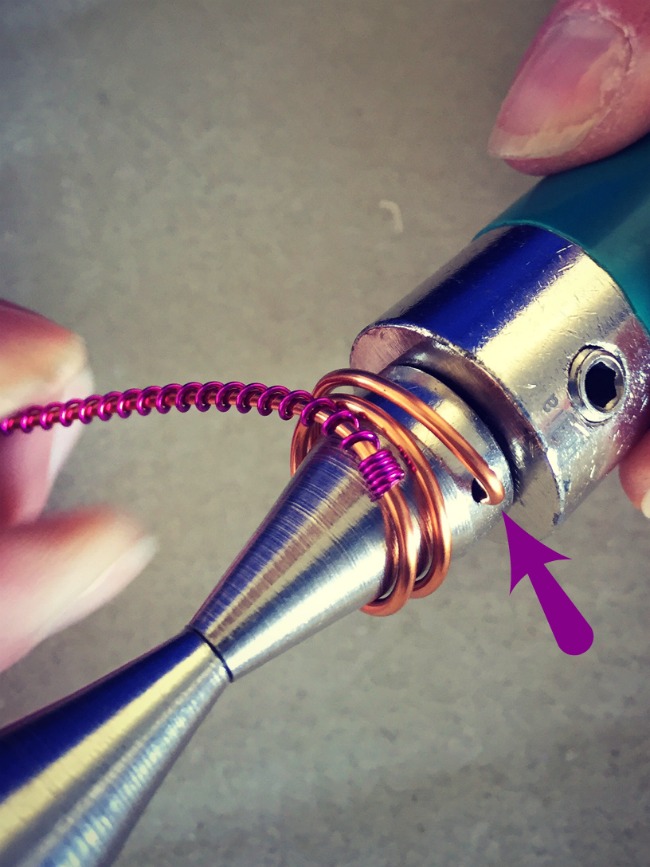
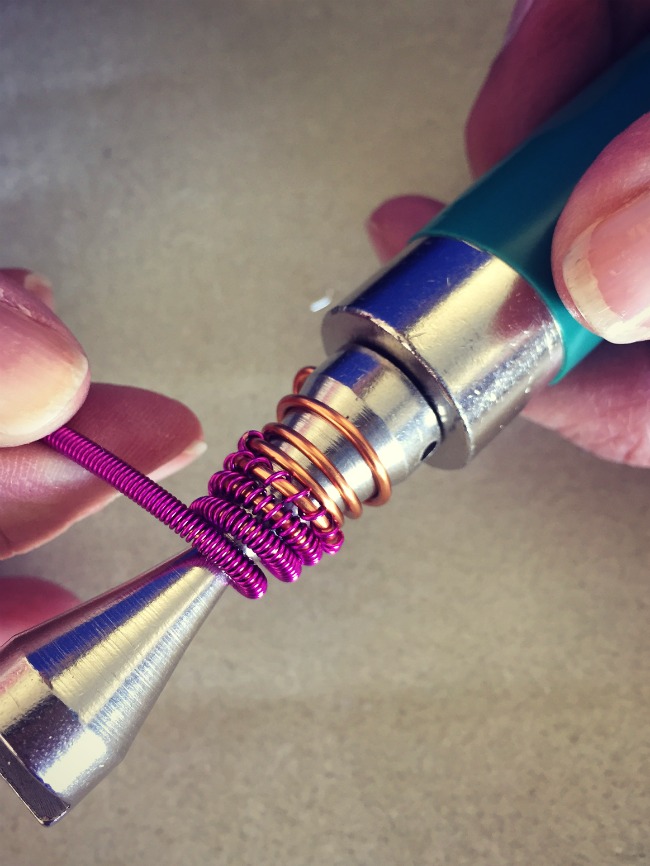
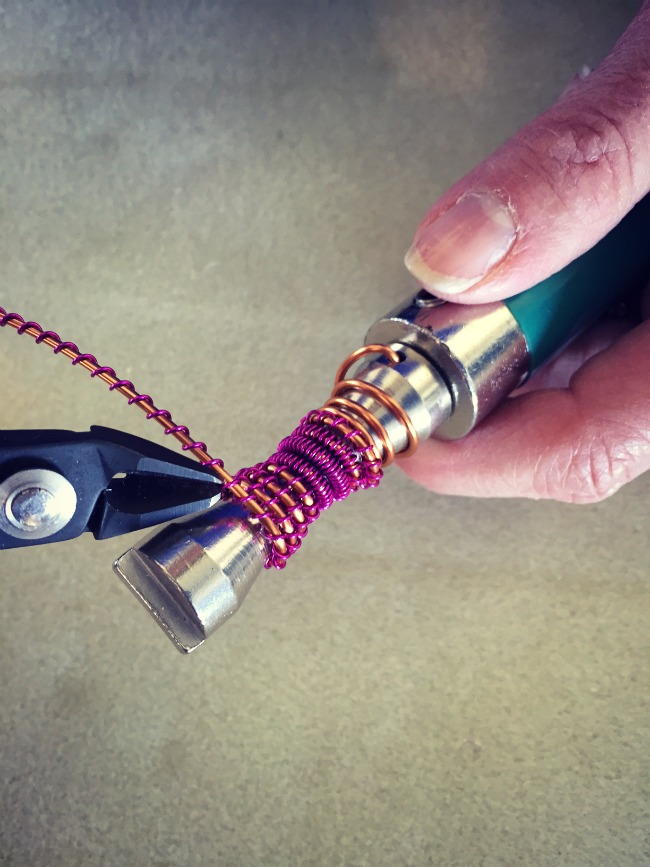
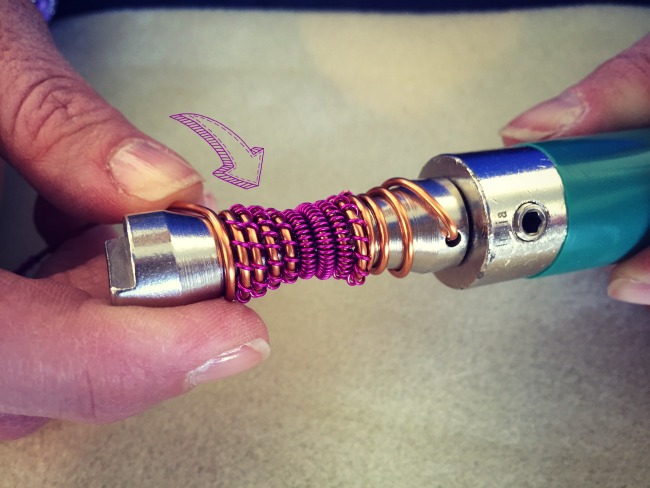
Wire working-make bead cones wth the Conetastic toolAnchor your wire in the hole at the base of the cone (see the arrow?) and start turning that wire!  For this one, Sandra made a long coil in pink thin Artistic Wire using the Coiling Gizmo (also by Beadalon) and slid them onto the copper colored wire to add a second layer.Conetastic bead cone making tool in actionKeep wrapping through the hourglass shape.
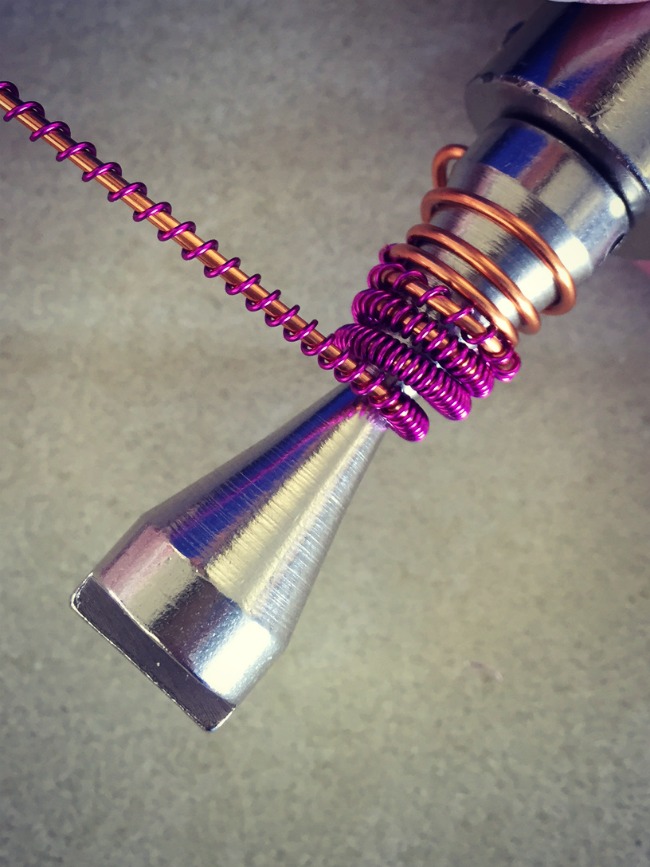
Jewelry Making Conetastic tool with Coiling Gizmo coilsShe pulled the coil out so you can see some of the metal underneath.  I was loving all of this layering action!
Conetastic tool for making jewelry findings by BeadalonThen she snipped the pink wire and finished wrapping how she started with only the copper wire.
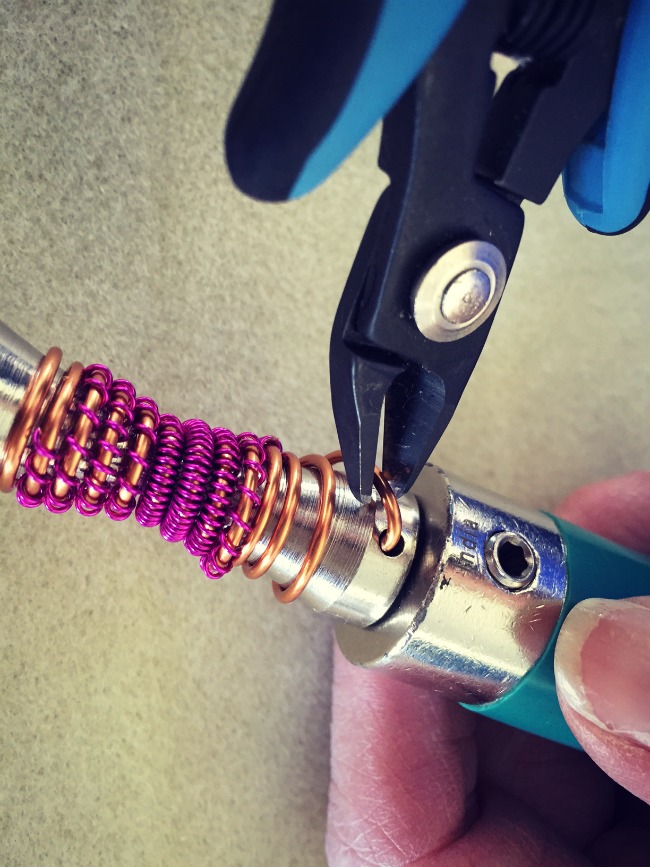
Inverted Conetastic tool from BeadalonThe variation in copper and layered pink is really fun right?  The possibilities! Conetastic bead cone makerNow to free your coiled bead from the Conetastic tool, cut the anchor wire…
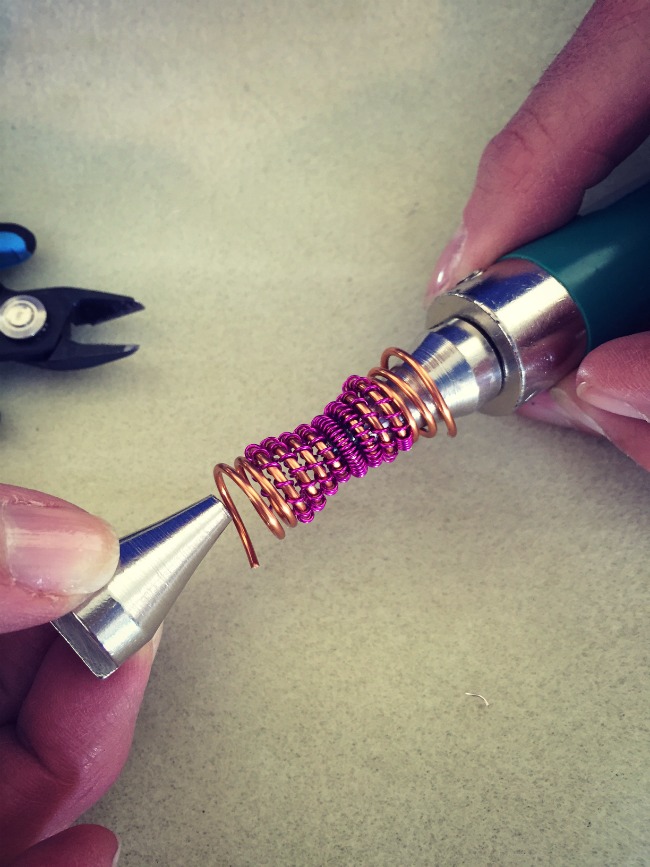
Jewelry Making - Inverted conetastic maker tool from Beadalon and Sandra Lupoand unscrew the top cone attachment piece.
Wire working for jewelry makers - Inverted Conetastic Tool to make beadsShore up the wire ends and tuck them in with pliers.  Ready to string.  You guys, this thing took seconds to whip up!  Amazing.  Here are a few ideas from Sandra’s stash on her table.
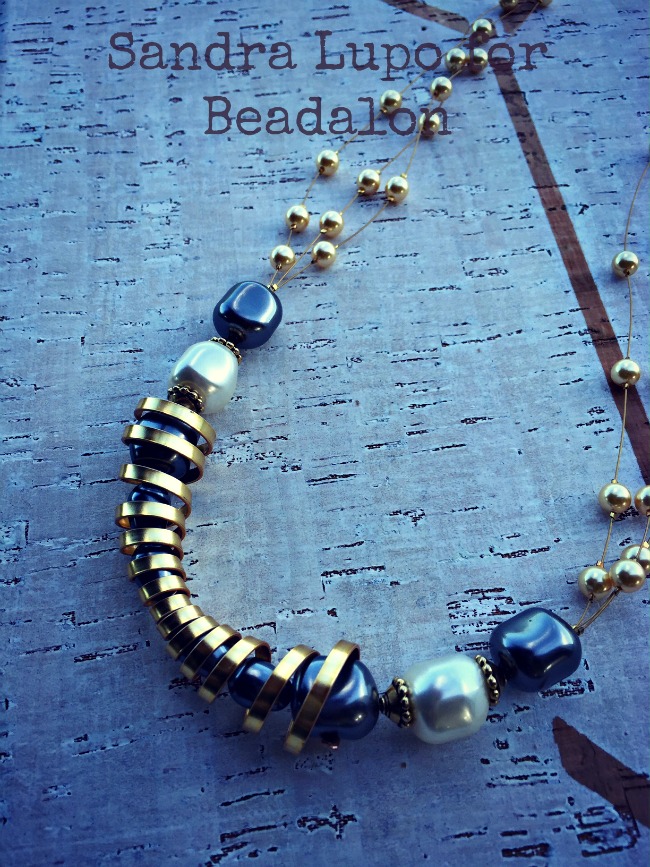
Sandra Lupo for Beadalon using the Conetastic toolCheck out how she stacked the cones on top of each other?  Also, how about that twisted Artistic wire in the bottom bracelet??  Hot.Using the Inverted Conetastic tool by Sandra Lupo with flat Artistic WireAnd for this one she used Artistic Flat wire.  The beads nestled down in had me at helloooo.

Good stuff Sandra!  Thanks for showing us how to use the Inverted Conetastic tool!  Here’s a link to Sandra’s website so you can see more Conetastic inspiration!

Katie Hacker and Artistic Wire Braid and Flat Wire

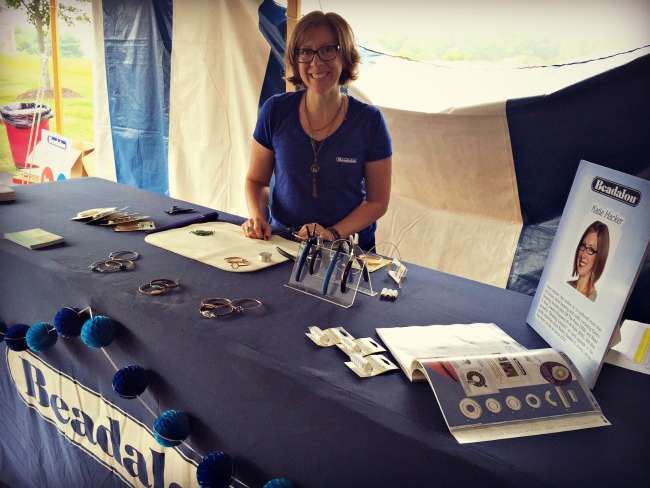
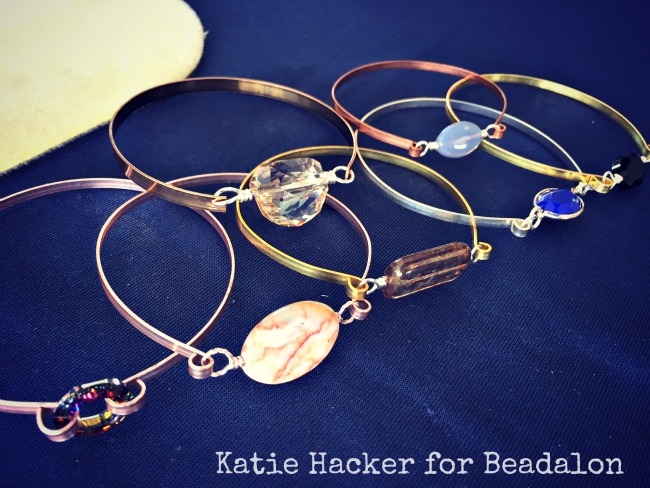
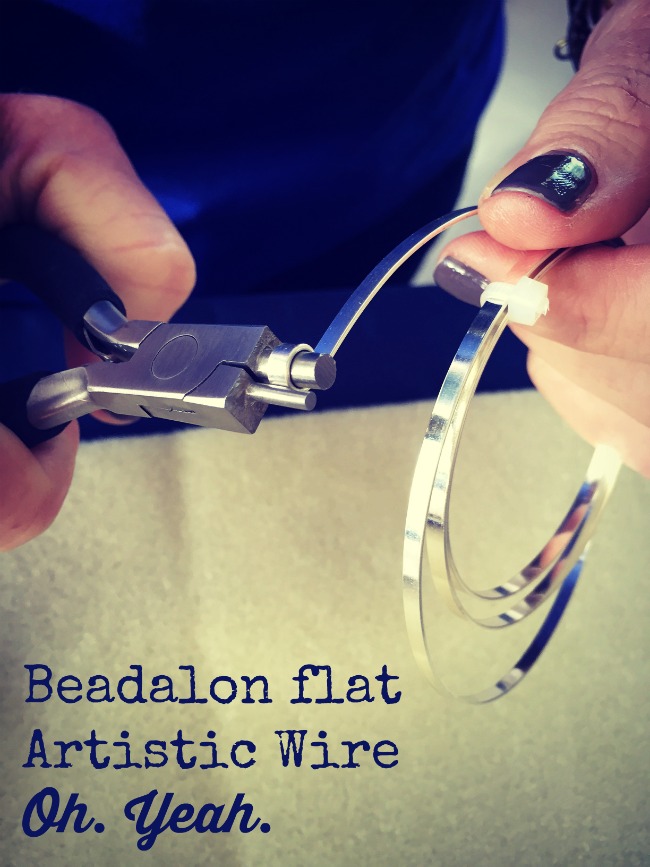
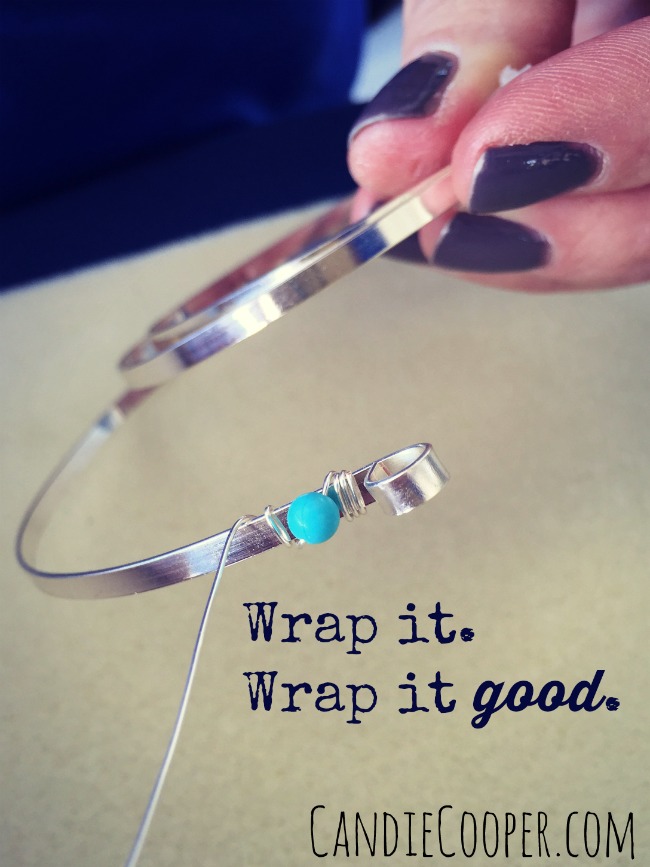
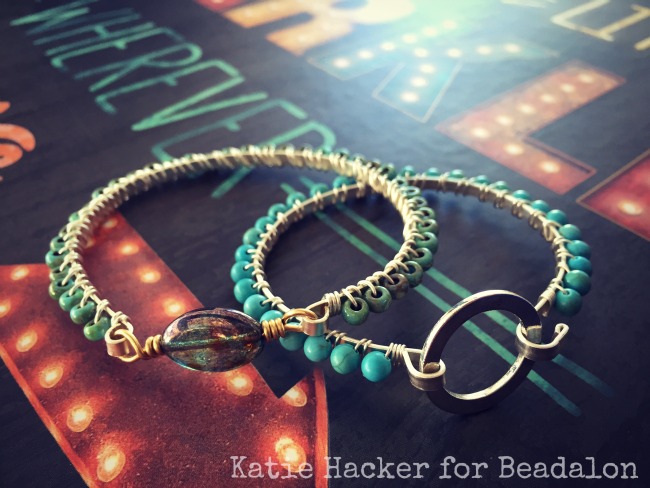
This post brought to you by the Beadalon crew!Beadalon Tent Sale Post PartyWelcome to day 3 of the party where we visit with Miss Kaaaatie Hacker!Good ol' Katie Hacker at the Beadalon tent saleIf you’ve been in the DIY jewelry world for any length of time, I’m positive you know Katie. She’s a good egg and one of my favorite people.  She also hosts the popular television show, Beads, Baubles, and Jewels on PBS.  Katie is the author of many jewelry making books and has been on the Beadalon design team for years.  Needless to say, she is a pillar in the DIY jewelry making community and I’m honored to call her a friend.Beadalon Braid wire adds texture to jewelryFor the tent sale, Katie was showing off Artistic Wire in braid (above) and flat versions (below).Wire wrapping Bracelets with flat Artistic WireBoth wires come in multiple metal finishes.  The wire is super sturdy so it holds and shapes beautifully.  I especially love hammering it.  Didn’t I mention yesterday on the blog that I wanted to hammer some metal links?  It might be my next favorite technique next to fringe….if fringe were a technique that is.Beadalon flat Artistic Wire in silverThe wire wraps easily and you can use regular round nose pliers to make loops at the end of it.  But! Have you seen Beadalon’s large bail making pliers?  They have a consistent cylinder tip vs conical.  Handy.Jewelry making Wire wrapping with Artistic Wire from BeadalonWhen you have your piece formed, you can wrap it with more wire and the like.  This will make it even more sturdy and add a little texture to the smooth surface.
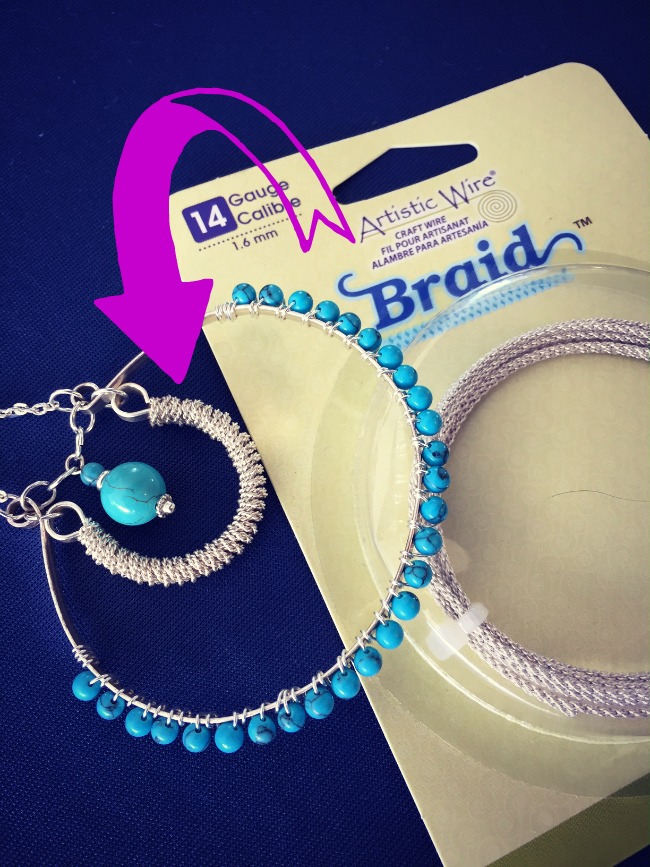
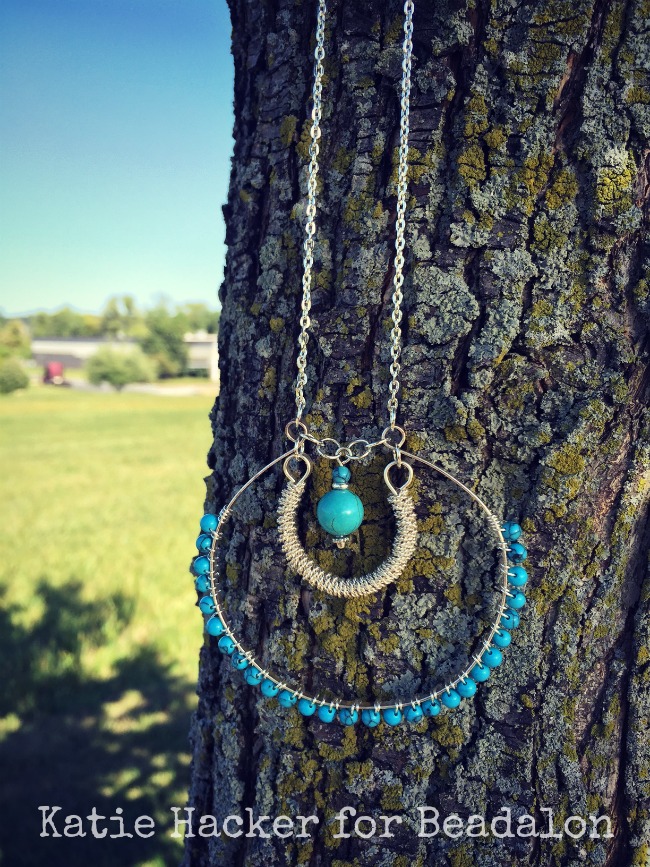
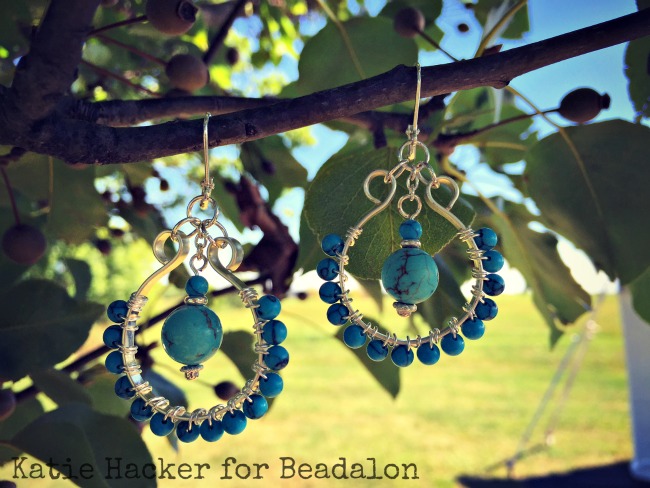
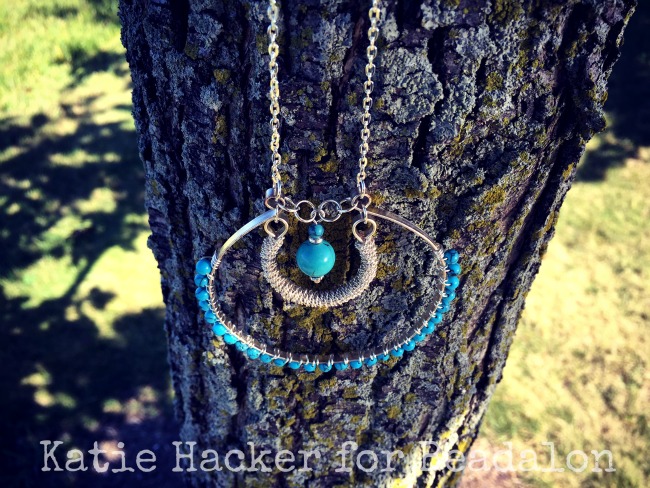
I love texture.Jewlery Making Wire wrapped bracelets by Katie Hacker for Beadalon with Artistic WireKatie Hacker's necklace with Beadalon flat Artistic Wire and BraidThis is the class that Katie taught at the tent sale. Katie Hacker Earrings with Beadalon findingsShe is masterful at designing projects that look like it took hours to make, but you could make in an evening.  I love that kind of instant gratification.Beadalon flat and braid Artistic wire - Design by Katie HackerDid I mention all the classes were $25 at the tent sale?!?  And it included all the supplies and then some!Candie and KatieKatie and I flew out to Pensylvania together and first stop…Michaels Craft store for some last minute supplies (and a few treats for ourselves).

Enter the giveaway below for some surprise Beadalon swag!  I’m picking 4 winners this time.  Best of luck!
a Rafflecopter giveaway

DIY Fringe Earrings

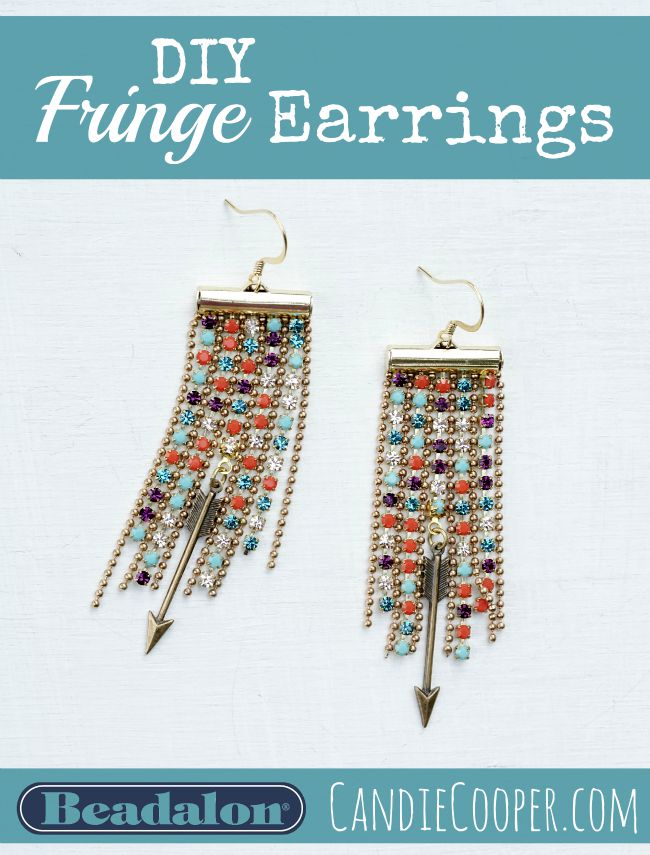
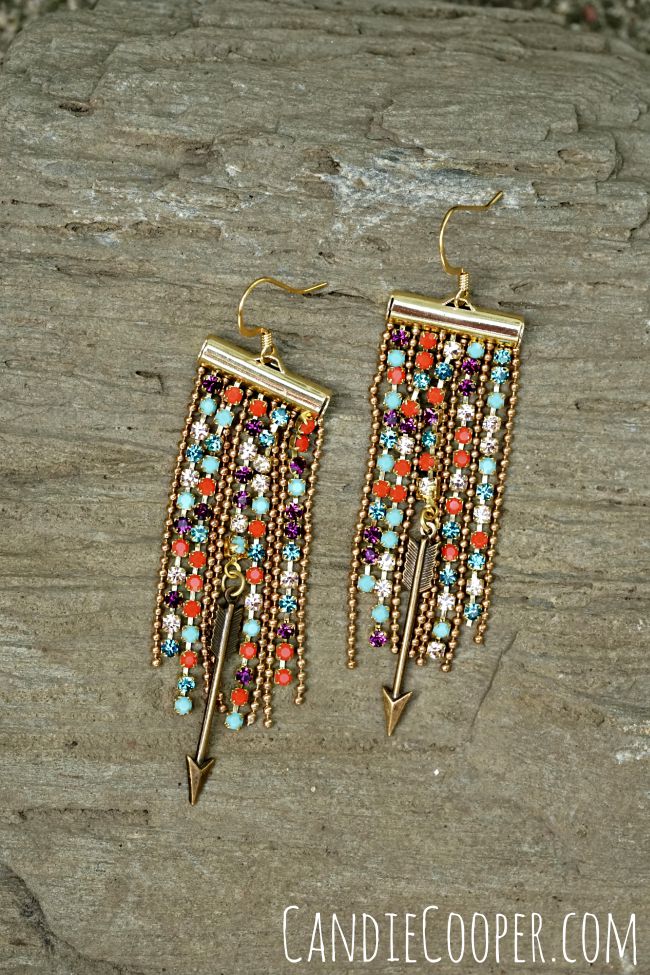
This post brought to you by BEADALON.DIY Fringe Earrings Make them in less than 30 minutes with Beadalon slide connector findingsJ-Lo called….she wants her earrings back.

Ah, fringe.

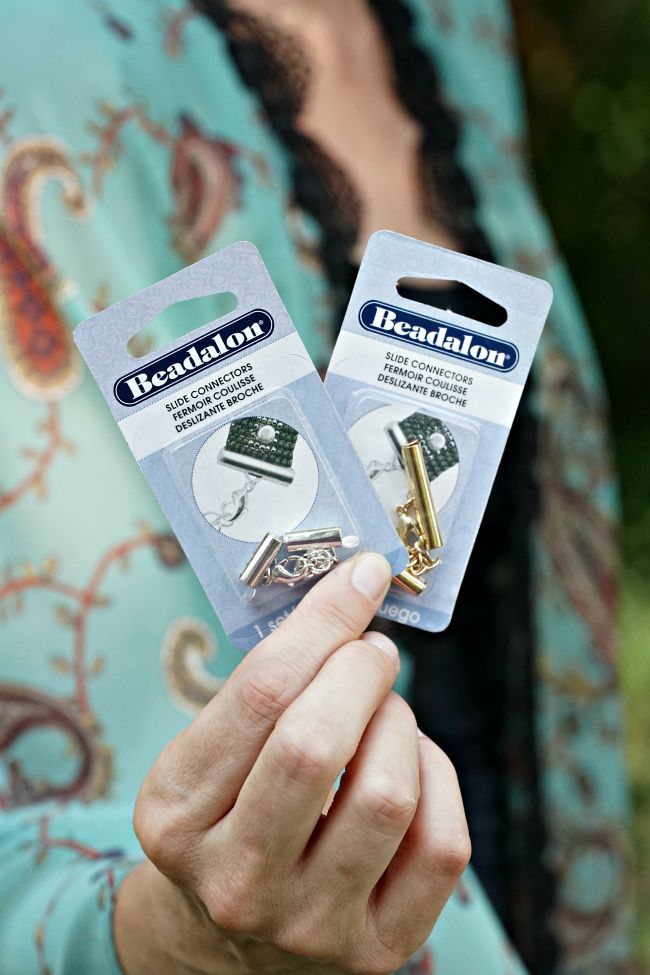
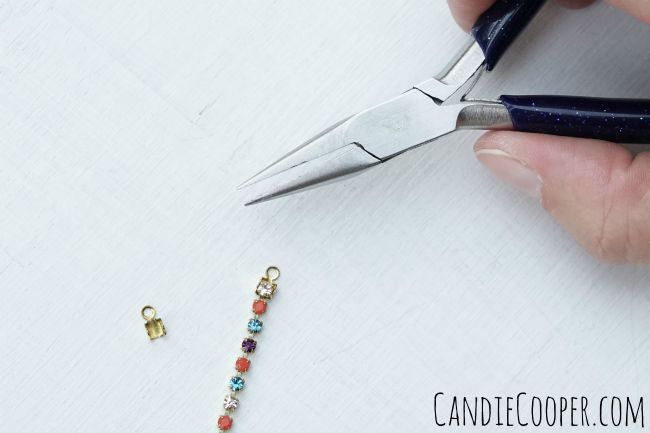
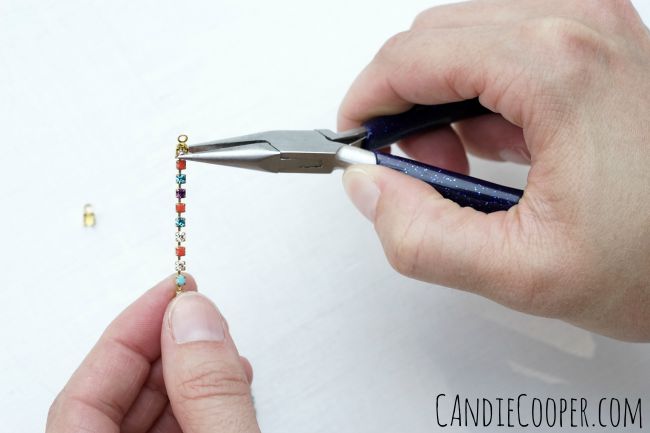
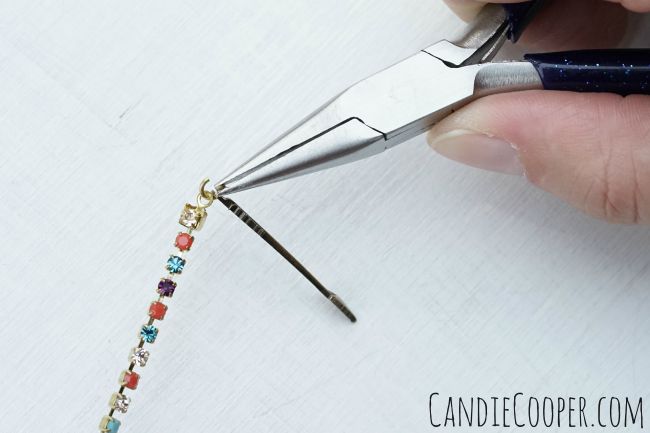
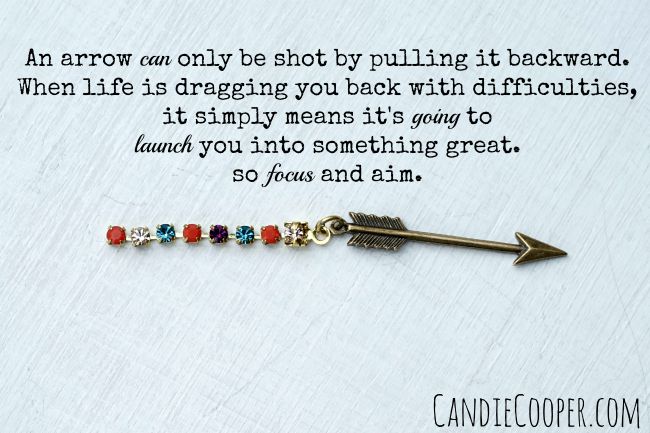
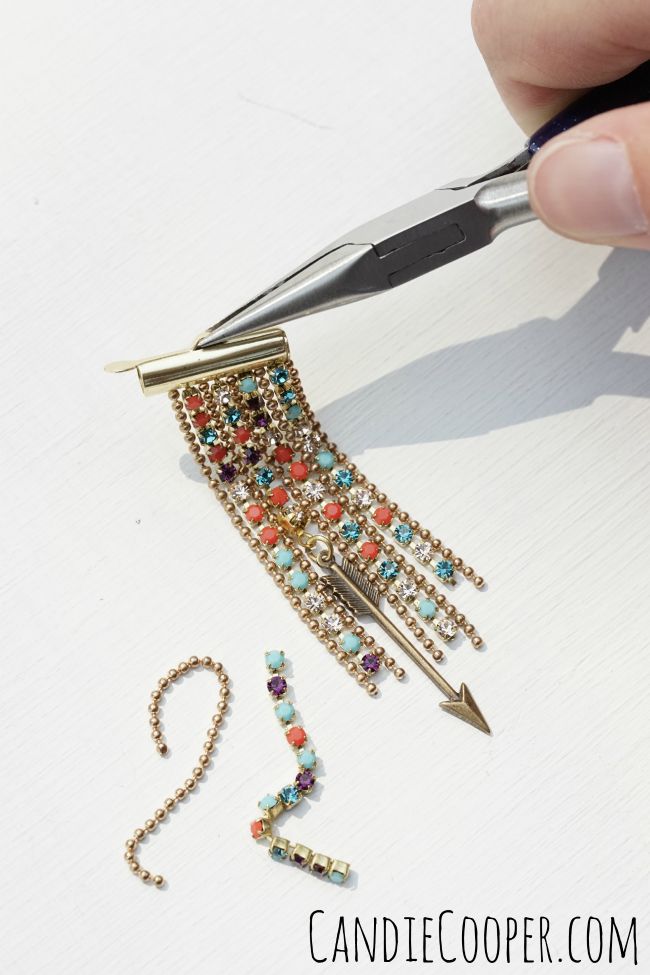
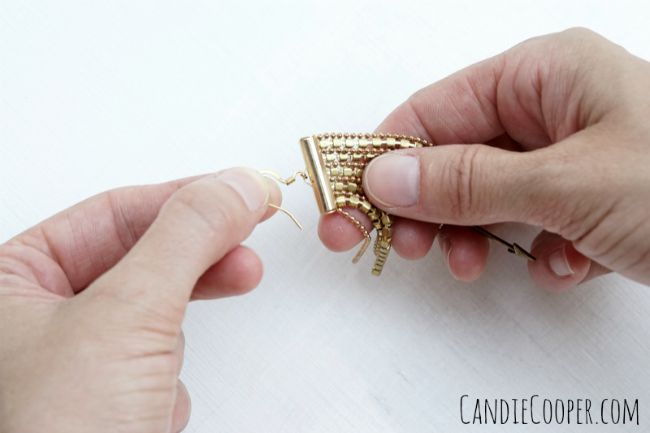
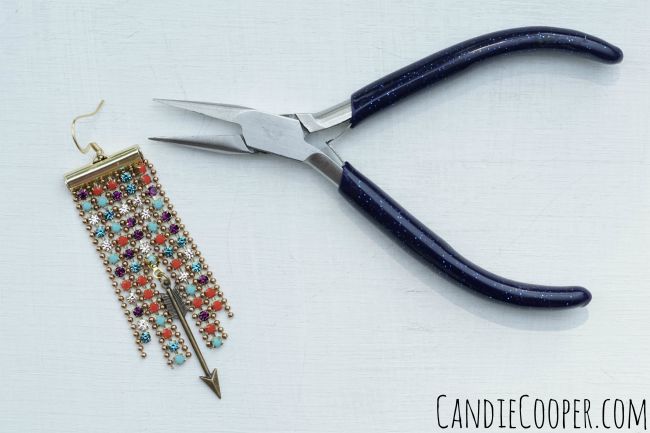
You guys know I’m addicted right?Beadalon Slide Connector findings for cup chain and ball chainHere’s the “gateway” finding:  Beadalon slide connectors.  I think it started with the Statement bracelets I made awhile back.  These earrings have been on my brain since March and I finally finished them.How to attach a cup chain findingI’m using cup chain and ball chain for the fringe and to spice it up, I’ve added an arrow charm to the center.  You’ll need some cup chain connectors in the appropriate size.DIY Jewelry Making Closing prongs on cup chain connectorSet the last link of cup chain down in the finding and roll the prongs over with Beadalon’s sparkly chain nose pliers.  The tapered end of the plier is awesome for working with tiny parts.DIY Jewelry Making Opening and closing a jump ringsNow you can connect your arrow charm.DIY Jewelry Making Arrow charm earringsI found several art pieces with this arrow quote on the internet with no source but really loved the message.
From my experiences, it’s true.  For me, the hard part is remembering to focus and aim when you’re in the thick of it.  It’s something I really have to practice and be mindful about.
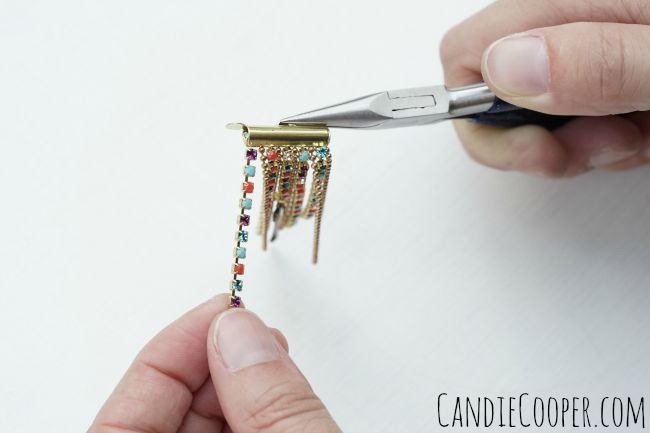
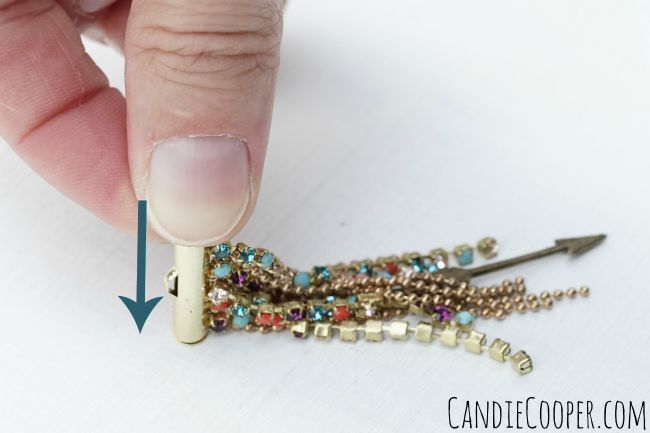
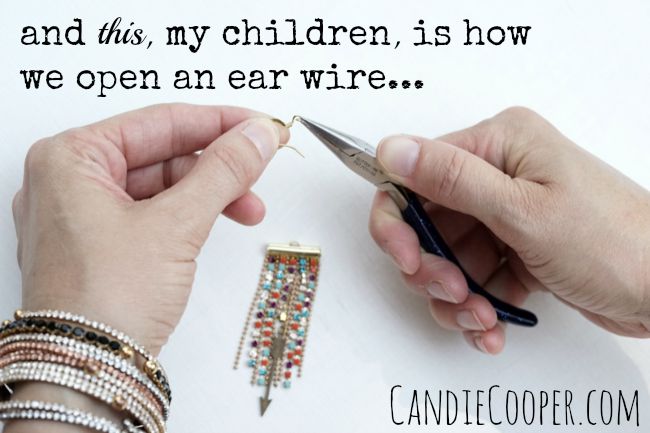
Moving on…DIY Jewelry Making Beadalon connector findingsNow, you can start sliding in your random bits of chain, trimming as you go with wire cutters.DIY Jewelry Making Adding cup chainBefore I forget, these slide connectors come in 3 different widths so you can simplify these if you like.DIY Jewelry Making Closing slide connector findingRoll the cap on the slide connector closed, pushing it against the table top to make sure it’s secure.DIY Jewelry Making Fringe Earrings with Beadalon Findings How to open an ear wireNow, we are to the finish line.  Open the loop on your ear wire from side to side and connect the loop on the slide connector. 
DIY Jewelry Making Fringe Earrings with Beadalon Findings Connecting an ear wiireClose the loop with the chain nose pliers.Fringe Earrings with Beadalon findings and toolsDIY Jewelry Making Fringe EarringsDIY fringe earrings from @CandieCooperEarringology by Candie CooperCheck out my book, Earringology, for more fun ideas!

Bead Crochet GIVEAWAY!

Candie Cooper bead crochet kit giveawayYou know what I’m excited about?!

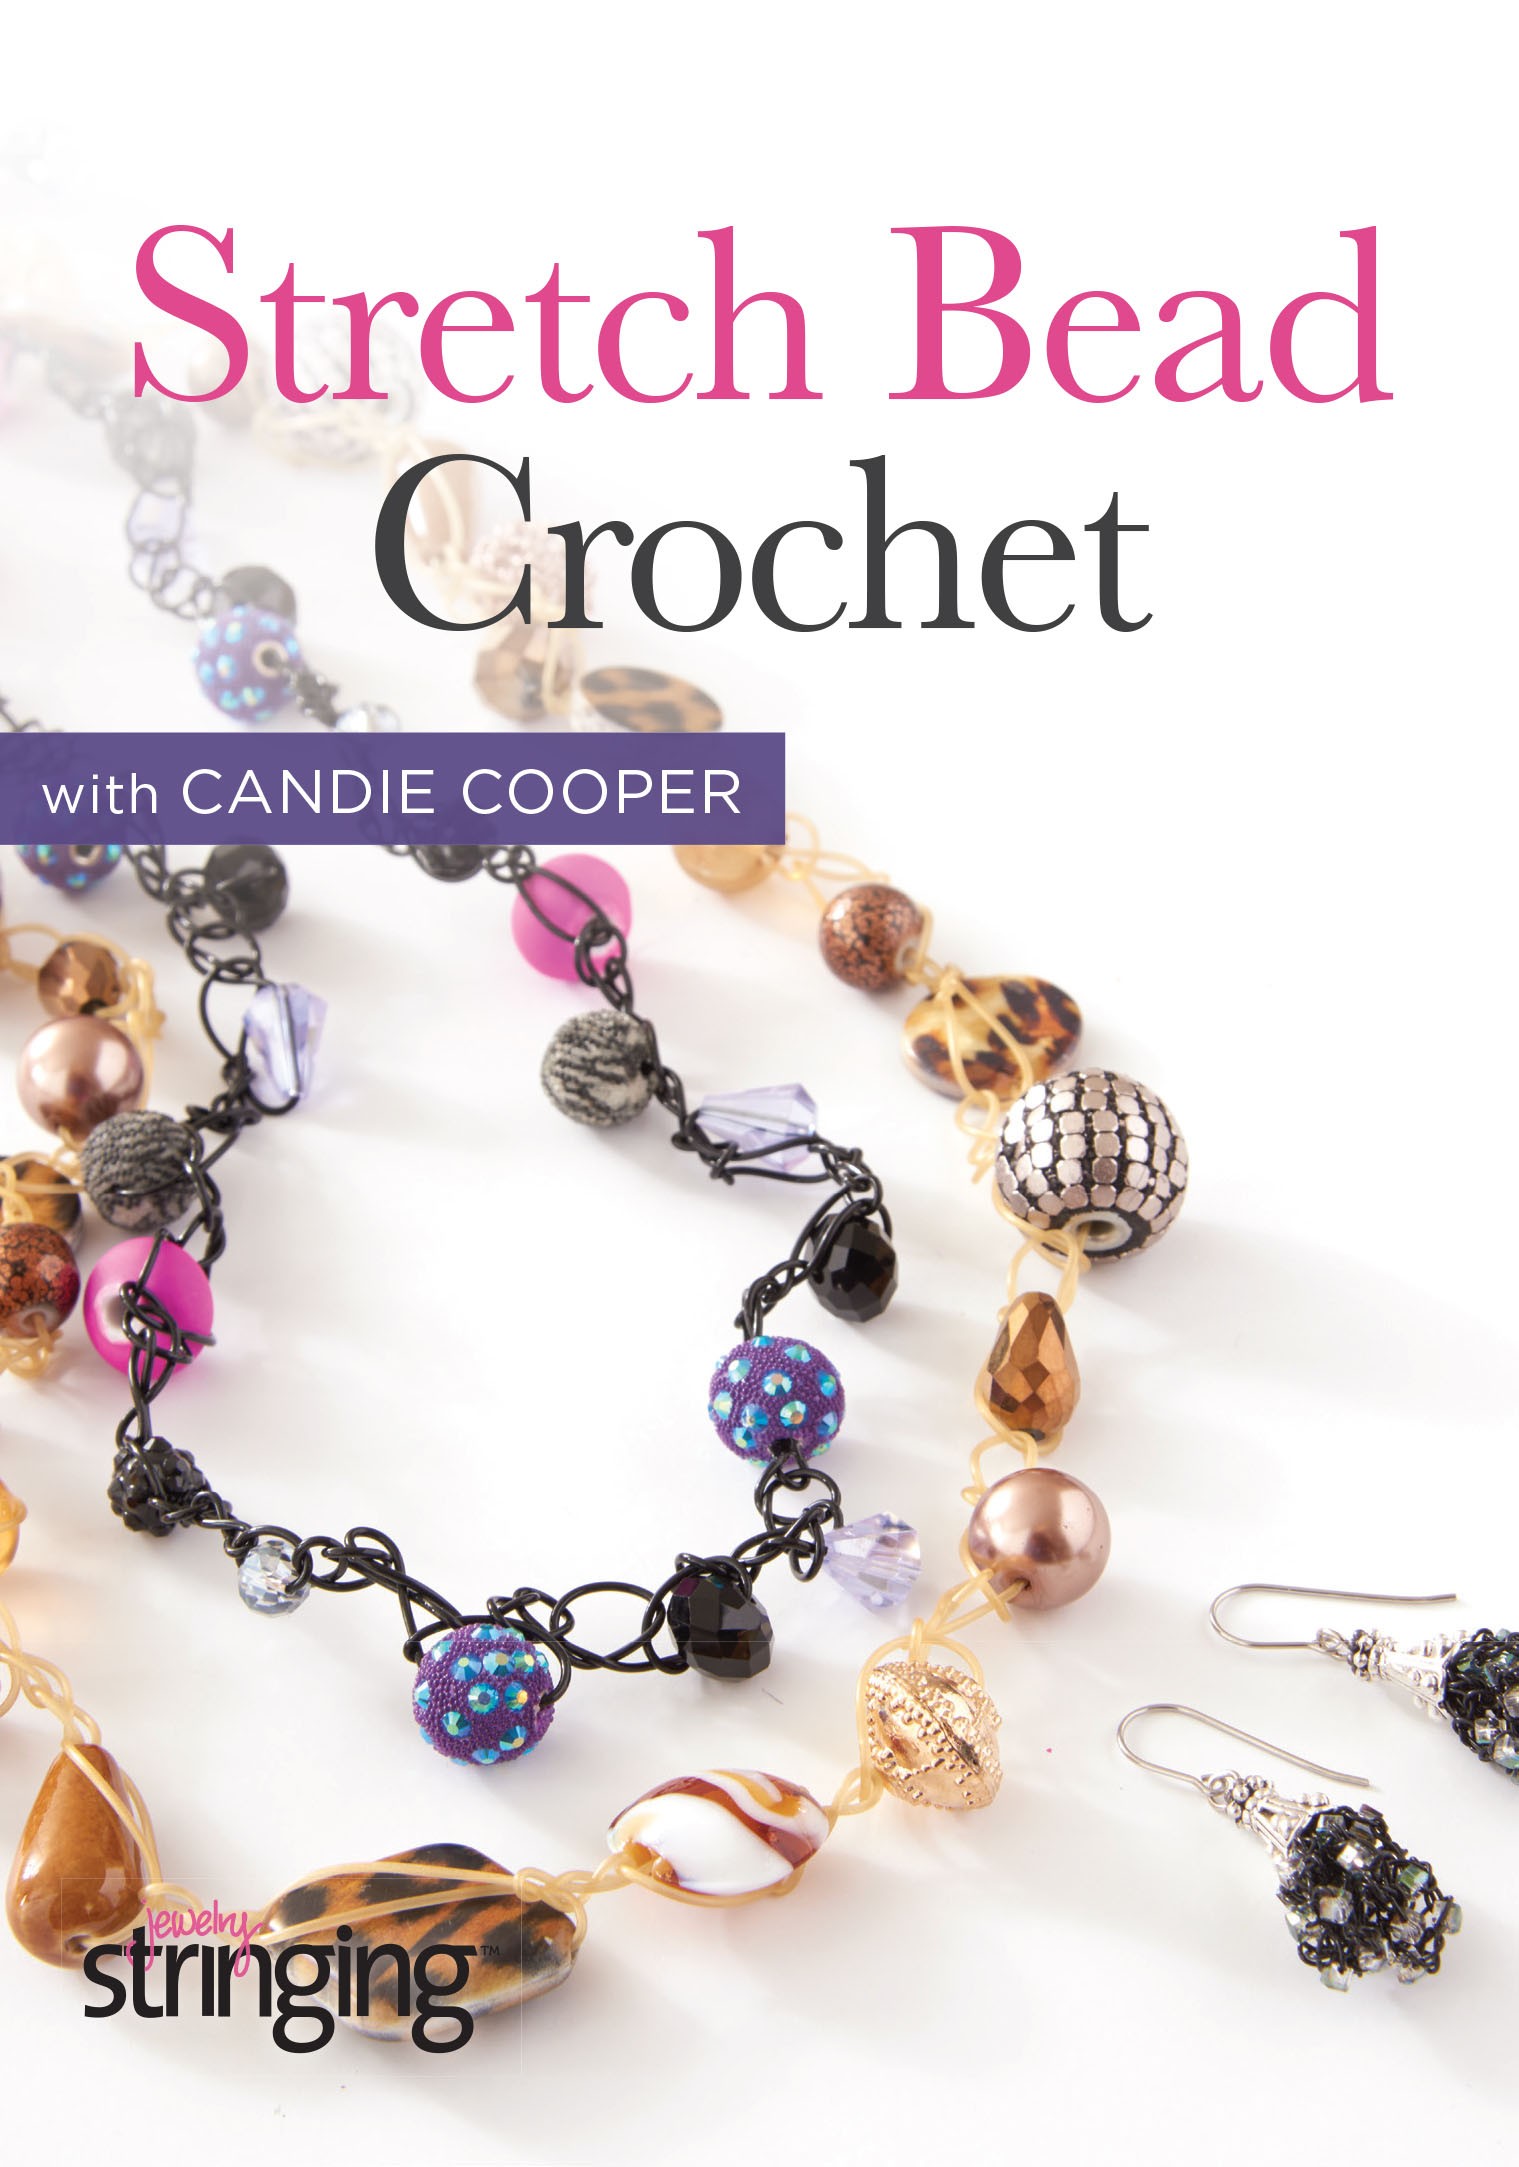
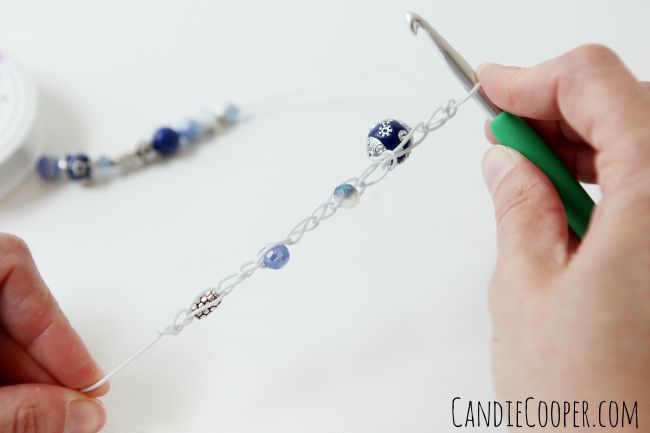
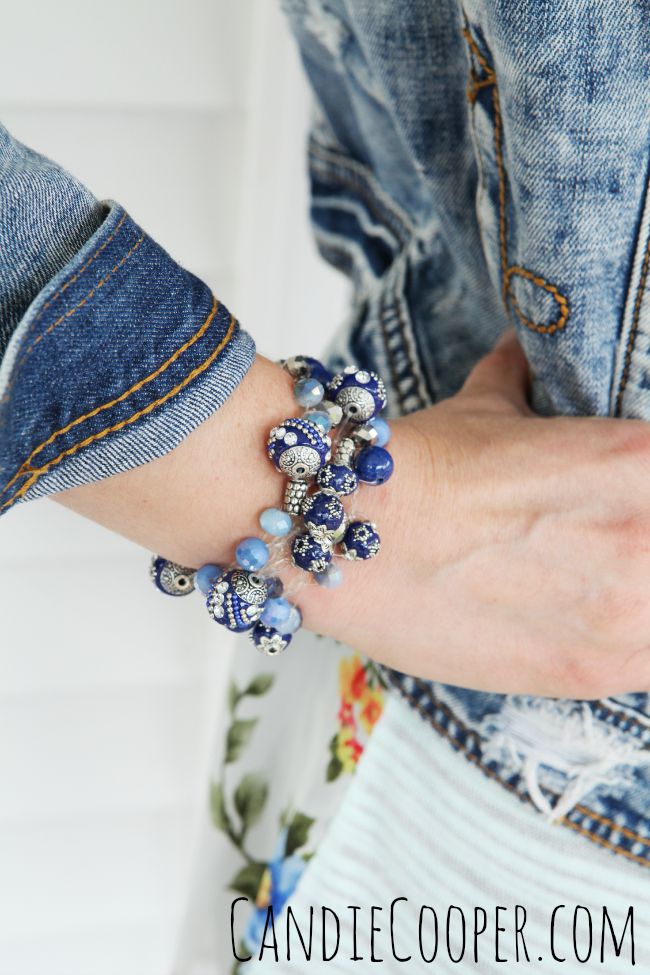
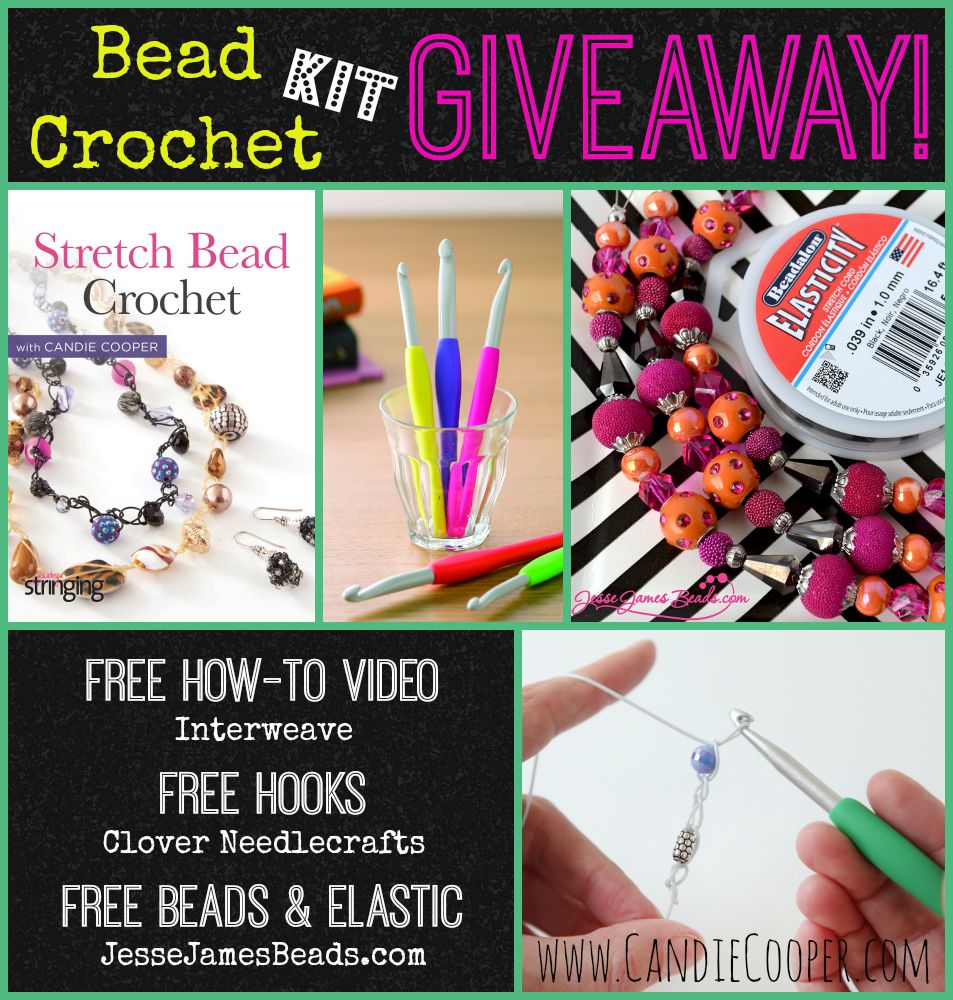
MY NEW VIDEOS WITH INTERWEAVE!!!  I did four of them, but the one that I’m celebrating today is “Bead Crochet!”  This is one of my most very favorite techniques that I just happened upon doodling around one day in the studio (and Universe, it would be great if these moments could come a little more often).EP12670In this video I show you how to make a necklace and earrings with super stretchy beading elastic, Elasticity.Bead Crochet Giveaway KitJewelry Making DIY Bead CrochetThe cool thing about it is the necklace can convert easily into a bracelet like this.  I’ve taught this class multiple times at Bead Fest and each time it sells out.  Now you can enjoy it in your lazy-girl chair and pjs right at home. Giveaway from Clover Needlecrafts, JesseJamesBeads.com, Candie Cooper & Interweave

To celebrate this video release, my friends at Clover Needlecrafts, JesseJamesBeads.com, and Interweave are kicking in everything you need to create your own bead crochet necklace.  Thanks guys!  See below for how to enter and lots of luck to you!

a Rafflecopter giveaway
Clover LogoJJB_Logo-1Interweave-Home-Logo

CONGRATS TO KAREN G-R!!  Happy crocheting!!

DIY Leather Jewelry

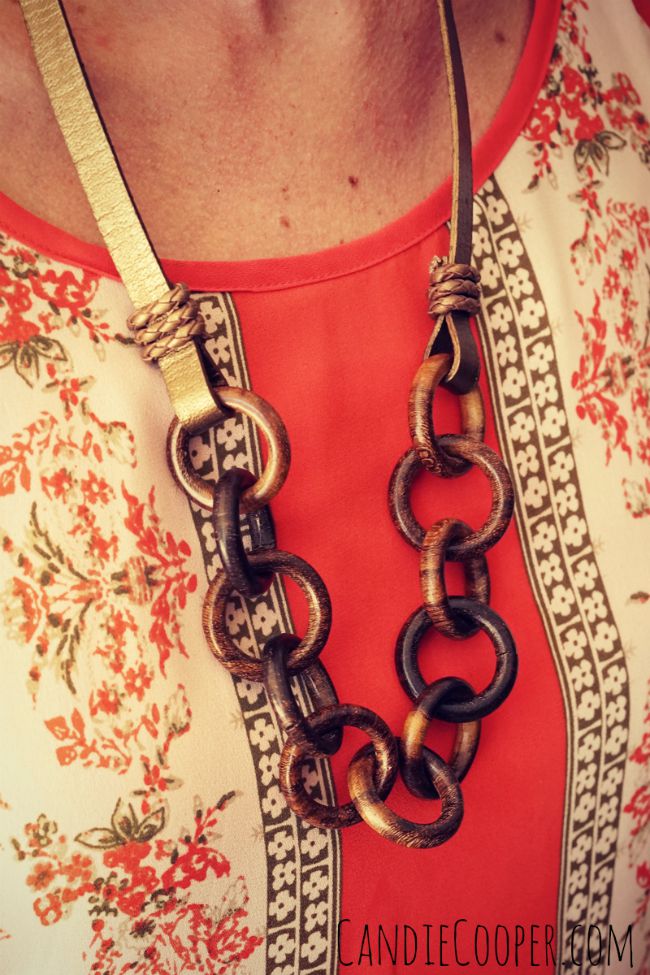
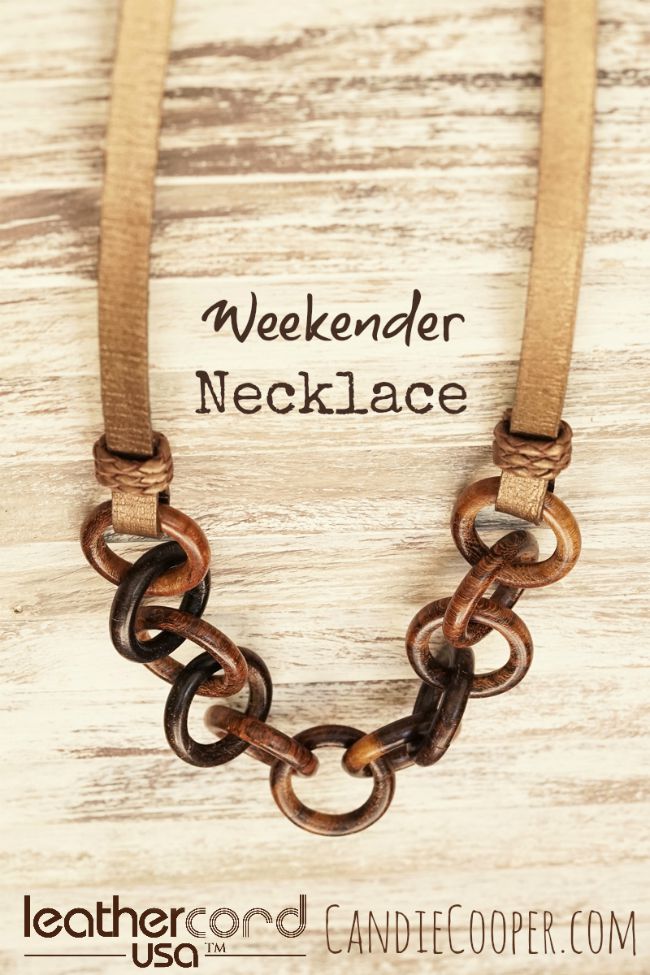
This post brought to you by LeatherCord USA.DIY Leather Jewelry with chunky wood chain  LeatherCordUSA.comLet the good times roll for it is THE weekend!

High fives!  WE made it!

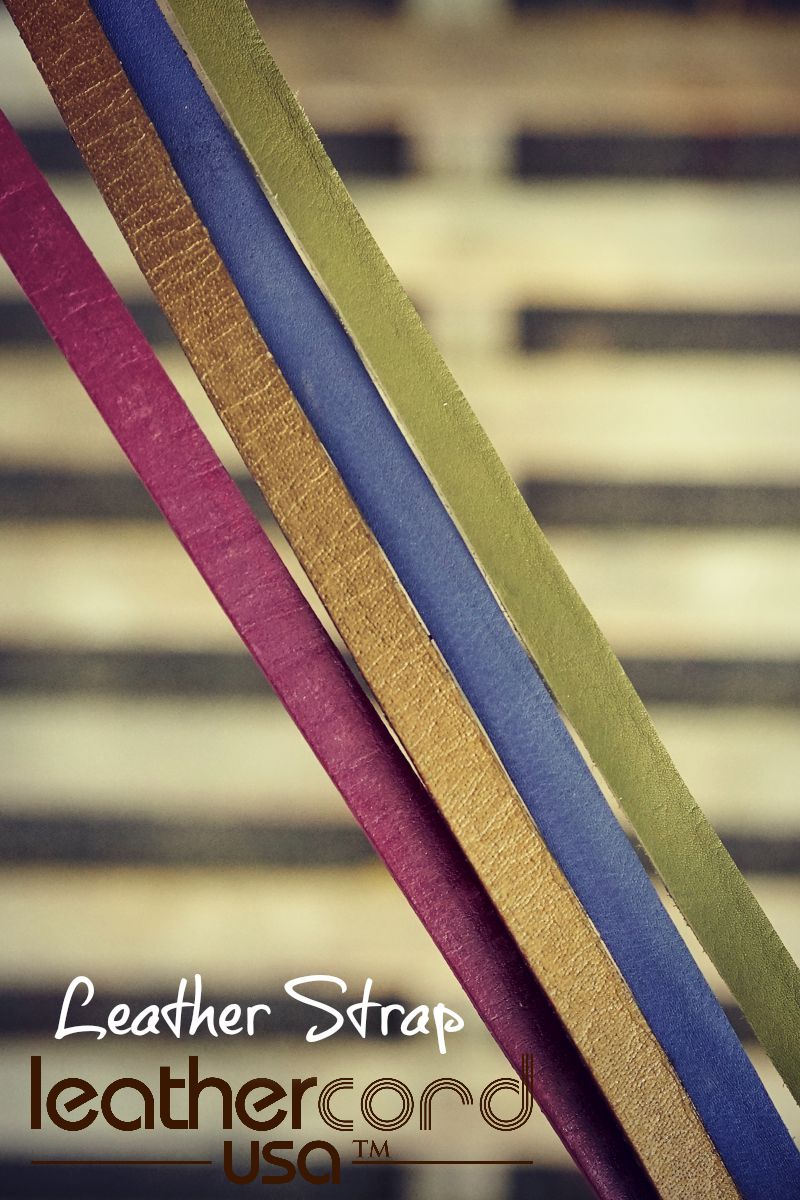
How about another quickie project featuring LeatherCord USA Leather Strap and Bolo cord?LeatherCord USA Leather StrapLeather strap is the main part of this project and LeatherCord USA makes it in a ton of colors.  That’s one of the reasons I love these guys.  For this project I played with the metallic “Kansa” color.  It’s a stiffer leather and softens the more you wear it (like all leather).

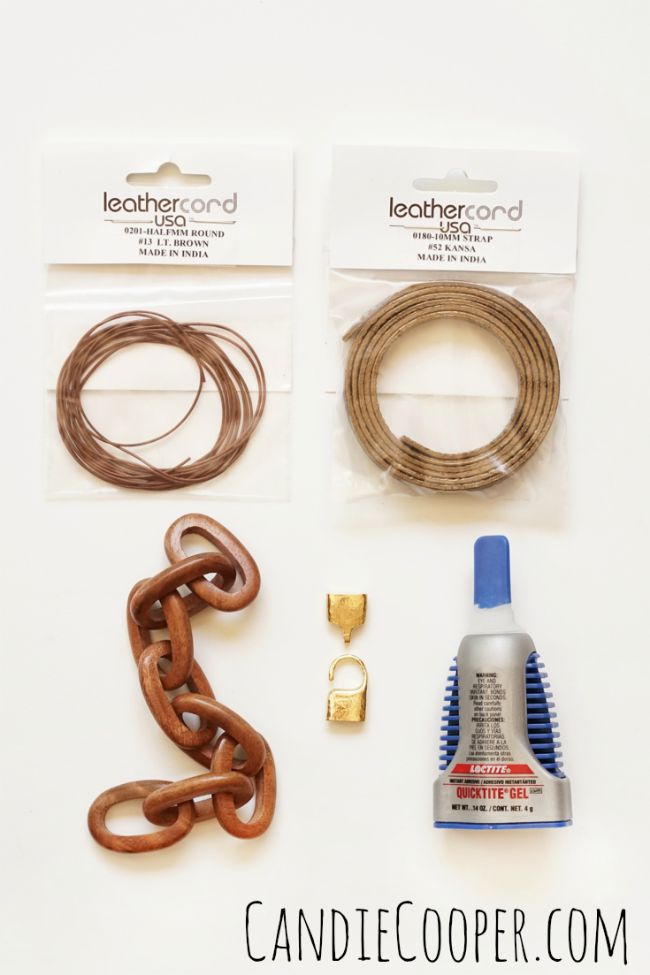
LeatherCord USA DIY Jewelry Making with Leather Strap and Bolo Cord MaterialsThese are the basic materials.  Pretty simple:

Leather Strap in Kansa

4mm Bolo Cord in Kansa

Chunky wood chain (or any large link chain)

Adhesive

Somewhere in my excitement I forgot to put the bolo cord into the shot.  I used round cord and the Glue and Go clasp pictured for the pink bracelet variation.LeatherCord USA DIY Jewelry Making  Connecting  Strap to Wood ChainThis is so easy.  I think I’m in love.  The first thing you do is cut the chain with heavy duty wire snips to the desired length.  Then figure out how long you want the strap, add a couple inches and cut.

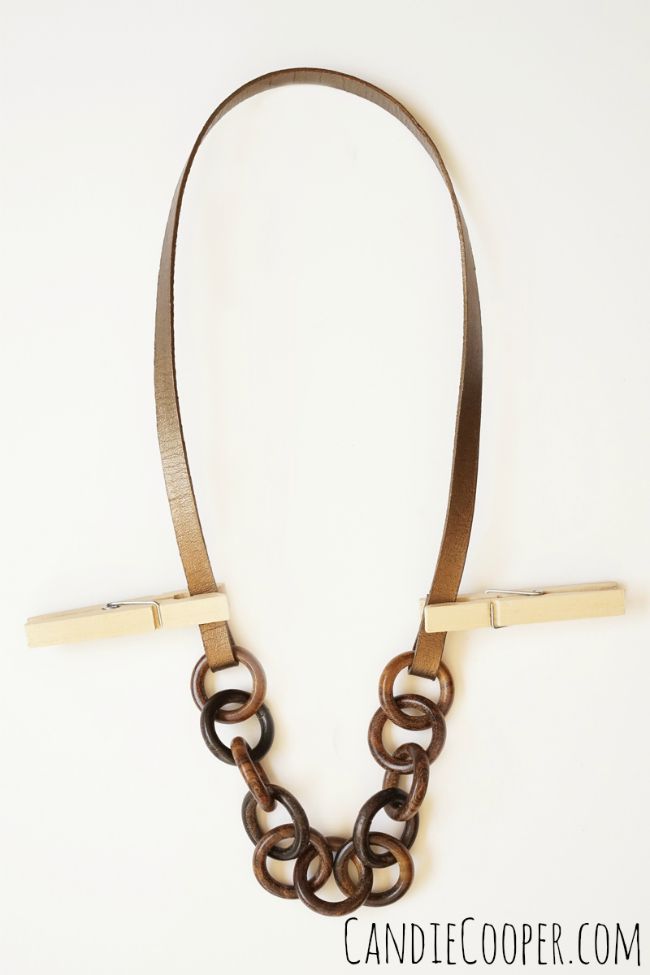
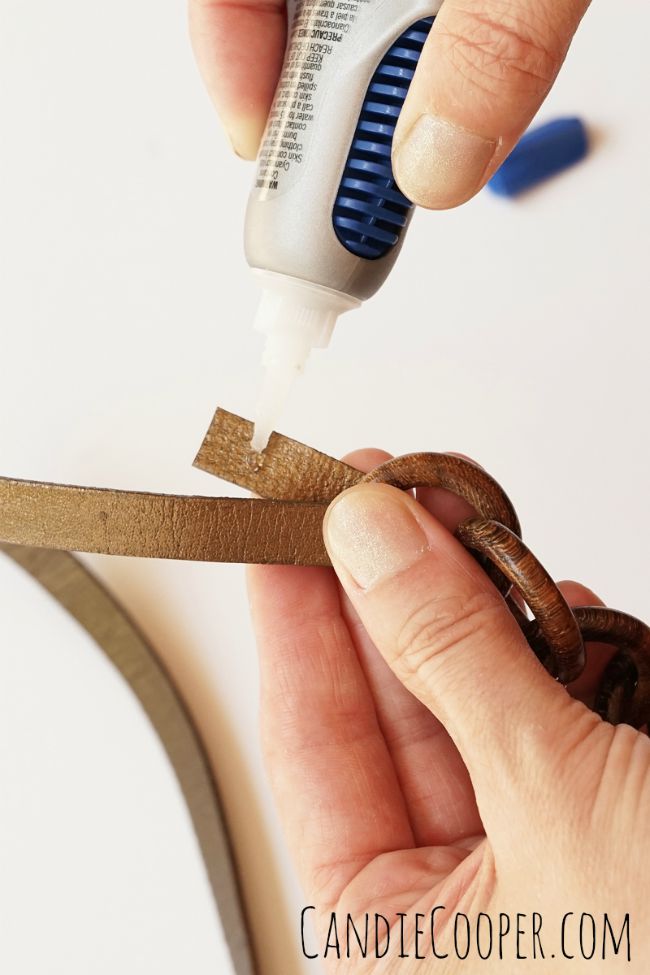
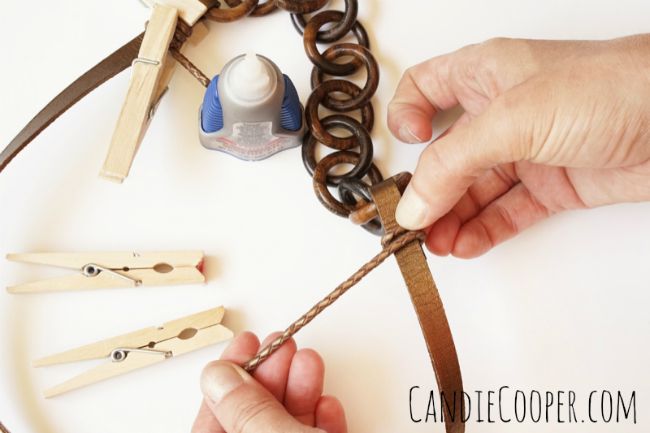
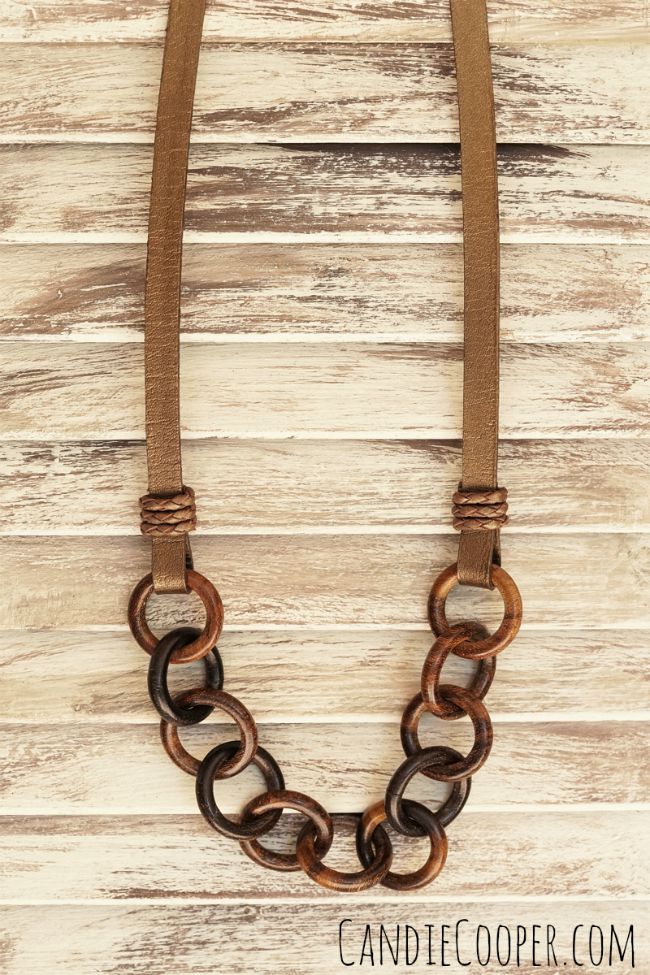
Thread the strap through one end of the chain and fold it over one inch.LeatherCord USA DIY Jewelry Making  with Leather StrapAdd a drop or two of glue and use clothespins to hold it together while the glue sets up (like in the previous photo).LeatherCord USA DIY Jewelry Making  Metallic Bolo Cord and StrapWrap a few inches of bolo cord around the connection area to add a little something.  You know!  Use the same glue and clips to hold it in place while it dries.  Trim any excess bolo cord after it dries.DIY wood and leather chain necklaceDIY Jewelry Making  LeatherCord USA  Leather and Wood Chain necklace from Candie CooperDIY Leather Strap bracelet  LeatherCord USA  CandieCooper.comJust for fun, you can make a bracelet with pretty much this same technique.  I used the round cord to create a spiral knot instead of wrapping it with bolo cord.  Here’s a link to a spiral knot tutorial from LeatherCord USA.  If you love that clasp–there’s a link to it up in the materials.

Happy weekending y’all!

Simple Bead Stringing

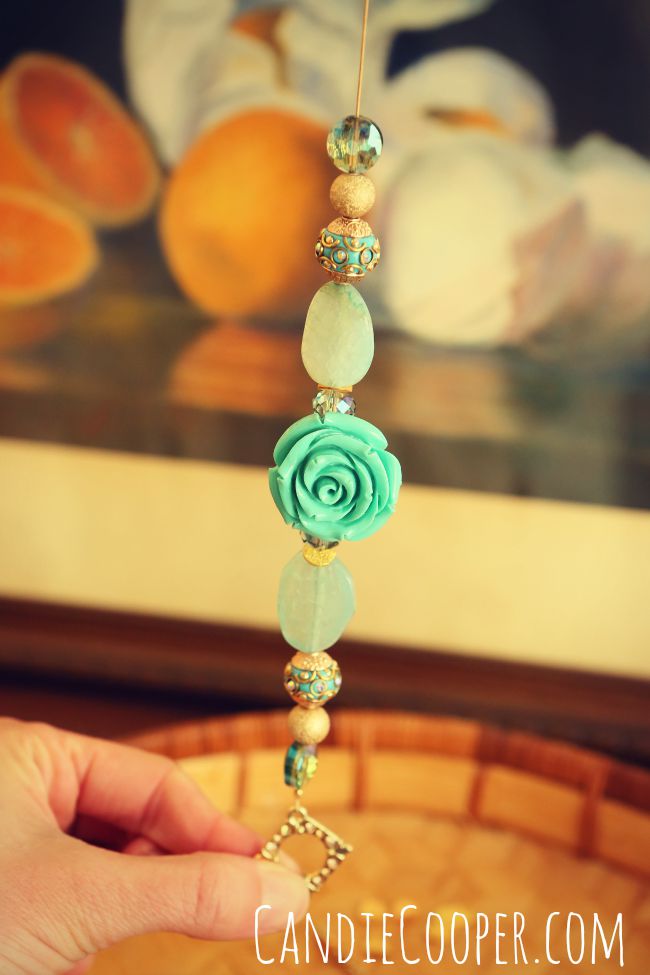
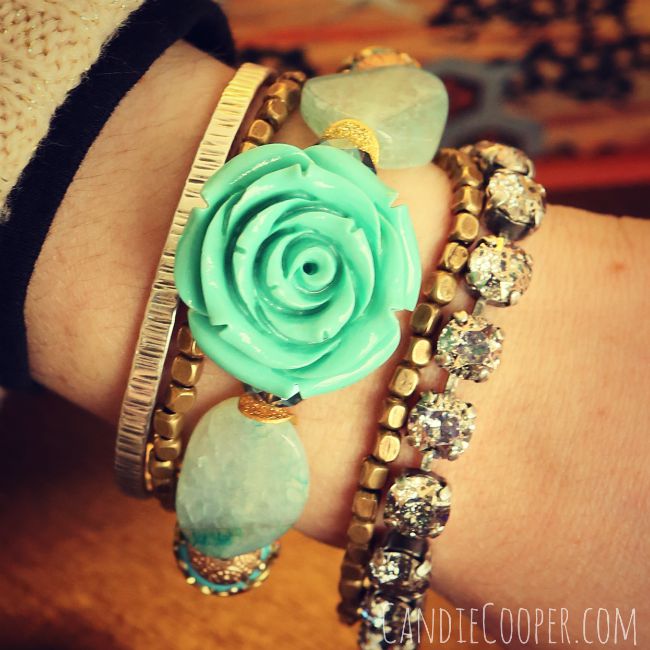
This post brought to you by JesseJamesBeads.comHow to string beads for a bracelet using JesseJamesBeads.comI’ve been coveting these teal beads from JesseJamesBeads.com for a long time.  This is one of my very most favorite colors.  It makes me think of the ocean.  I feel calm just looking at it.  After all, if we can’t be at the beach, we might as well be beading.
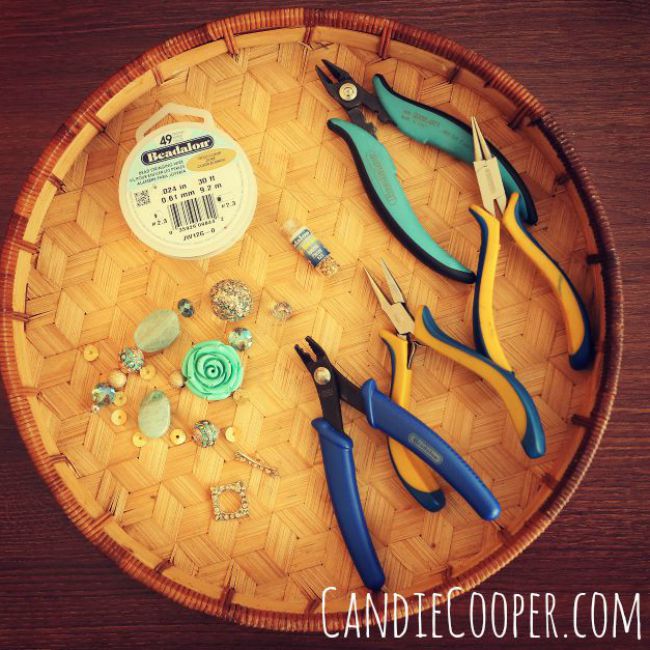
Simple stringing tutorial from Candie Cooper and Jesse James BeadsSupply list:

#2 Crimp Tubes

Acrylic flower bead

7″ Bead Strand in your fave color

Clasp

Beading Wire

Crimping pliers

Wire cutters
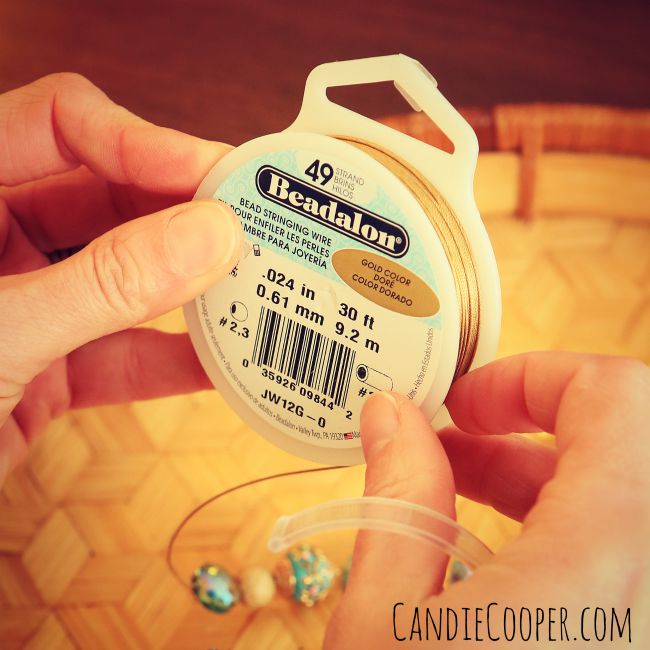
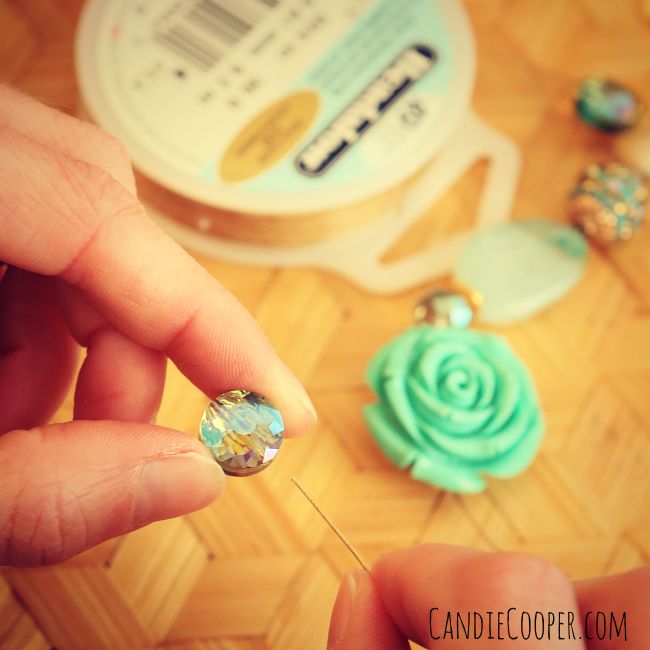
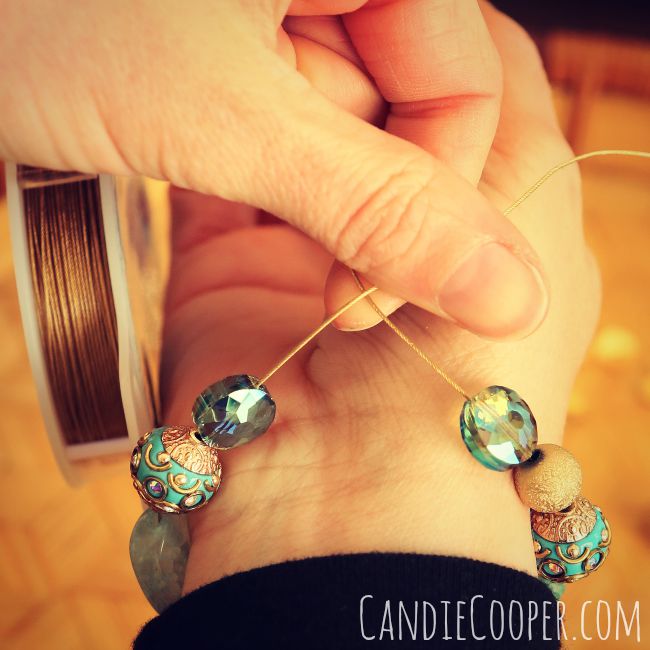
Beadalon 49 strand gold wireString those beads.  You know, like we do!  I used the order they came on the strand, but you can shake it up and make your own.  Jesse James Beads has a garden of acrylic flower beads right now.  Pick one (or a few because they are so dang sweet).
Simple bracelet stringing tutorialSparkle is something that almost all JJB strands have a touch of and that’s perfectly ok with me.  I support sparkle.
Unique boho beads from JesseJamesBeads.comCheck the fit.  You could use a ruler for sizing, but who knows where it is!  I blame my husband.
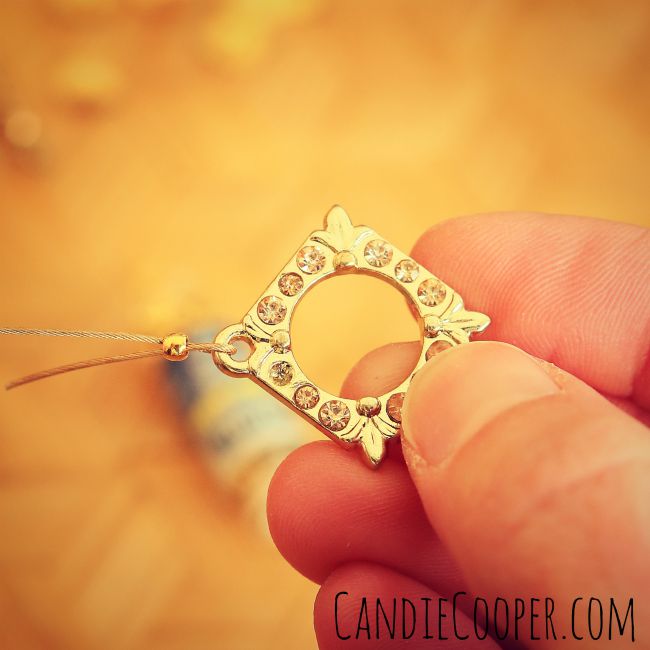
Sparkly clasp from JesseJamesBeads.comSecure the loop end of the toggle to the beading wire with a crimp bead.
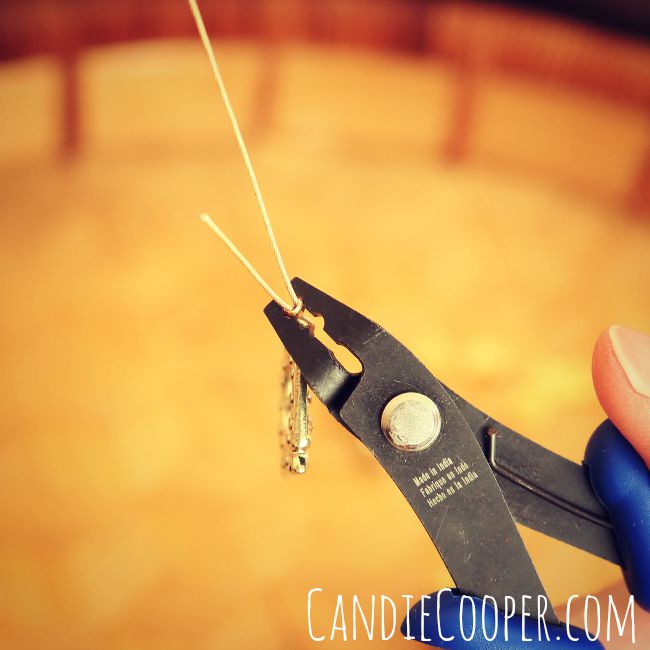
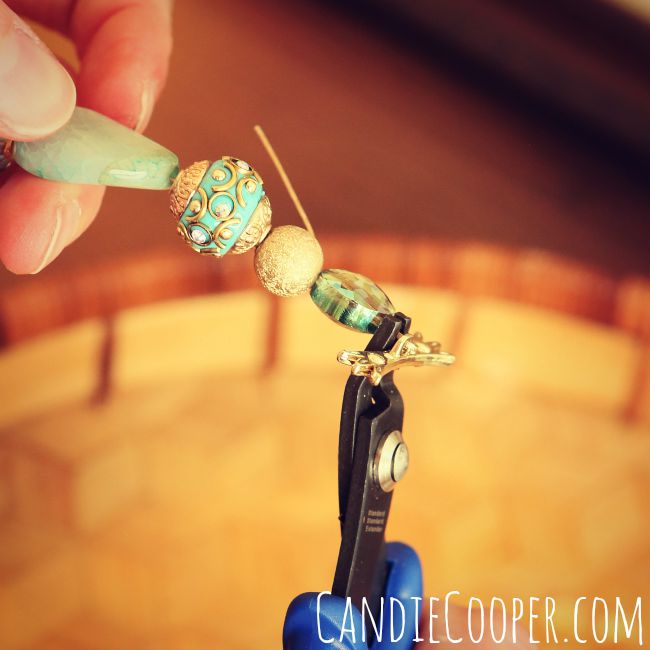
Crimping pliersPlace the crimp bead in the “U” shape notch first on the crimping pliers and then turn it 90 degrees and place it into the “eye” shape.  Smoosh it down, rolling the crimp over.
Stringing tutorial with JesseJamesBeads.comSlide all the beads next to the finished end of the bracelet…  P.S.  That’s a pastel drawing of oranges my great great gram did.  It’s one of my most favorite possessions.
Crimping beads on a wire tutorialand crimp the toggle to the wire.
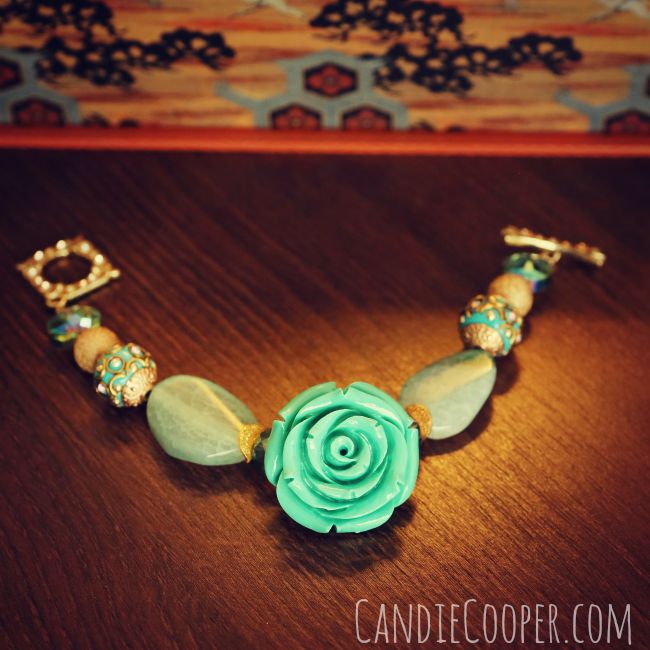
DIY BRACELET with JesseJamesBeads.comPerfectly simple.
How to string beads for a braceletThirsty for more?  Seed Bead Bracelet tutorialCheck out my “Seed Bead Bracelets” tutorial on the JesseJamesBeads.com blog.  It’s another one of my fave projects over there.