Making Souvenir Jewelry with Smashed Pennies

Smashed Pennies Necklace and Bracelet
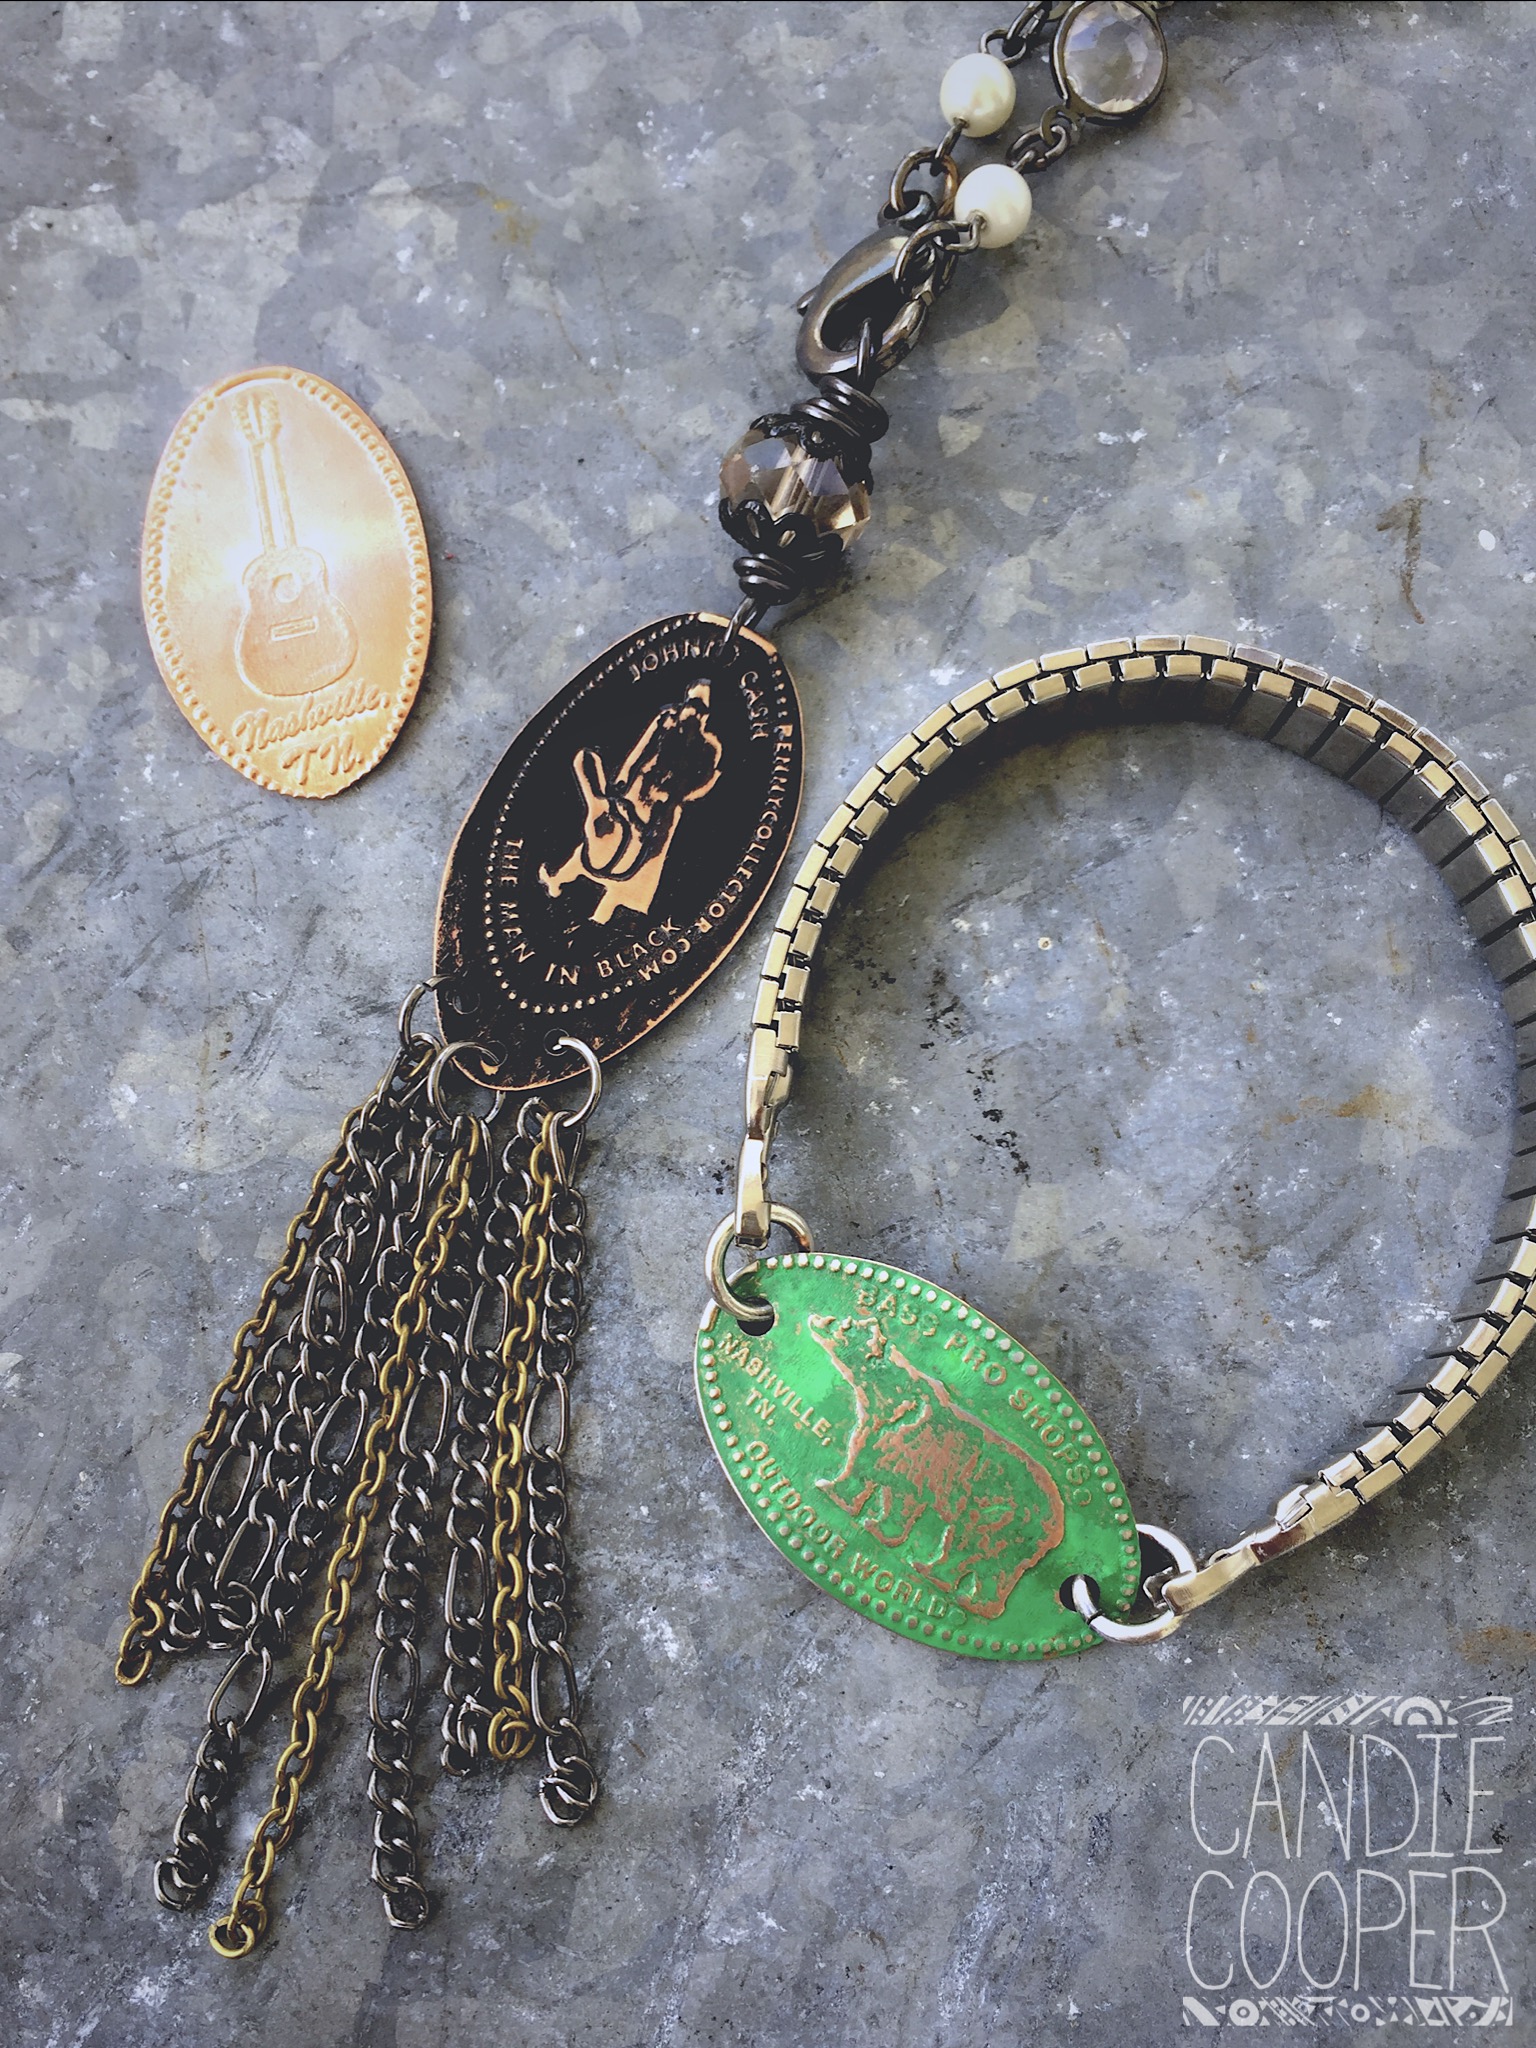
Recently I was in Knoxville for work but was able to do some sight seeing and picked up a few smashed pennies to remember my adventures. I am sure most of you have a pile of smashed pennies from all of the different places you have gone. They are a great idea when you are on your adventures but then what do you do with them when you get home?

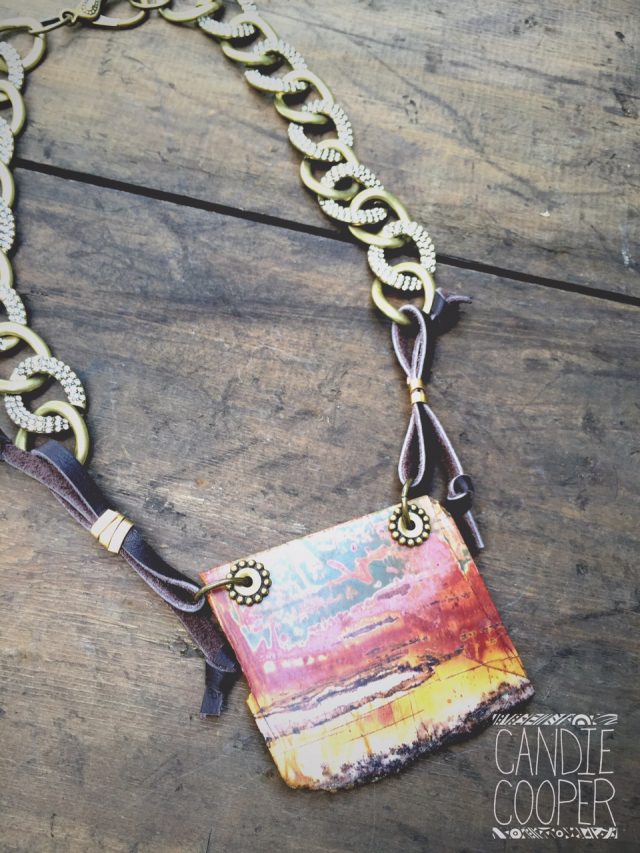
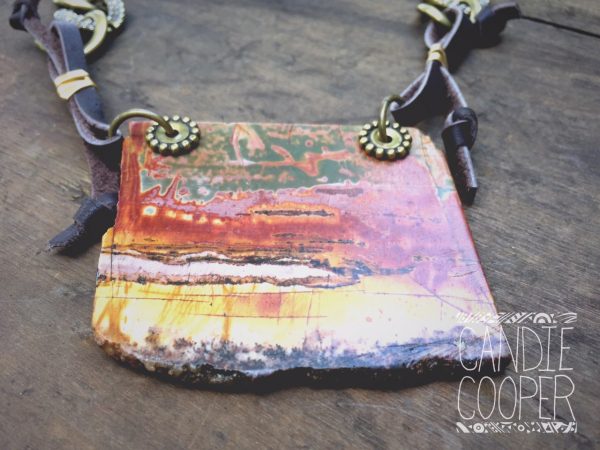
I will show you how to make a necklace and bracelet out of smashed pennies so that you can always remember your fun adventures. By turning these pennies into jewelry you can remember the adventures you had while working your day job. It may help you to work harder to get to your next vacation!
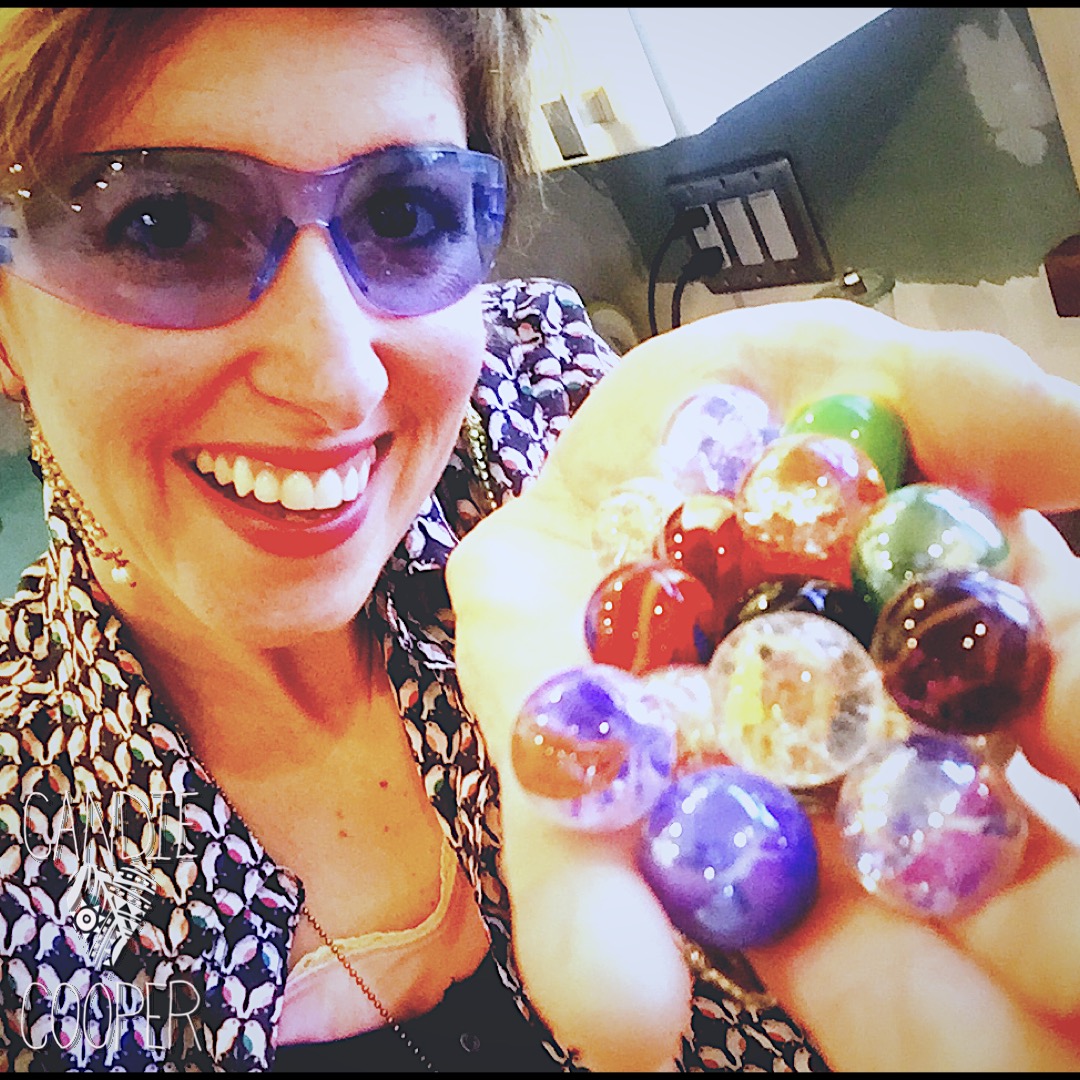
[Read more…]

Trendy Wood Pendant with Sizzix

Right now I have seen a lot of wood trending in the fashion world. I have had the idea to use wood in my Jewelry since my mom got a necklace with a crystal piece and wood backing. I knew I create a similar custom piece for myself. Anyone can make a wood pendant necklace. You don’t need a lot of tools to make one for yourself. Today I am going to show you how.

[Read more…]

Metal Hammered Fringe with Beadalon Flat Artistic Wire

Hammered Fringe with Beadalon Flat Artistic Wire You all know that I love my tassels on many projects and today I am putting a twist on that concept. Rather than using fabric or beads to make a tassel I will be using Beadalon Flat Artistic Wire to create fringe on an enameled pendant by Anne Gardanne. Take a look at the supplies list and lets make a hammered fringe necklace with Beadalon Flat Artistic Wire.

[Read more…]

Using a Wire Guardian to Protect Your Beading Wire

Using a wire guardian to protect your beading wire Many of us use beading wire for our projects. My favorite beading wire is from Beadalon and is 49 strands. This is a perfect go-to wire for any project. When the finished piece is something that is going to we worn often you want to make sure to protect the bead wire. By using a wire guardian to protect your beading wire you can lengthen the life of your jewelry.

Spring cleaning was at the top of my list the other week and I was going through my TV projects that I had left over. A little secrete between you and me is that most of the time when I create a design for a TV show the piece is not finished in the back. When the show is over I have a pile of projects that are designed and just shy of being finished and ready to sell or wear. I found this great piece that I designed for kits on JTV with Dakota Stones. Having never finished this piece I wanted to turn it into a great over the head necklace, my favorite.

Using a wire guardian to protect your beading wireTo finish off the necklace I will be adding some Lipstick Ranch chain to give it the extra length that I want. Rather than just using a regular jump ring to connect my chain I will be using a decorative bail as my connector. Since there will be movement of the beading wire through this connector I will be using a wire guardian to protect the beading wire and extend the life of my necklace.

Beadalon Wire GuaradinA wire guardian is a horseshoe shaped finding that had two tunnels at each end and a channel across the top. Your beading wire will go through the tunnel, over the track and back through the other tunnel. Before you attach your wire guardian be sure to add a crimp tube. To find the size crimp tube you need be sure to look at the packaging, it will tell you on the front. If you are new to beading wire you can see my post about choosing the right beading wire that I did for you. Once you string your wire through the wire guardian and your bail then you will crimp your wire as normal.

Choosing the right beading wire

After I crimped the beading wire to hold the bail on I decided that I wanted to cover the crimp tube to clean up the design a little more. You can use any color crimp cover that you like for your piece. The crimp cover adds finishes the piece off just one step more.Using wire guardians to protect your beading wire

You can see the Facebook Live show that I did showing how to use wire guardians and how I created this project on my Facebook page or below in this post. I always recommend using wire guardians when the piece will be worn often or in a high traffic area, like a bracelet.

Post your pictures on my Facebook page of any projects that you create that use these techniques. Join me each weekday at 2:30pm EST for a Facebook Live video with a new project.

Using a wire guardian to protect your beading wire

Using a Wire Guardian Facebook Live Video:


Making Baked Marble Jewelry

Baked Marble Jewelry

“You Crack Me Up”

Making jewelry from cracked marbles is a wonderful way to use found objects that you might not typically think to use in your projects. Baked marble jewelry is a project that you could make with your kids and teach them a little about science in the process. If you take some time to look on Pinterest you can find many projects to make with the baked marbles technique, but today I am going to talk to you about turning them into a beautiful pair of custom earrings.

Baked Marble Jewelry Supplies List:

Before getting started there are a few things that you will need to think about. First, this project is made in the oven at a high temperature and for a solid amount of time. I suggest doing this on a day that isn’t too hot or it will make your house hot too, but it can be done whenever you like. When you pick out your supplies for your baked marble jewelry you will need to look for clear marbles. Opaque marbles will not work well for this project. Due to the nature of the coloring in opaque marbles you won’t be able to see the cracks in the marble, which is what is giving us the uniqueness of the piece. Another tip that I found was to not use the two tone marbles. You can see below how my marbles turned out and I have a few that were multi colored that worked out just fine. Be sure to make a few extra marbles to be sure you have two that you like for your earrings.

Baked Marble Jewelry Directions:

You may be surprised at how easy it is to get the cracked effect in the marble. You will preheat your oven to 500 degrees (F) and then bake the marbles for 20 min. Once you have baked them long enough you will take them out and immediately dunk them into your ice water. As the marbles hit the ice water you will start to hear them crack.

After the marbles have been cracked and cooled you will then be able to assemble them into your earrings, or whatever piece you want to create.

Baked Marble Jewelry After Cracked ImageAssembly of Baked Marble Jewelry:

Cage CharmsIn this tutorial we are talking about making earrings. If you have one marble that you really love and there isn’t a match to make earrings with you could always get one of the cage pendants that I have in stock in my Etsy shop to display the marble. The cage charm will allow you to display your favorite marbles and change them out to match what you are wearing.

For the video tutorial below I made a pair of earrings. In order to attach the marble to earring wires I added a bead cap with glue. Be sure to use E6000 on this project NOT super glue. If you use super glue you run the risk of frosting the marble if you get excess glue on it. Super glue will frost any glass surface once it dries, this will hide the cracked effect that you worked to put into the marble. Before you start glueing your piece together be sure that the marble is completely dry. Any moisture on the marble will not allow the E6000 to adhere securely. One tip about using the E6000, be sure to pull the glue away quickly when you are finished. If you pull it away slowly you will get the strings as you would see if working with hot glue.

Ann Gardan bead caps are one of my favorites and what I really wanted to use in my baked marble jewelry. As I was putting the piece together I noticed that my Ann Gardan bead cap did not give me enough contact with the marble. Without a fairly flush connection (you want as much surface area connection as you can) you run the risk that the marble will come off of the bead cap if stressed. To get more contact between the bead cap and marble I decided to add another bead cap that had better contact first and then stacked the second bead cap on top. Finishing off the earring I used a wrapped loop to keep the stack of beads together.

When choosing your bead cap you will want to test out the size of your head pin. If the head pin is too small it will fall out of your bead cap and you won’t be able to put another in once it is glued. As you test your bead cap and head pin size together if you find that it is too small just add a spacer bead to the head pin before threading it through the bead cap. This will stop it from falling out.

Baked Marble Jewelry Finished MarblesDrying Tip:

After you have glued your piece together you will need to allow the glue to dry for about 12 hours to be sure that it is completely dry. It is tricky to set up a round object to dry without moving the stack of beads on the top. My tip for allowing the pendant to sit up right is to use a bowl of uncooked rice. This will give your marble a nice bed to sit upright as to not move the glued bead cap on the top.

The Facebook Live video posted below will walk you through the creating of the baked marble jewelry that I made today. Please share any items that you make from this technique on my Facebook Page. Like the Facebook page to be notified of what is going on and you will be able to see the Facebook Live Videos. I go live every weekday at 2:30pm EST, unless I am traveling, with a new project idea for you. See you around online!


LIVE from Beadalon-Wire Wrapped Cabochon Pendants with Wyatt White

This post sponsored by Beadalon.  All opinions are my own.  Thanks Beadalon for supporting mine and many others love of DIY jewelry.Wire Wrapping BailsIs anyone else intrigued with pendants like these?

They just. don’t. stop.

Wire turning and twisting, up then down and around and ta daaaa–you’ve got a pendant.

Yesterday on the live show, I had Wyatt White from Beadalon show the basics of making wire wrapped cabochon pendants.  He actually shows how to make the wrapped crystal on the right using a Swarovski faceted flat back.

According to Wyatt, you can set lots of things with this technique.  He’s a wizard and if you’re curious about wire wrapping and setting cabs, definitely watch this video.  He has designed special banding pliers from Beadalon that make the wrapping process really easy.  So many comments were expressing excitement about these pliers.  We like easy around here so thanks Wyatt!Beadalon Wire Wrapping Giveaway

Materials:

Wire Wrapping Component & Stone Setting Booklet, by Wyatt White

Double Band Banding Pliers

Single Band Banding Pliers

Practice Wire Kit

Candie Cooper and Wyatt WhiteWatch the replay of the live video for how to make amazing pendants like these.  And join us daily on my Facebook page at 2:30 EST for fun daily doses of DIY jewelry and mixed media techniques.


Scenic Drive Stone Slab Necklace

Full Disclosure:  I work with Beadalon and LeatherCord USA.  They are sponsoring this post.  All opinions are mine.
Stone Slab Necklace PendantThis stone slab pendant (here me sigh a sigh of aw).

One of the women in this week’s Facebook Live video said it was picture Jasper.  I believe it because each one is a landscape painting, a forrest, the painted dessert or whatever you see ….
Stone Slab Necklace Flat Wire ConnectionI wire wrapped leather lace with Beadalon’s flat Artistic Wire.  So easy!  Simply make your leather link, then wrap the middle with the flat wire, crimping it with chain nose pliers in between each wrap to cinch it.
Stone Slab Necklace Pendant DetailLittle knots give the ends of the leather a finished look.
Stone Slab Necklace Pendant connection

Materials list:

Beadalon flat artistic wire, 3mm width

Leathercord USA deertan lacing, 1/8″ width

Picture jasper pendant:  etsy.com/shop/candiecooper

Watch the live video recap here and join me almost daily at 2:30 EST for the Candie Cooper Facebook Live Show featuring easy DIY jewelry making ideas.