This post is sponsored by Beadalon. All opinions are my own. I’ve been making jewelry since sixth grade though. I’d be writing this post whether they are sponsoring me or not. It just helps to keep the lights on when they do. Beadalon provided me with the supplies to make this crimp beads (crimp tubes) tutorial.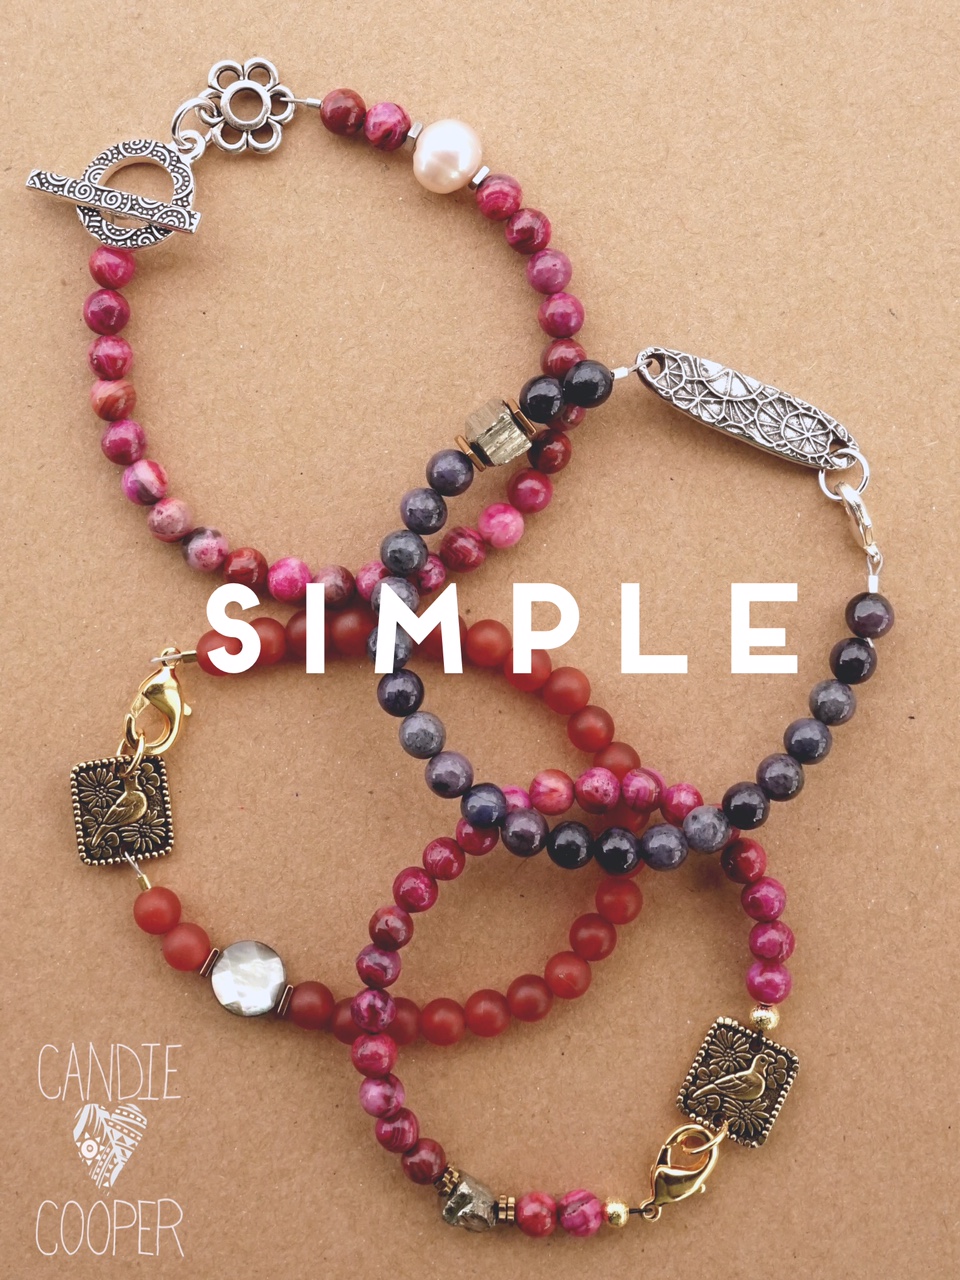
Sometimes the best things are simple. Real simple. Like this beaded bracelet made with gems, beautiful clasps and links.
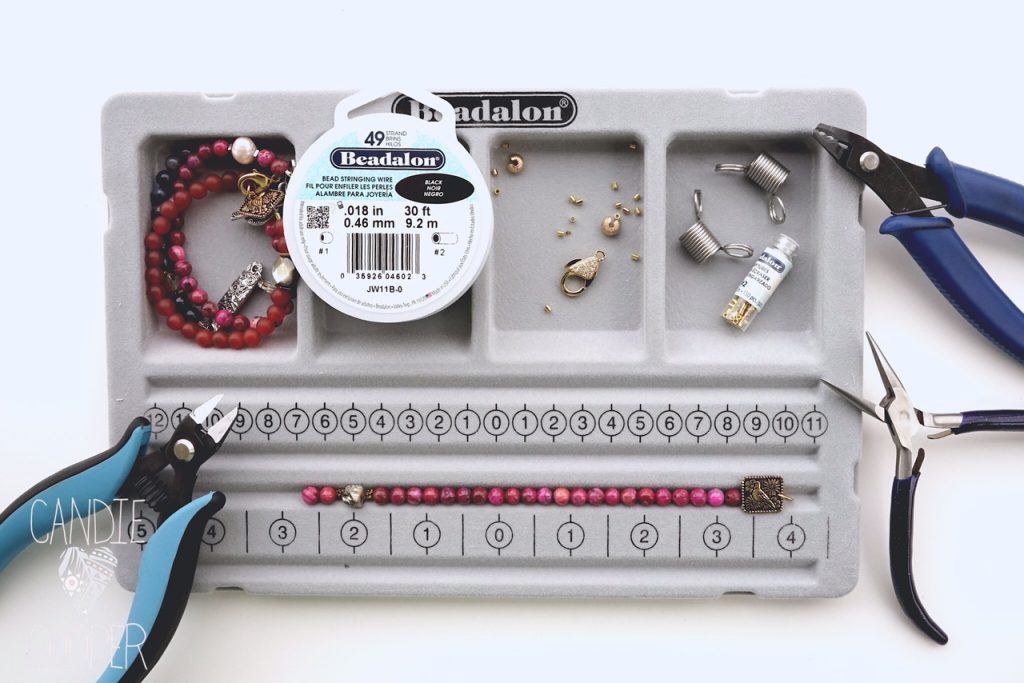
These don’t take a ton of time to make either. I’m using 6mm beads from Dakota Stones. Pick your power stone and set to stringing. You can add a wild card bead too while stringing–see the faceted pearl or rough cut hematite bead? Wild cards like these beads make for interesting design.
NOTE: I will be using the term crimp beads and crimp tubes interchangeable throughout the post. They serve the same purpose just look slightly different.
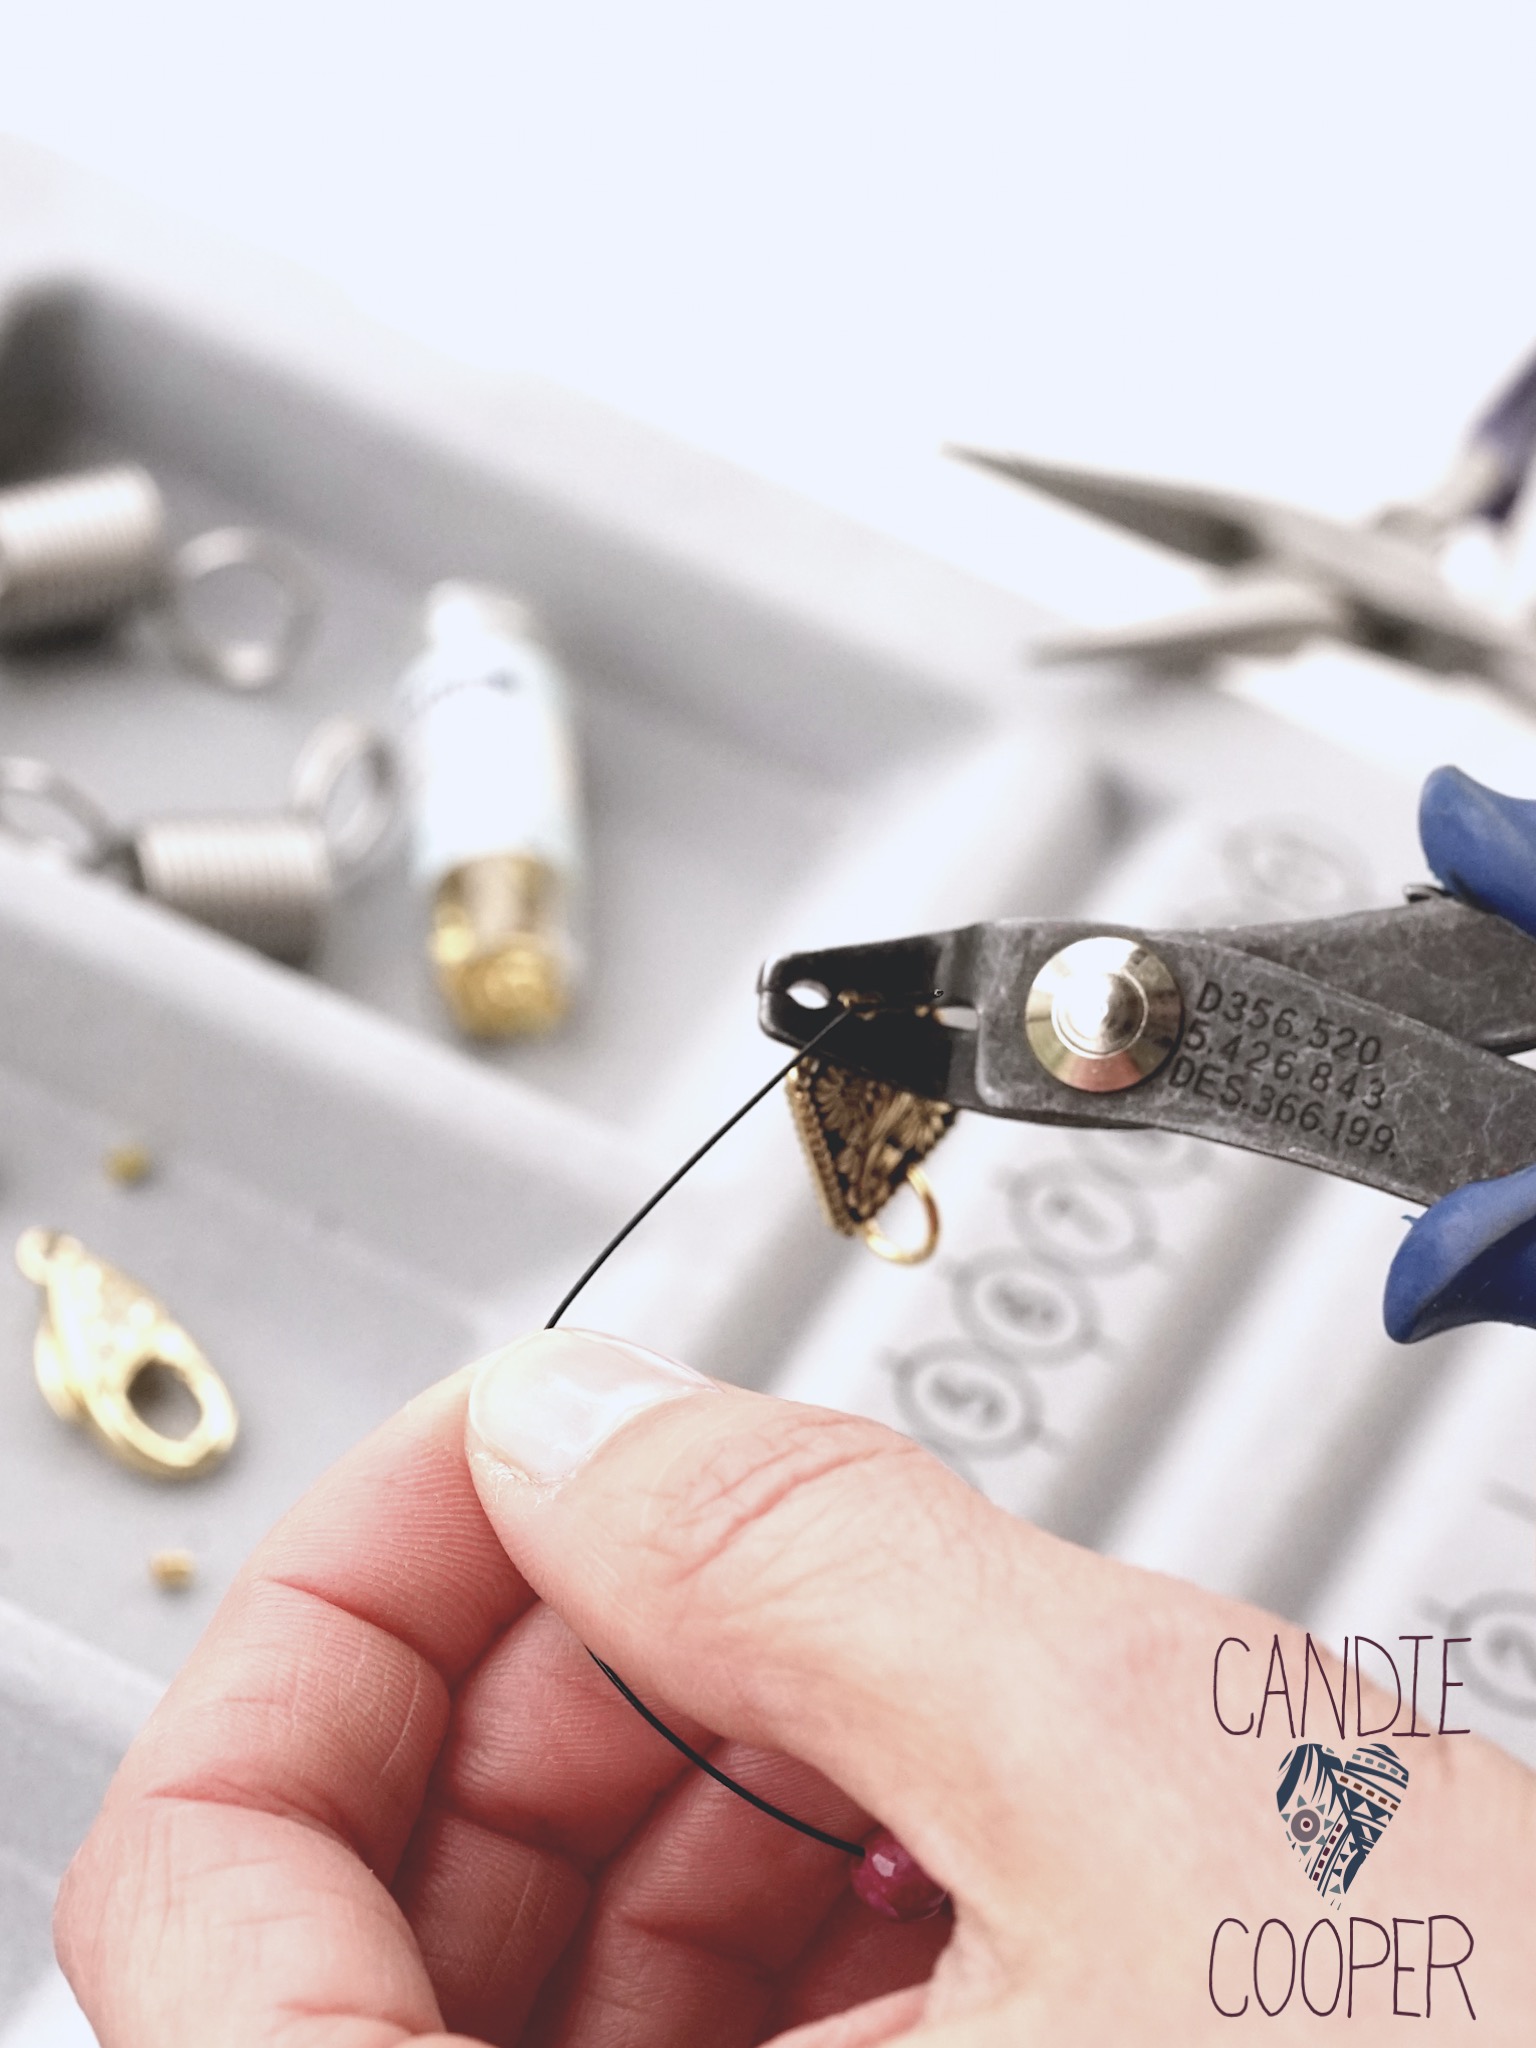
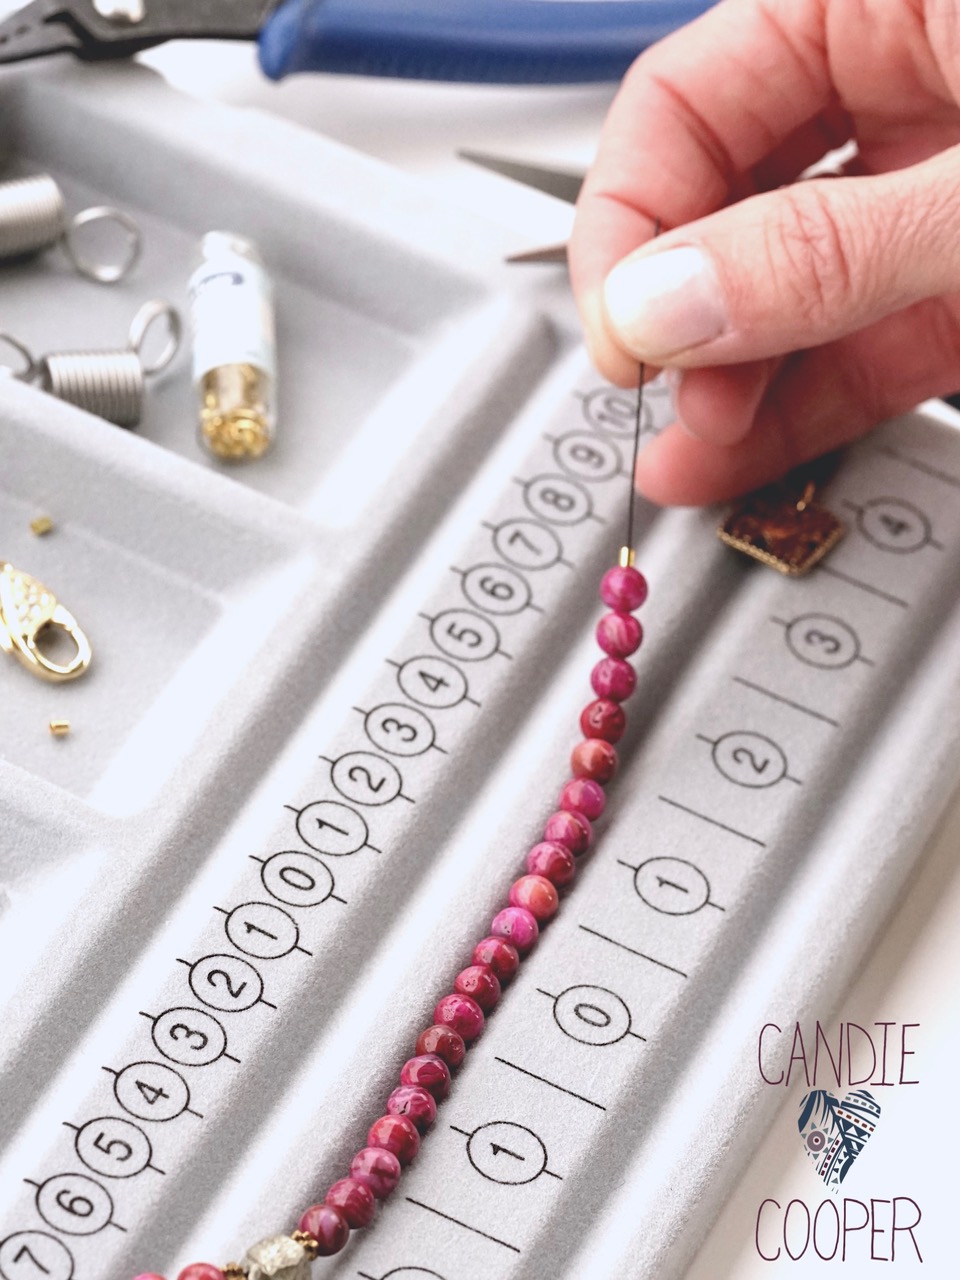 String a crimp bead (crimp tube) onto the end of the strung beads. If you’re unsure about crimp beads/tubes or beading wire–check out my “what in the wire” post. Because I’m using .018, 49 strand beading wire, I need size #2 crimp tubes.
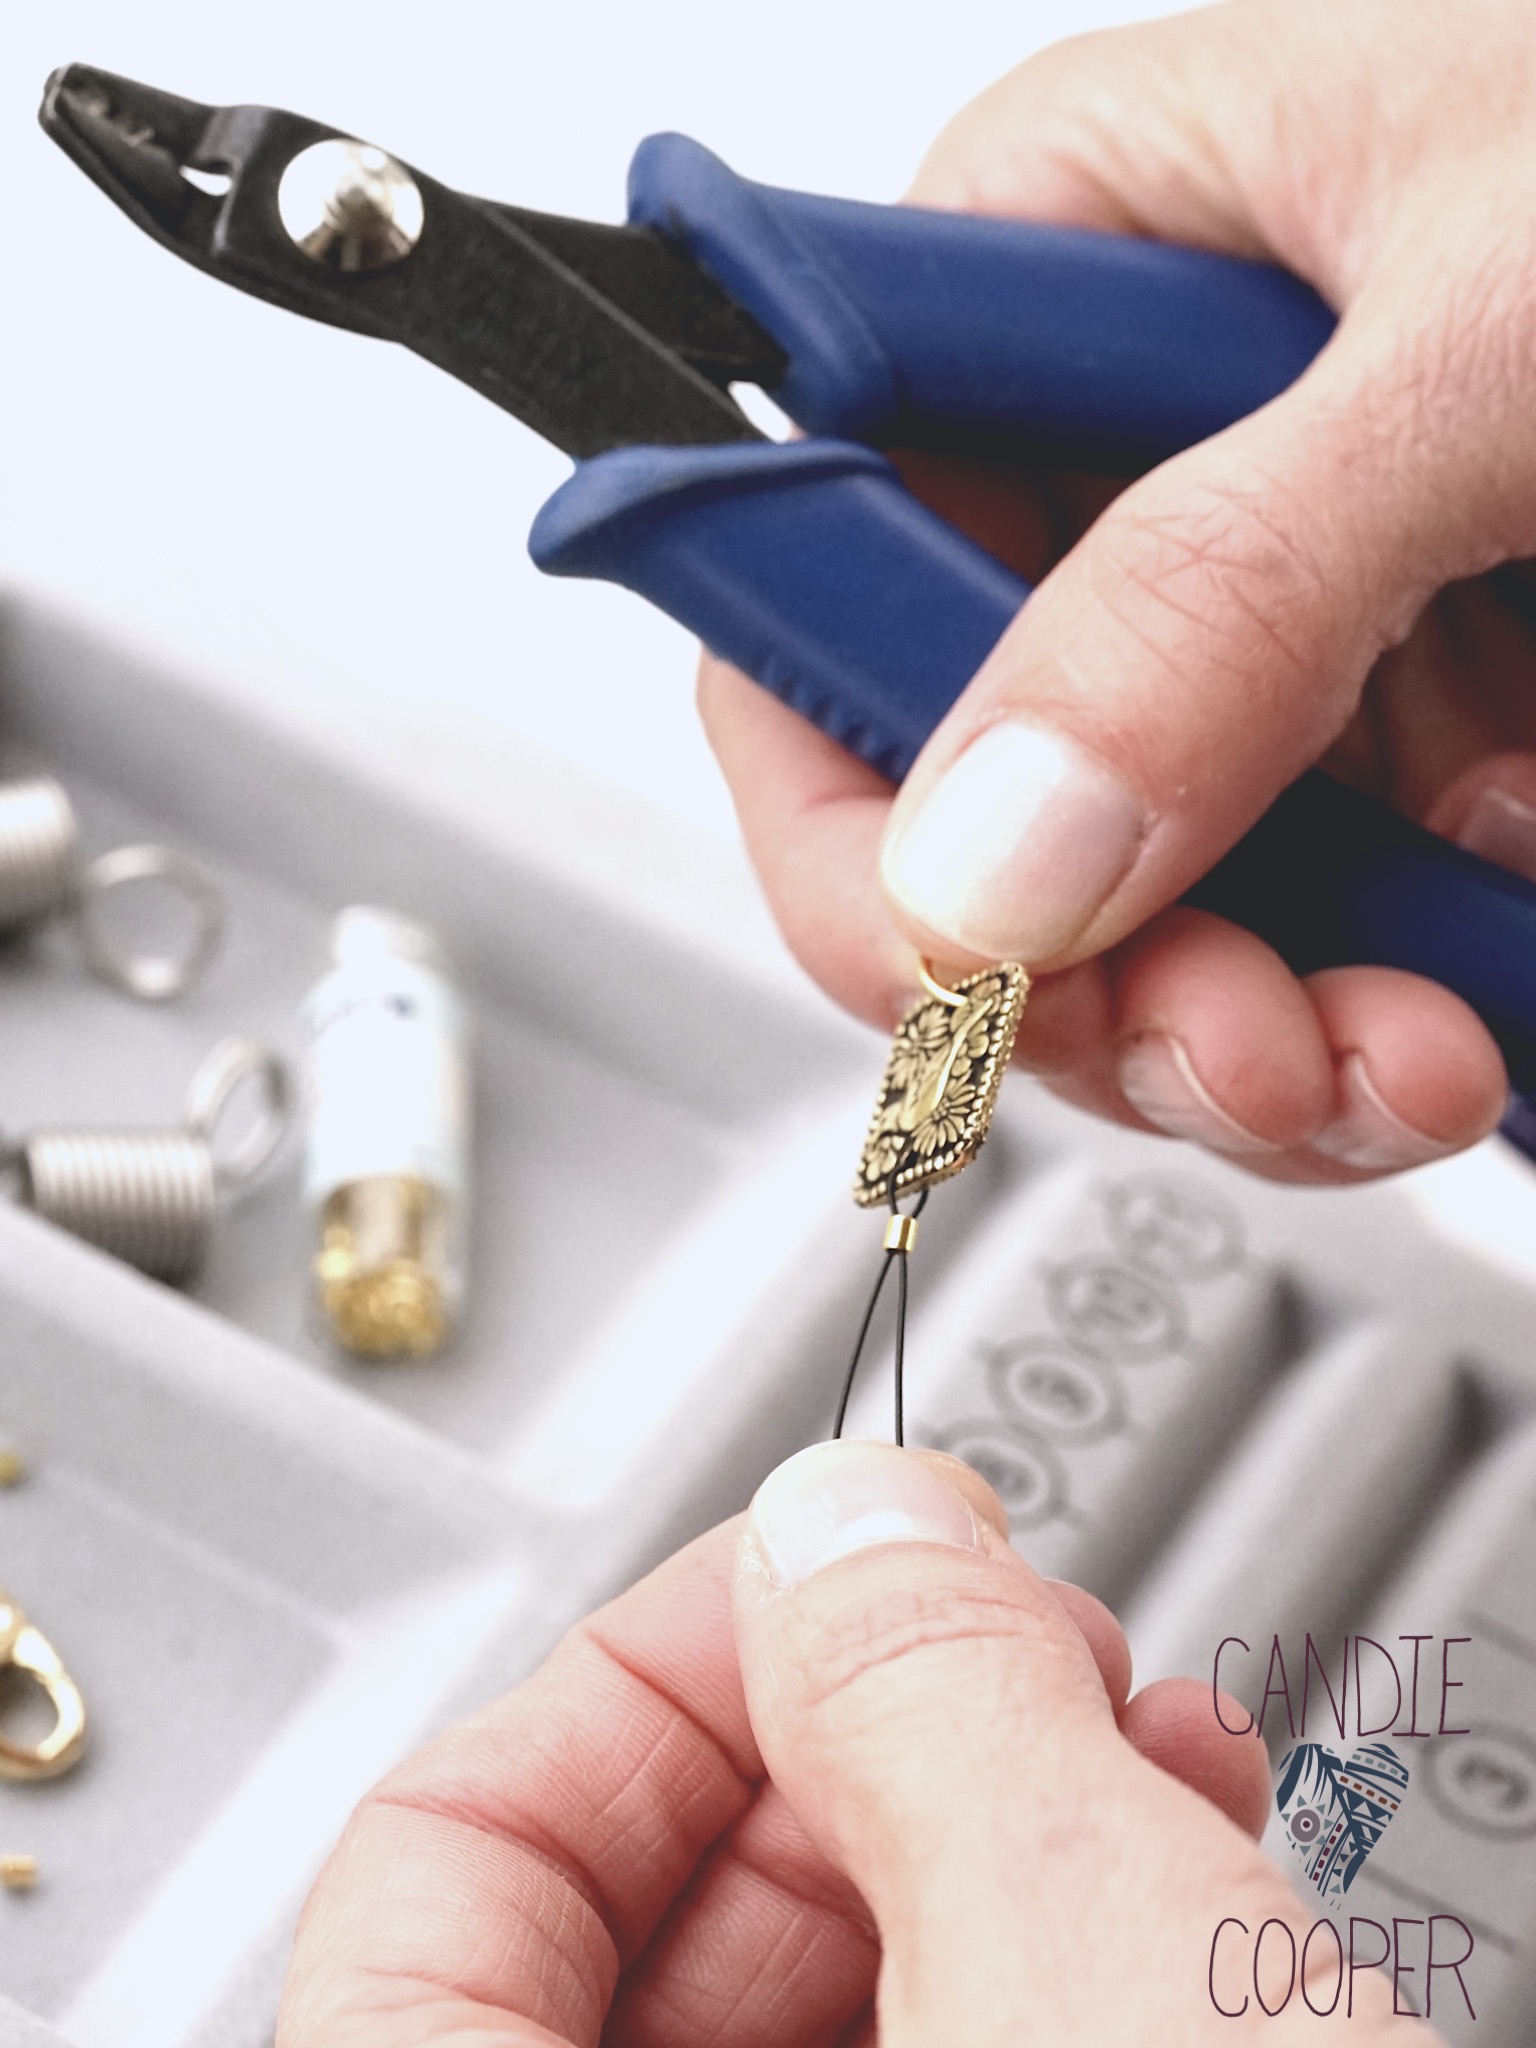 Now string one end of the link and the tail of wire back through the crimp tube, with about a half an inch on the other side of the crimp tube. In other words, just enough to hold onto…
 First put the crimp tube in the opening closest opening next to the handles. It looks like a “U” shape. Hold the wires while securing the crimp tube in the opening and squeeze down. The crimp tube should be formed into a “U” shape.
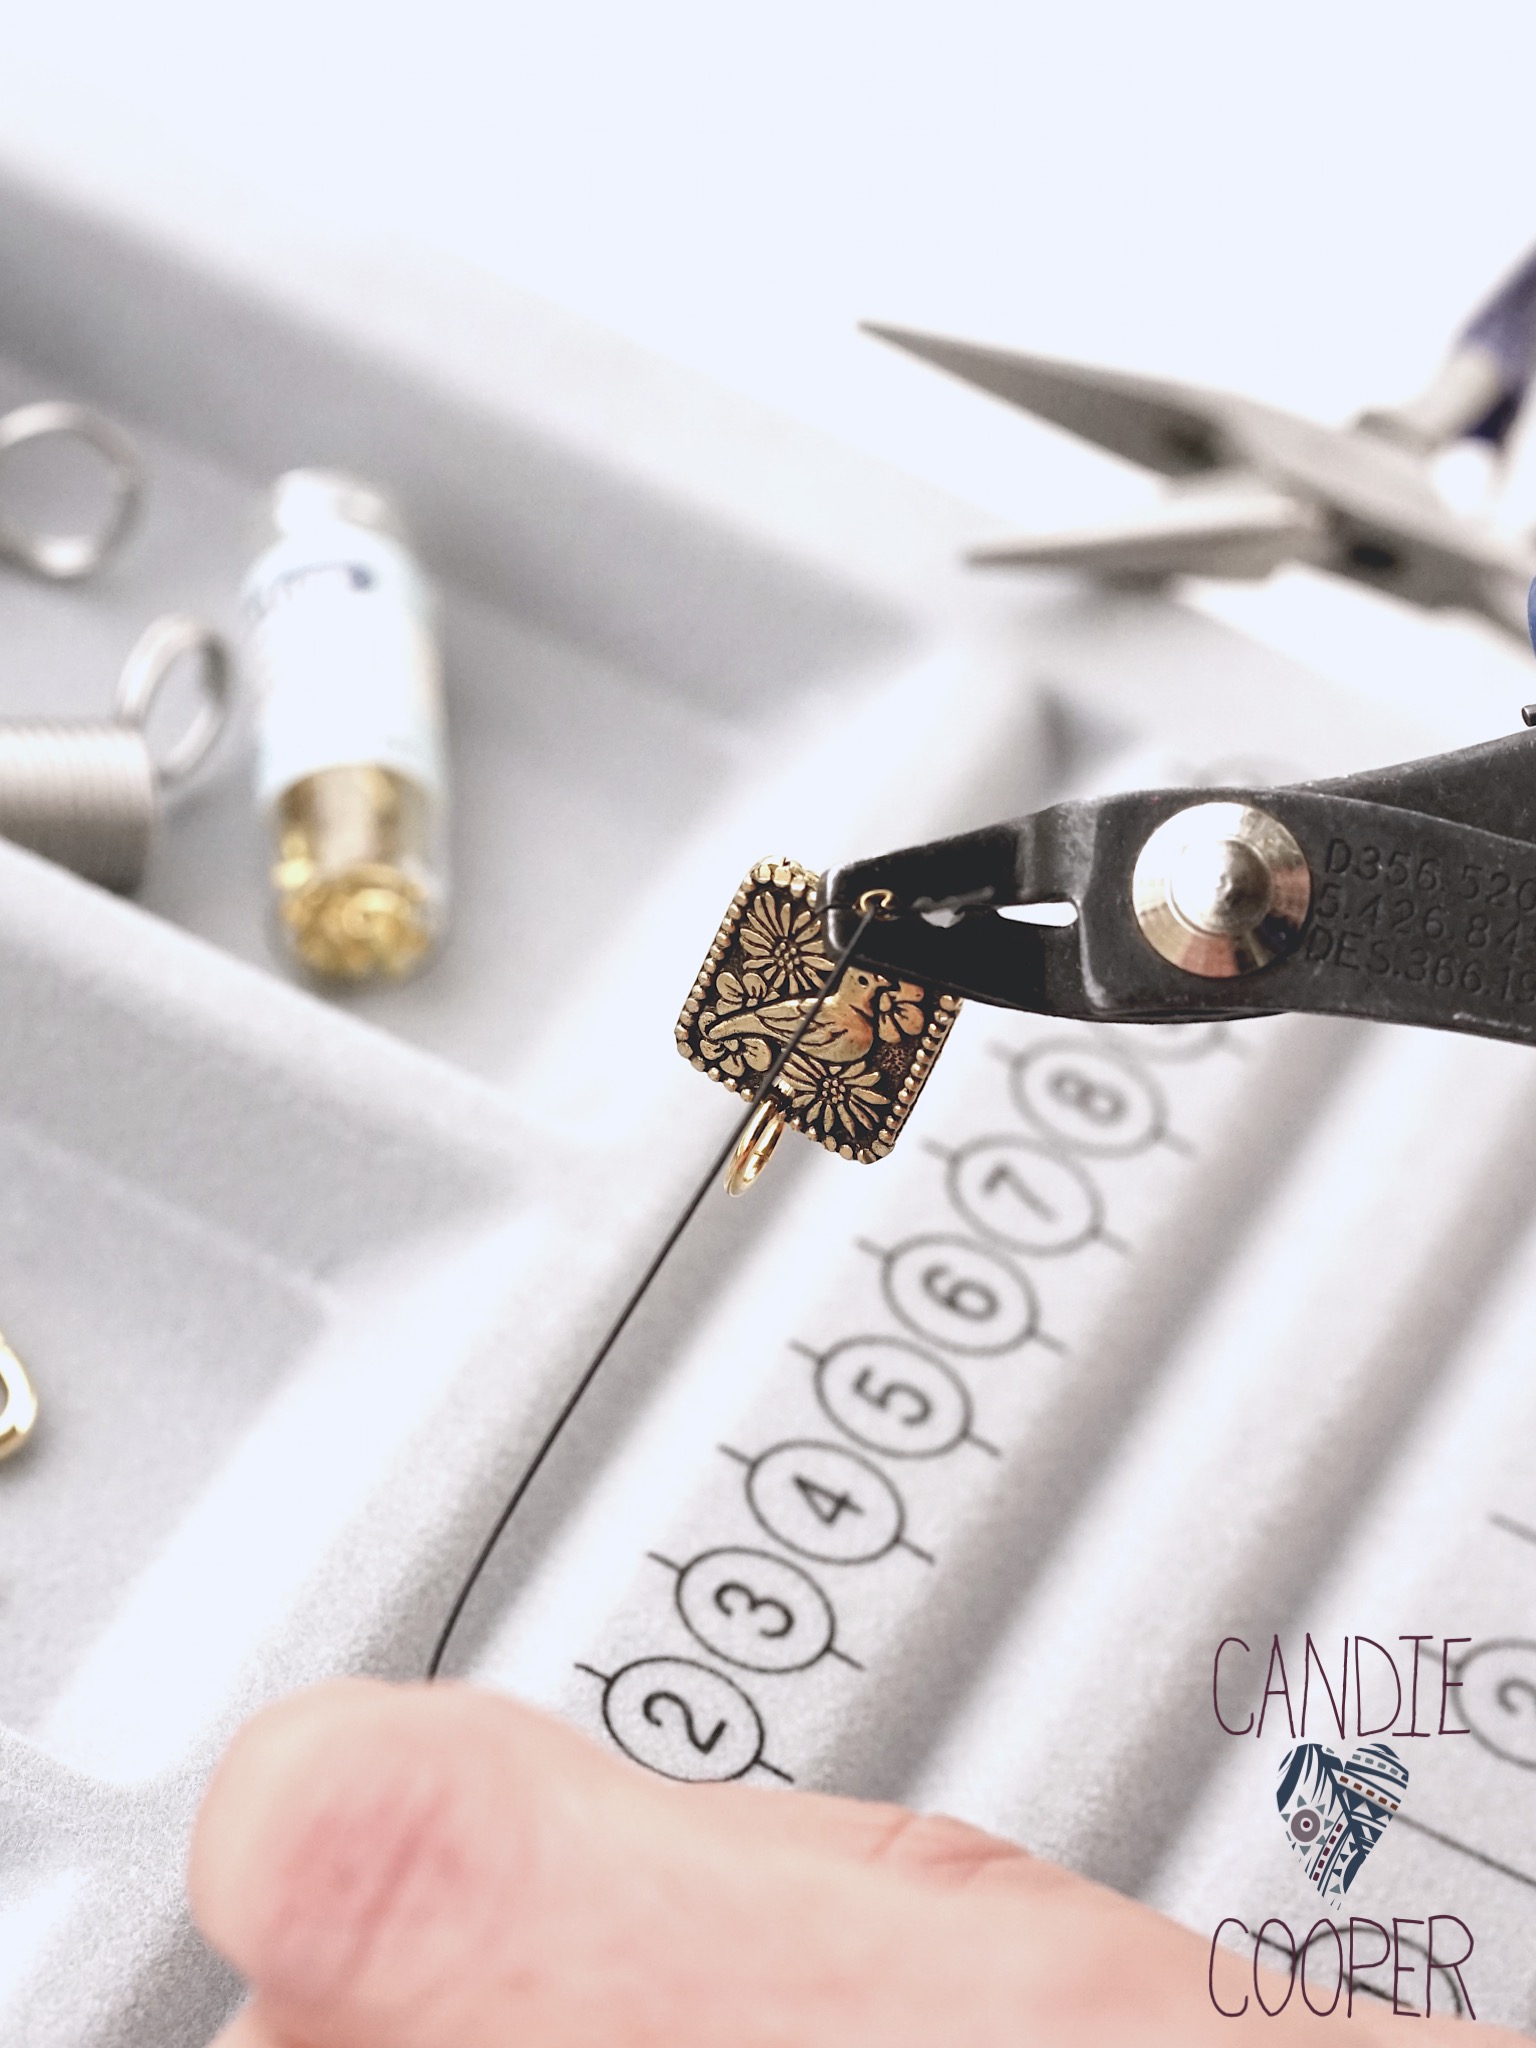 Turn the crimp tube ninety degrees and place in the outer opening of the crimping pliers–it’s shaped like an eye. Squeeze the handles down until you can’t press any further. The crimp should be secure.
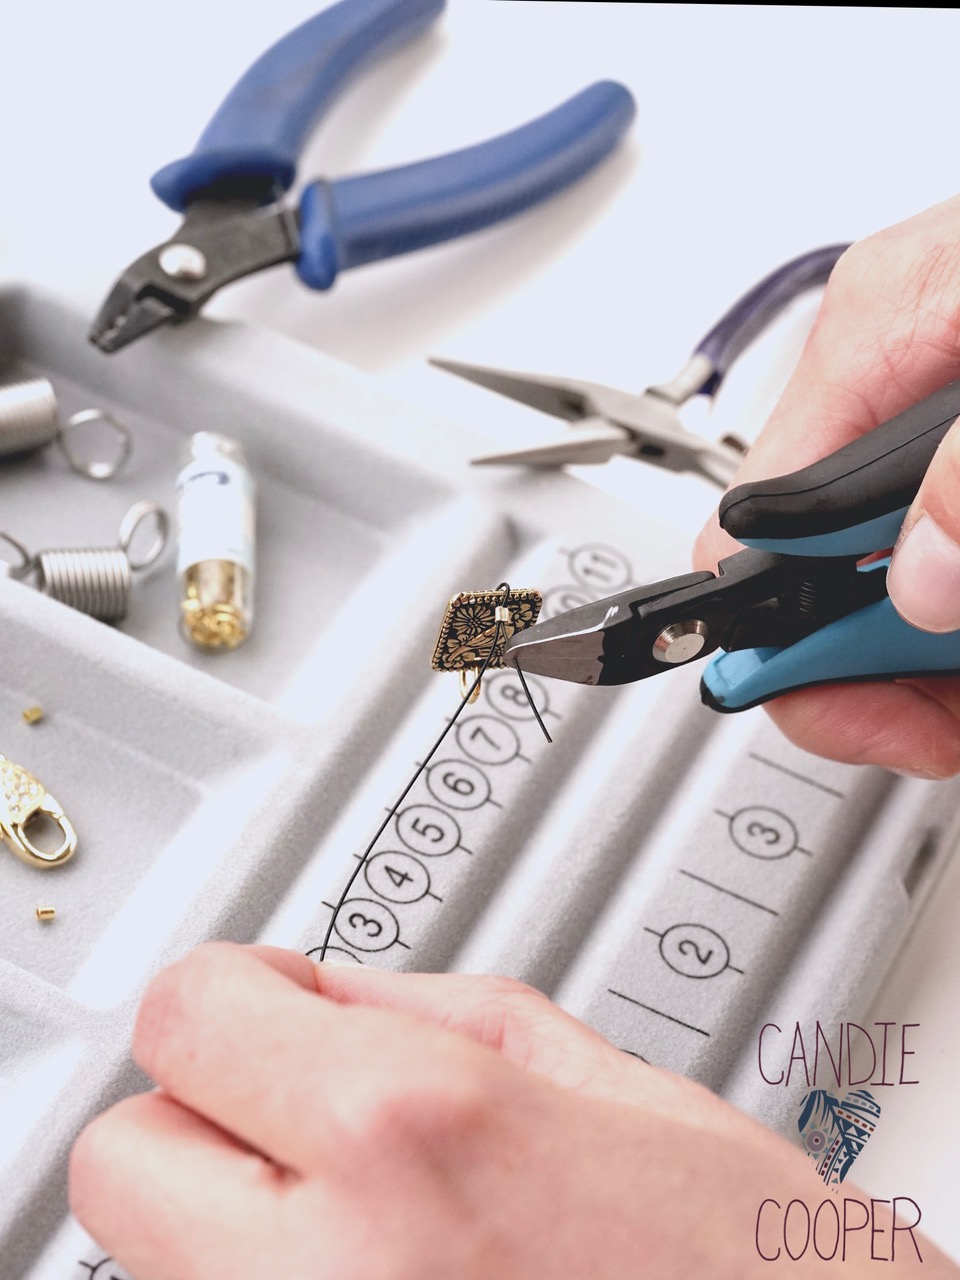
Trim the extra wire tail so there is approximately 1/4″. 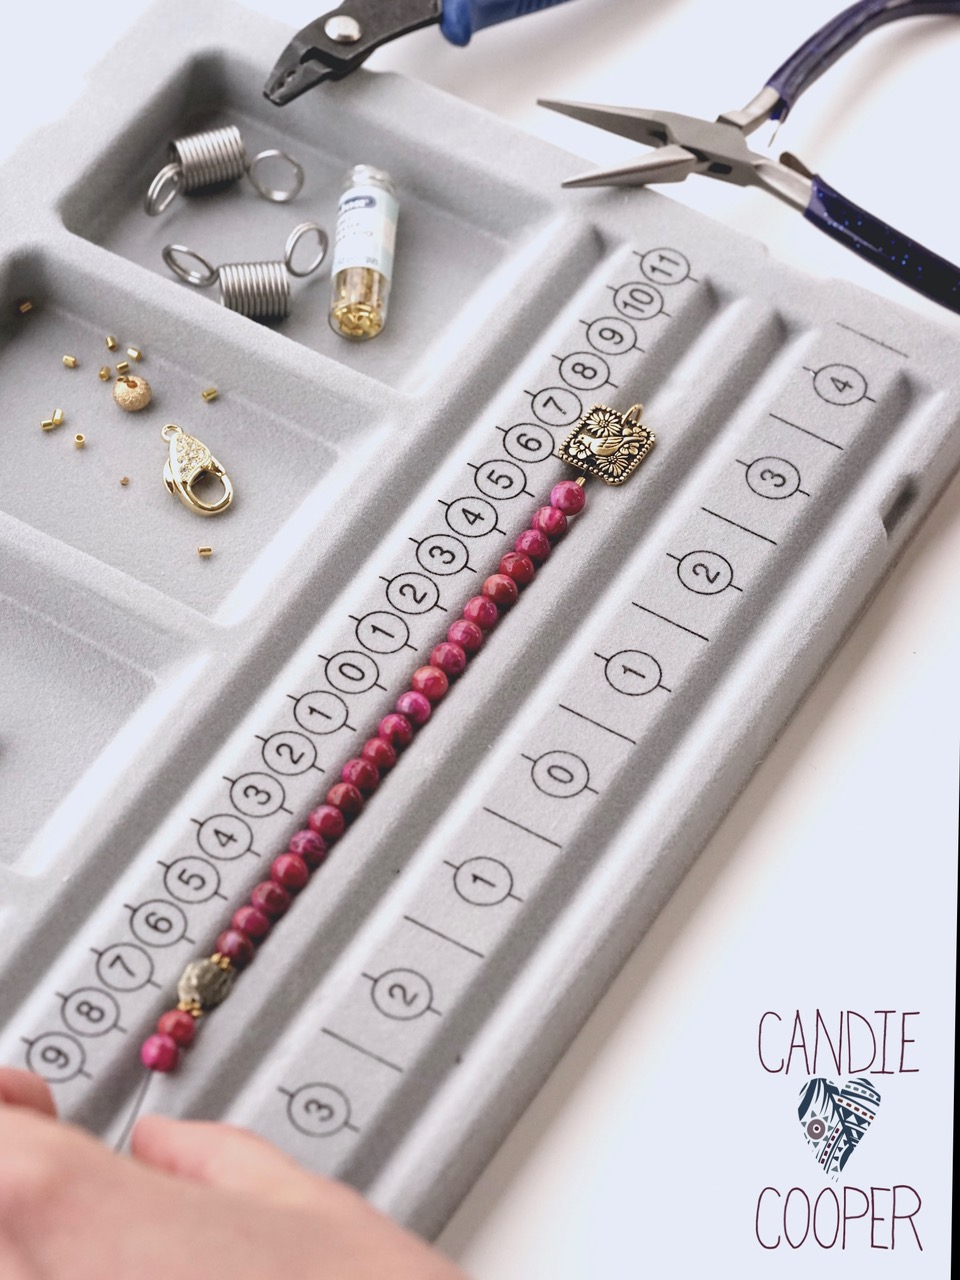
One of my biggest regrets in my Craftsy class was not using crimp covers. EVERYONE asked why.
I don’t have a good answer.
Moving on.
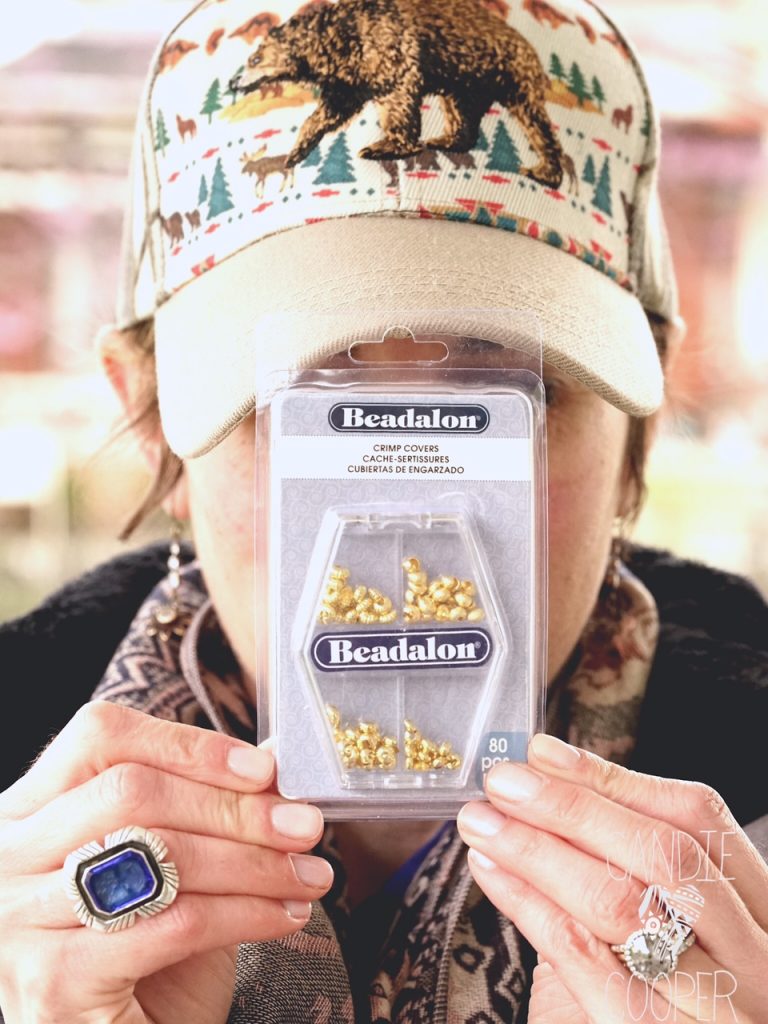
Crimp covers are little pac-man shaped beads that you can attach right over the top of your crimp tube. This is an excellent way to hide crimps, and use up extra space on your crimped strand of beads.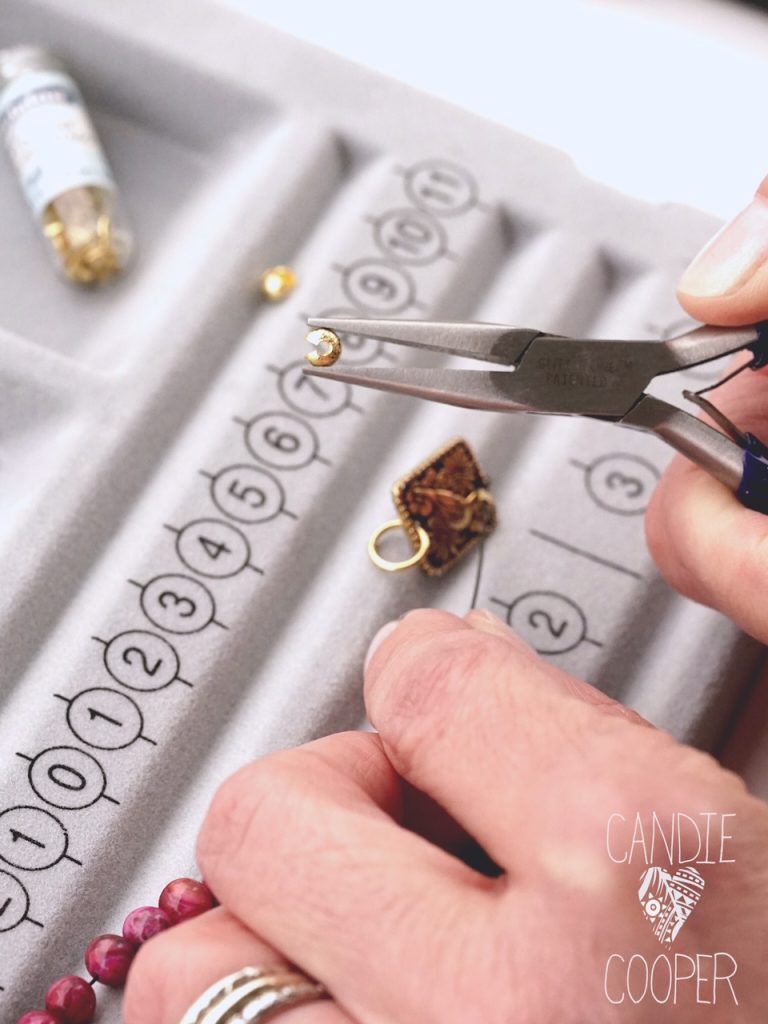
You can attach them with chain nose pliers.
Like this.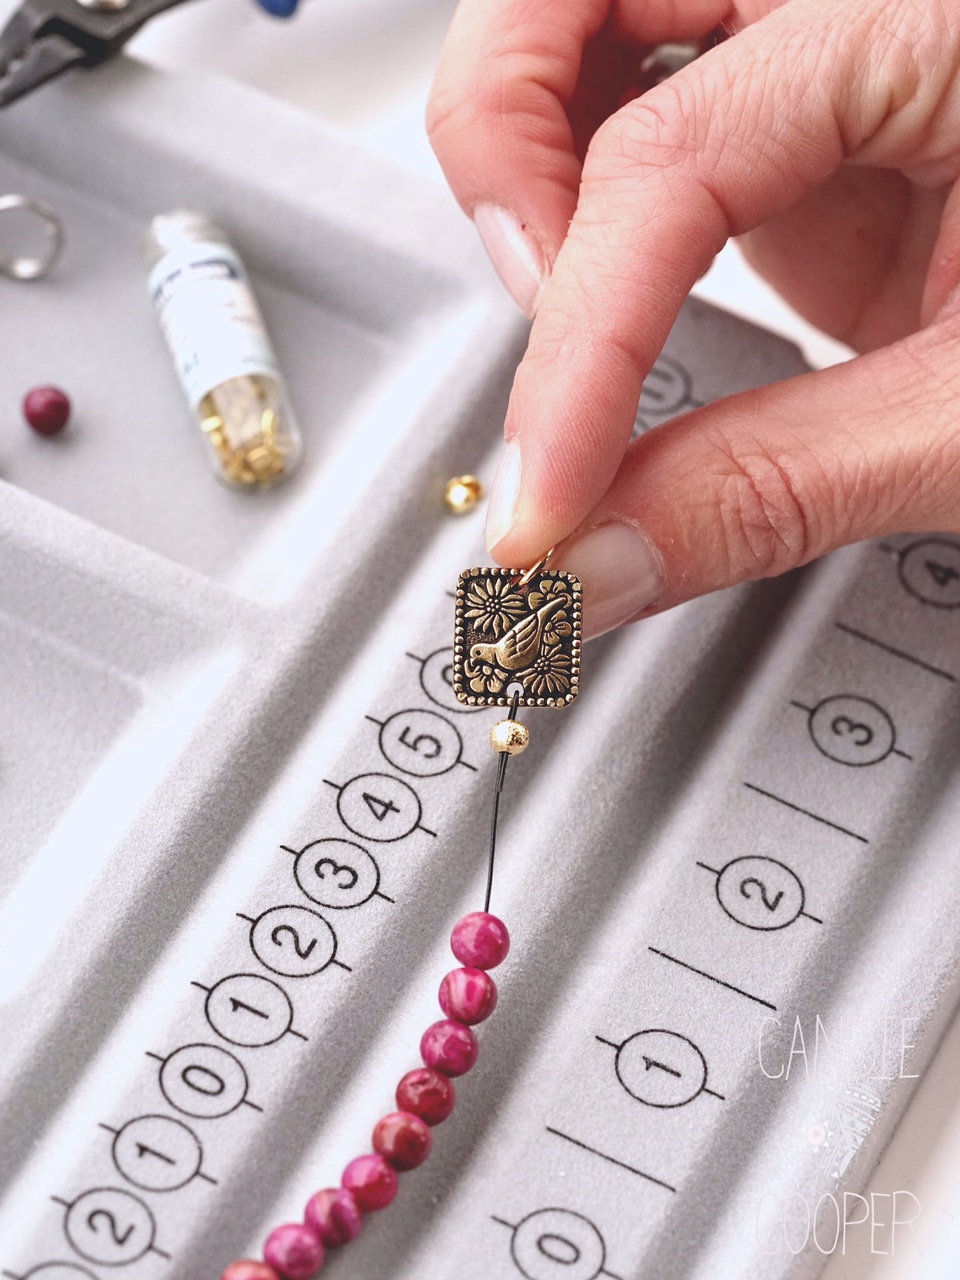
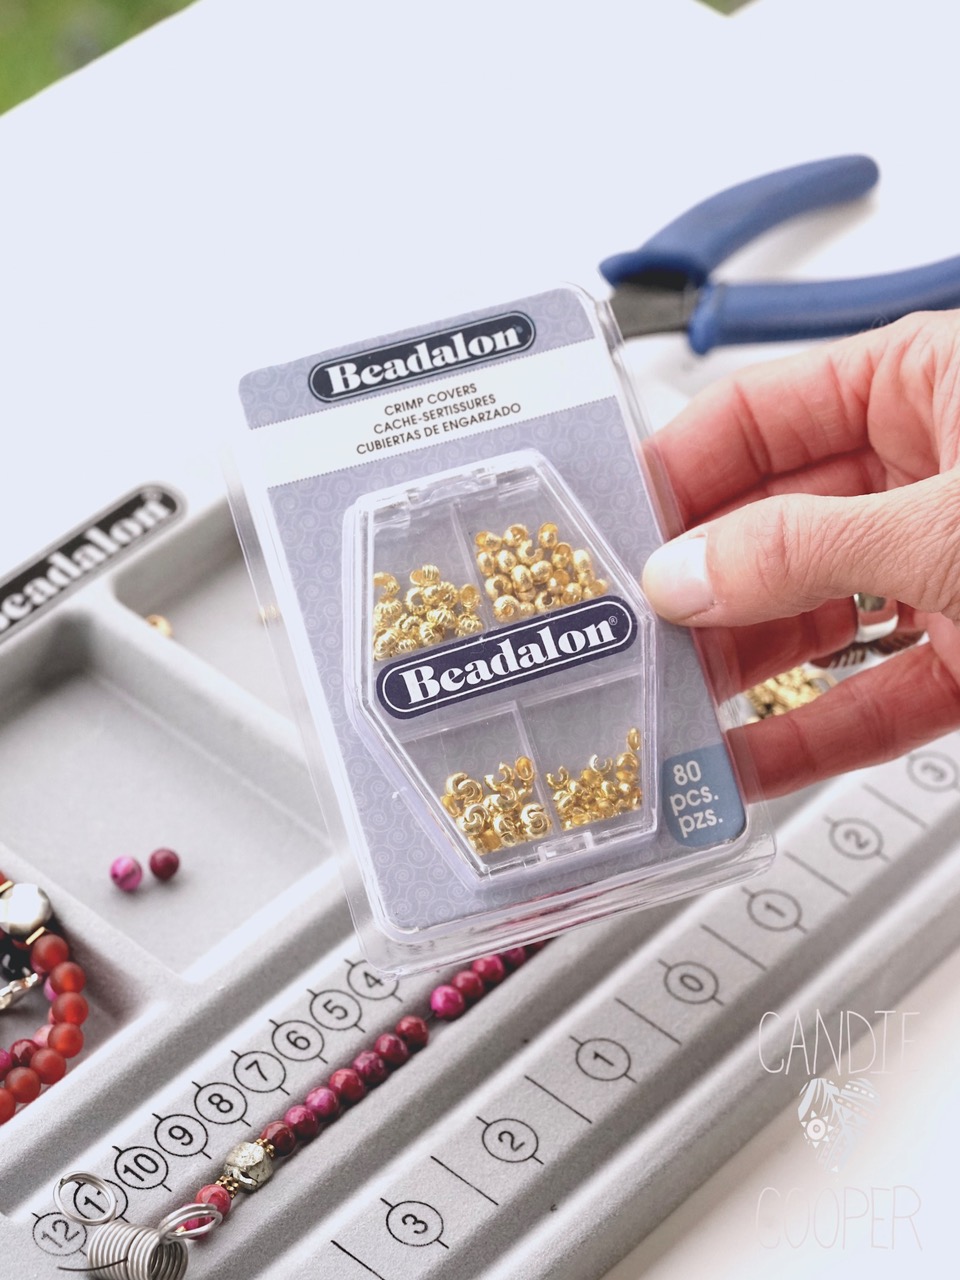
They come in different sizes–that’s the assortment pack from Beadalon above and they come in gold or silver.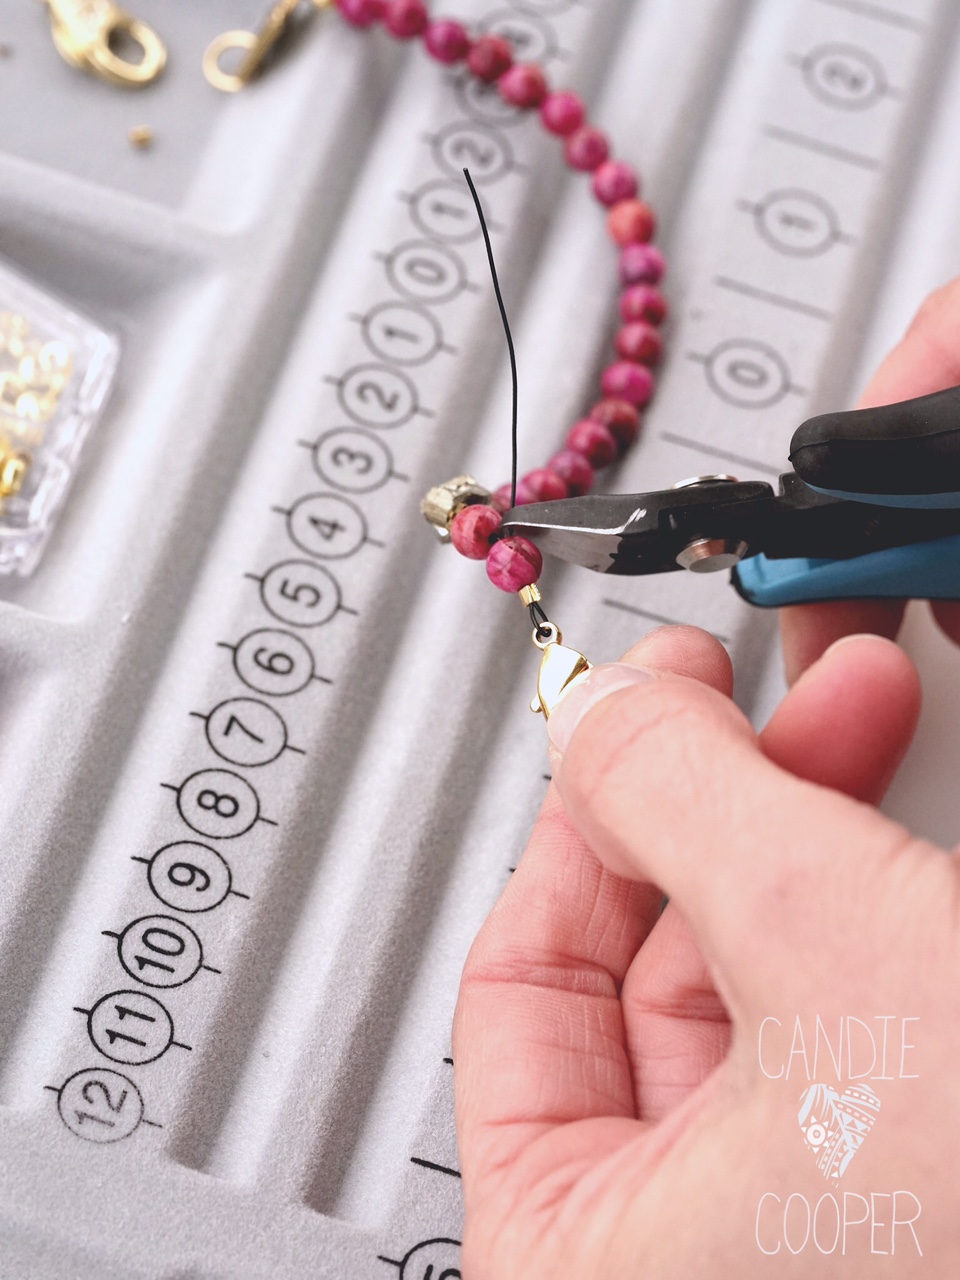
String another crimp tube onto the opposite side of the beads followed by the second side of the clasp. Thread the tail of wire through the crimp tube, remove the slack and crimp. Follow it up with another crimp cover.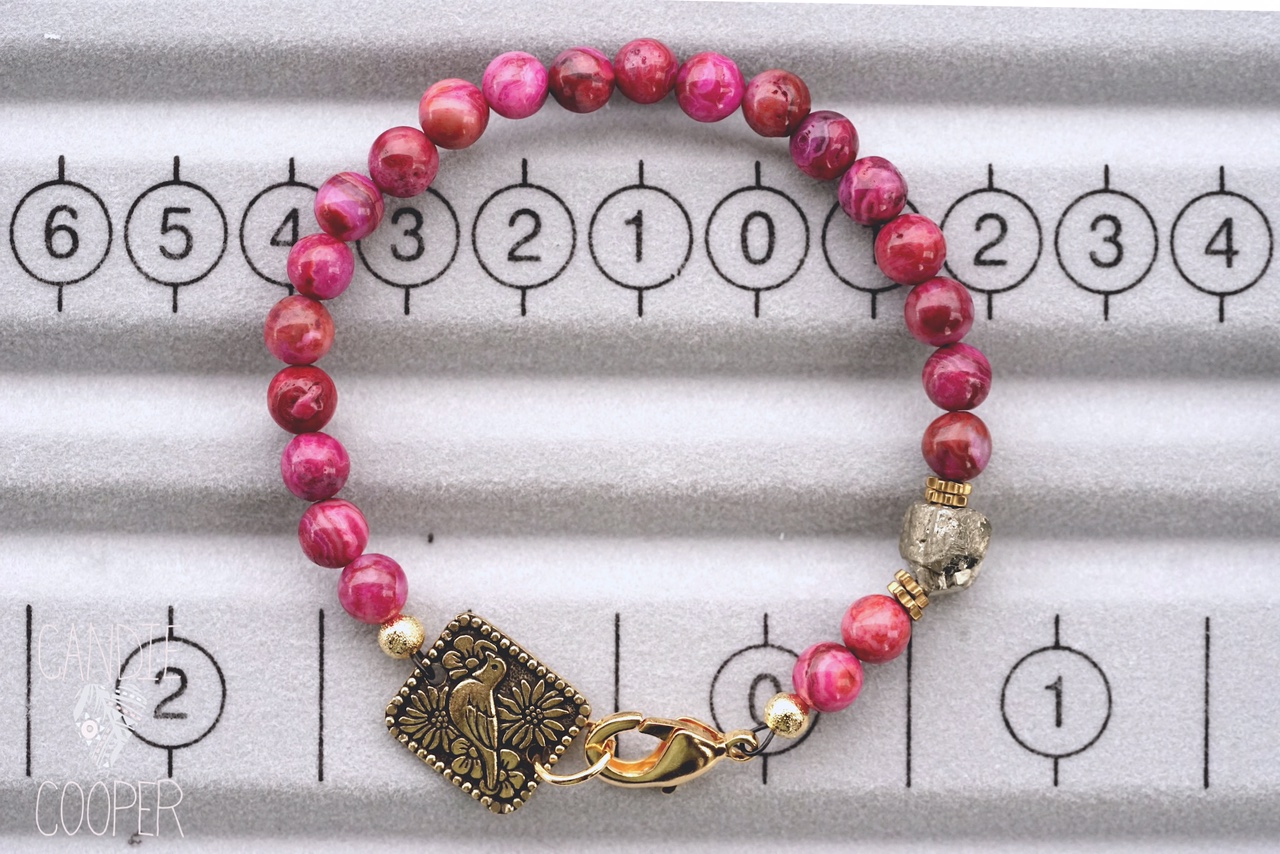
 Hi, I’m Candie. I design jewelry and crafts, author books, teach classes and host television programs. I thrive on simple ideas that anyone can achieve. I also love projects made from unexpected materials that stand the test of time. Join me as I lead a creative life!


Nice! Perfect and easy Mother’s Day gifts. Thanks for using the TierraCast links – they look great in this great design!